70
Operational Reference
Genie Color Series-GigE Vision Camera
Event Selection via GigE Vision Compliant Applications
XML features for Events:
EventSelector
= {None = 0, FrameTrigger = 2, ExposureStart = 3, ExposureEnd = 4,
InvalidFRameTrigger = 0x9008, AcquisitionEnd = 0x9003}
EventNotification
= {Off = 0, GigEVisionEvent = 1}
Event_FrameTrigger_TimeStamp
= Generate an Event on a frame trigger
Event_ExposureStart_TimeStamp
= Event on exposure start
Event_ExposureEnd_TimeStamp
= Event on exposure end
Event_InvalidTrigger_TimeStamp
= Event when invalid trigger received
Using CamExpert to set Network Controls & GigE
Vision Parameters
This section describes how to optimize the network configuration for maximum Genie bandwidth. Optimization of
these parameters is highly dependent on the number of cameras connected to a NIC, the data rate of each camera
and the trigger modes used.
Important:
Laptop computers may have issues even with a GigE NIC port, either built in or as a PCMCIA
device. This section describes optimizations for both desktop and laptop computers, but laptops may require
additional customization as described in the DALSA Network Imaging package manual.
CamExpert GigE Vision Parameters
Genie GigE Vision parameters can be manually modified directly from CamExpert as described below. Note that a
number of parameters (IP Configuration Mode, IP Address, Packet Size, etc.), can also be modified by the DALSA
Network Configuration Tool described in the DALSA Network Imaging package manual.
Select the GigE Vision category. The
Automatic
Network Configuration mode sets parameters to a default state.
The
Optimize
mode sets the packet size to the maximum value as reported by the NIC driver. If this does not
provide satisfactory performance, such as lost data packets, it is possible to optimize transfers by manually setting
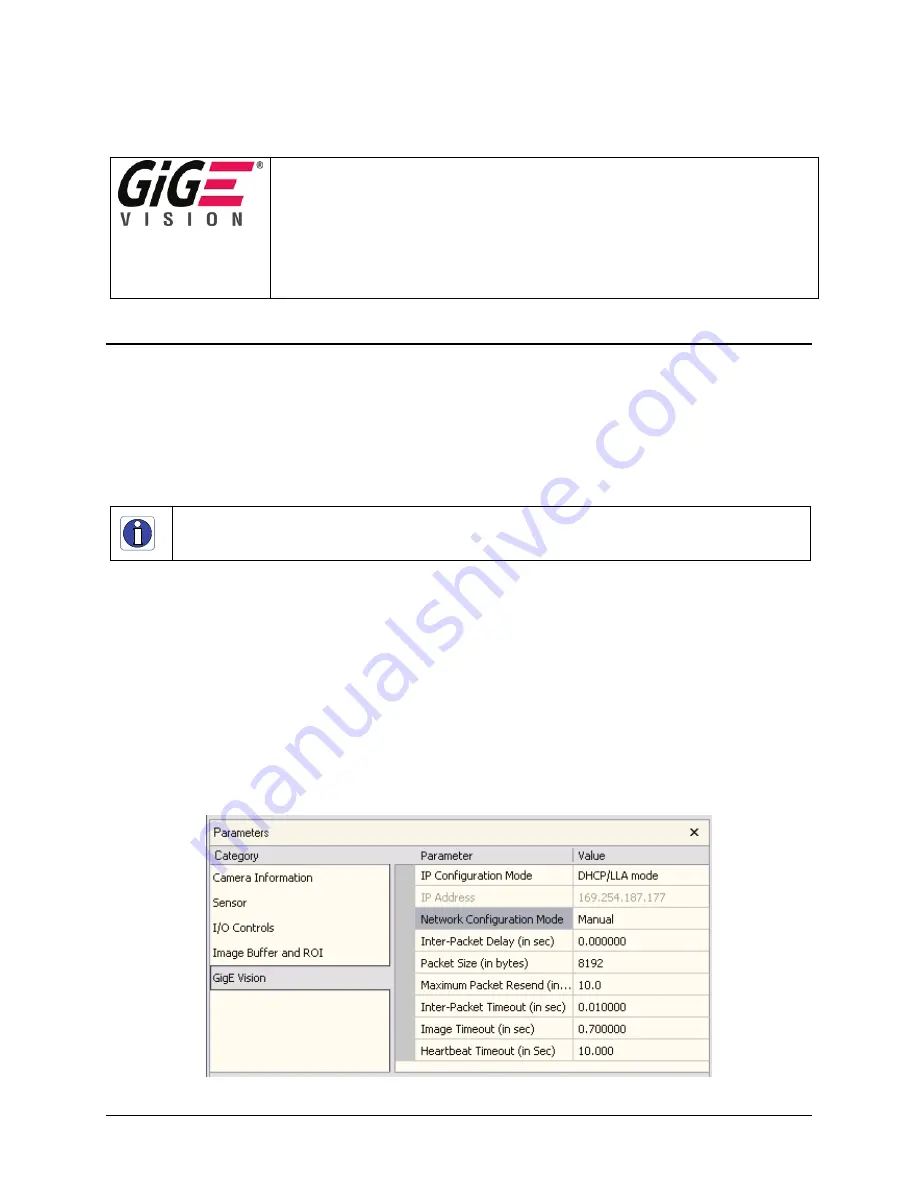
the network configuration parameters. The following screen shot of the GigE Vision Parameters shows the
CamExpert control set to
Manual
. Descriptions for each parameter follow.


