Genie Color Series-GigE Vision Camera
Sapera CamExpert Guide
95
Control Buttons
: The Display pane includes CamExpert control buttons. These are:
Acquisition control button:
Click once to start live grab, click again to stop.
Single frame grab:
Click to acquire one frame from device.
Software trigger button:
With the I/O control parameters set to Trigger Enabled / Software
Trigger type, click to send a single software trigger command.
CamExpert display controls:
(these do not modify the frame buffer data)
Stretch image to fit, set image display to original size, or zoom the
image to any size and ratio.
Histogram / Profile tool:
Select to view a histogram or line/column profile during live
acquisition.
Output pane
: Displays messages from CamExpert or the device driver.
CamExpert LUT Controls
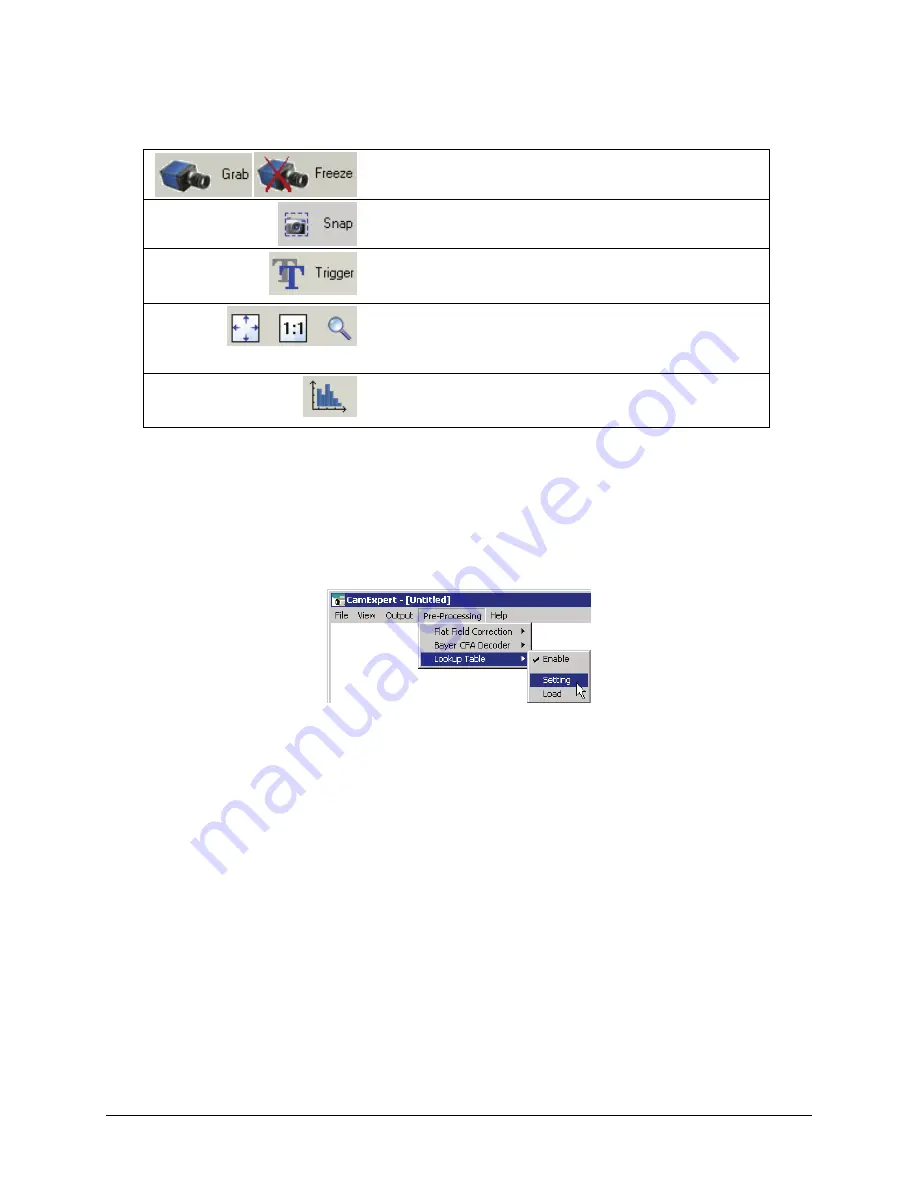
The Lookup Table dialog allows you to configure the LUT if it is available on the device. Genie color cameras
support an RGB 8-bit LUT. To open this dialog, use the Pre-Processing > Lookup Table > Setting menu command.
Note that you must first enable the Lookup Table, otherwise the Setting command will be grayed-out.
To select the type of LUT to use, click the LUT Mode Value field; a drop-down list box displays the available
modes. The Lookup Table dialog displays a graph of the input and output values for the selected LUT. These are
CamExpert common examples for LUT operations. A Sapera application can program the Genie LUT for any
required LUT operation. See
"
Lookup Table (LUT)
" on page 59
for Genie LUT support.


