background image

5 Operation

Operation manual

10

35A5V1B

R32 Split series

3P717028-1 – 2022.11

5.4.2

To install the ONECTA app

1

Go  to  Google  Play  (for  Android  devices)  or  the  App  Store  (for
iOS devices) and search for "ONECTA".

2

Follow the directions on the screen to install the ONECTA app.
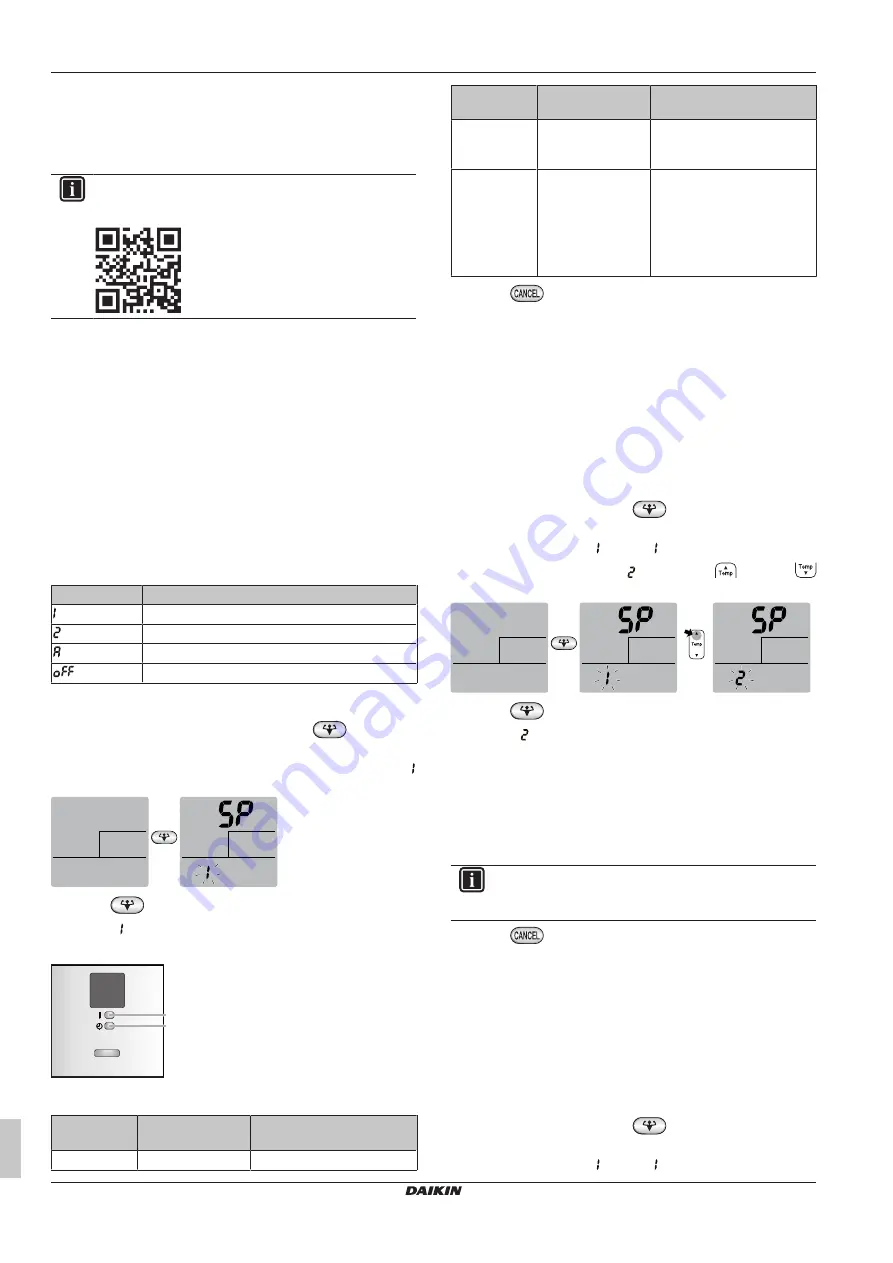
INFORMATION

Scan  the  QR  code  to  download  and  install  the  ONECTA
app 

on 

your 

mobile 

phone 

or 

tablet:

5.4.3

To set the wireless connection

There  are  two  options  to  connect  the  wireless  adapter  with  your
smart device.

Connect the wireless LAN to your smart device directly.

Connect the wireless LAN to your home network. 

The wireless

LAN  will  communicate  with  your  smart  device  in  your  home
network using a modem, router or a similar device.

For more information and FAQ refer to 

app.daikineurope.com

.

1

Stop operation before setting the wireless connection.

2

Use  the  wireless  remote  control  to  select  the  wireless  LAN
setting menu.

Note: 

During  setting,  always  aim  the  wireless  remote  control  at  the

infrared signal receiver on the unit.

Menu

Description

Connection status check

WPS connection setting

Reset to factory default

Wireless LAN OFF

To confirm the wireless LAN connection status

1

On  home  screen  menu,  press  and  hold 

  for  at  least

5 seconds while the unit is not operating.

Result: 

The  SP  (wireless  connection  setting  menu)  appears. 

is blinking.

(5 sec.) 

2

Press 

 to confirm the selection.

Result: 

 is blinking.

3

Check the operation and timer LEDs on the indoor unit display.

ON/OFF

a

b

a

Operation LED

b

Timer LED

If operation
LED…

…and timer LED… …then wireless LAN is…

blinks

blinks

not connected

If operation
LED…

…and timer LED… …then wireless LAN is…

is off

blinks in 0.5 second
interval

running and ready to connect
to the home network via WPS
button on the router.

is off

blinks in 1 second
interval

▪ connected  to  the  home

network via SSID + KEY.

or

▪ connected  to  the  home

network via WPS button on
the router.

4

Press 

 to exit the menu.

Result: 

The display will return to the default screen.

To connect the wireless LAN to your home
network

The wireless adapter can be connected to your home network using
the:

▪ WPS button (Wi-Fi Protected Setup) on the router (if present),

▪ The  SSID  (Service  Set  Identifier)  and  the  KEY  (password)  -

located on the unit.

To connect using the WPS button

1

On home screen menu, hold 

 for at least 5 seconds while

the unit is not operating.

Result: 

The SP menu   appears.   is blinking.

2

Change  to  the  SP  menu 

  by  pressing 

  once  or 

repeatedly.

(5 sec.) 

3

Press 

 to confirm the selection.

Result: 

 is blinking. The timer LED is blinking in 0.5 s interval

and the operation LED is off.

4

Press  the  WPS  button  on  your  communication  device  (e.g.
router)  within  approximately  1  minute.  Refer  to  the  manual  of
your communication device.

Result: 

If  the  connection  to  your  communication  device  is

successful,  the  timer  LED  is  blinking  in  1.0  s  interval  and  the
operation LED is off.

INFORMATION

If  the  connection  with  your  router  is  not  possible,  try
procedure To connect using SSID and KEY number.

5

Press 

 to exit the menu.

Result: 

The display will return to the default screen.

To reset the connection setting to the factory
default

Reset the connection setting to the factory default in case you want
to:

▪ disconnect  the  wireless  LAN  and  the  communication  device  (e.g.

router) or smart device,

▪ repeat the setting if the connection was unsuccessful.

1

On home screen menu, hold 

 for at least 5 seconds while

the unit is not operating.

Result: 

The SP menu   appears.   is blinking.

Summary of Contents for Siesta ATXD25A5V1B

Page 1: ...Operation manual R32 Split series English Operation manual R32 Split series ATXD25A5V1B ATXD35A5V1B...

Page 2: ...14 8 1 2 Symptom A blowing sound is heard 14 8 1 3 Symptom A ticking sound is heard 14 8 1 4 Symptom A whistling sound is heard 14 8 1 5 Symptom A clicking sound during operation or idle time is hear...

Page 3: ...contains a heavy metal above a certain concentration Possible chemical symbols are Pb lead 0 004 Waste batteries MUST be treated at a specialised treatment facility for reuse By ensuring waste batter...

Page 4: ...ames an operating gas appliance or an operating electric heater The room size shall be as specified in the General safety precaution DANGER RISK OF ELECTROCUTION To clean the air conditioner or air fi...

Page 5: ...ic Temperature setting 25 C Airflow rate Automatic 3 2 About the user interface Wireless remote control INFORMATION The indoor unit is delivered with the wireless remote control as the user interface...

Page 6: ...g beep Operation stops 4 Before operation 4 1 To mount the wireless remote control holder c b a 2 a Wireless remote control b Screws field supply c Wireless remote control holder 1 Choose a place wher...

Page 7: ...the temperature setpoint Cooling The system cools down a room to the temperature setpoint Fan The system only controls the airflow airflow rate and airflow direction The system does NOT control the t...

Page 8: ...omatically sets the fixed airflow position upward in Cooling and downward in Heating operation mode Cooling operation mode Heating operation mode INFORMATION Powerful and Comfort airflow operation CAN...

Page 9: ...ure setting 0 5 C up in cooling 2 0 C down in heating to prevent excessive cooling heating and ensure a comfortable sleeping temperature Use this feature if the unit is operating and you want to stop...

Page 10: ...ss LAN is is off blinks in 0 5 second interval running and ready to connect to the home network via WPS button on the router is off blinks in 1 second interval connected to the home network via SSID K...

Page 11: ...when using a room fumigation type insecticide Chemicals could collect in the unit and endanger the health of people who are hypersensitive to chemicals 7 Maintenance and service 7 1 Overview Maintena...

Page 12: ...ssible consequence Discoloration and deformation Do NOT use water or air of 40 C or higher Possible consequence Discoloration and deformation Do NOT use polishing compounds Do NOT use a scrubbing brus...

Page 13: ...anel at both sides and at the center until it clicks 7 8 To take following items into account before a long idle period 1 Set the mode to fan only by pressing button to dry the inside of the unit 2 Af...

Page 14: ...inside a room becomes uneven It is necessary to clean the interior of the indoor unit Ask your dealer for details on cleaning the unit This operation requires a qualified service person When the air c...

Page 15: ...voltage current sensor abnormality Outdoor temperature thermistor abnormality Discharge pipe thermistor abnormality Outdoor heat exchanger thermistor abnormality Electrical parts heat error Radiation...

Page 16: ...TANBUL T RK YE Tel 0216 453 27 00 Faks 0216 671 06 00 a r Merkezi 444 999 0 Web www daikin com tr G lsuyu Mahallesi Fevzi akmak Caddesi Bur ak Sokak No 20 34848 Maltepe 3P717028 1 2022 11 Copyright 20...

Reviews: