iom-clic-cf-eng
www.clima-flex.com
108
Vdf Compressor Controller
• 8-37 Maximum Inter-Carriage Delay 8-38 Maximum Inter-
Carriage Delay
• 14-50 RFI Filter
• 15-00 Operating Hours
• 15-01 Operating Hours
• 15-02 kWh counter
• 15-03 Ignitions
• 15-04 Over temperature
• 15-05 Over voltage
• 15-20 History Log: Event
• 15-21 History Log: Value
• 15-22 History Log: Time
• 15-30 Fault Log: Error Code
• 15-31 Fault Log: Value
• 15-32 Fault log: Time
B.
Manual initialization
• Disconnect from the mains and wait until the display turns off.
•
Press [Status] - [Main menu] - [OK] at the same time while the
LCP 102 graphic is switched on.
• Release the keys after 5 s.
• The frequency converter is now programmed according to the
default settings.
This procedure initializes everything except:
• 15-00 Operating hours
• 15-03 Power on
• 15-04 Over temperature
• 15-05 Over voltage
DATA TRANSFER FROM THE LCP TO THE
FREQUENCY CONVERTER
NOTE:
Stop the motor compressor before performing this
operation.
1. Go to 0-50 LCP Copy.
2.
Press [OK].
3.
Select [2] All from LCP.
4.
Press [OK] again.
5. The parameter settings stored in the LCP are transferred to
the frequency converter indicated by the progress bar. When
100% is reached, press [OK].
PARAMETER SELECTION
In the main menu mode, the parameters are divided into groups.
Use the navigation keys to select a parameter group.
The following parameter groups can be accessed:
• - 0-** Operation/Display
• - 1-** Load/Motor
• - 3-** Reference/Ramps
• - 4-** Limits/Warnings
• - 5-** Digital input/output
• - 6-** Analog input/output
• - 7-** Controls
• - 8-** Communication and options
• - 13-** Intelligent logic
• - 14-** Special functions
• - 15-** Drive information
• - 16-** Data readouts
• - 25-** Cascade controller
• - 28-** Compressor functions
After selecting a parameter group, select a parameter with the
navigation keys. The middle section of the display shows the
number and name of the parameter as well as the value of the
selected parameter.
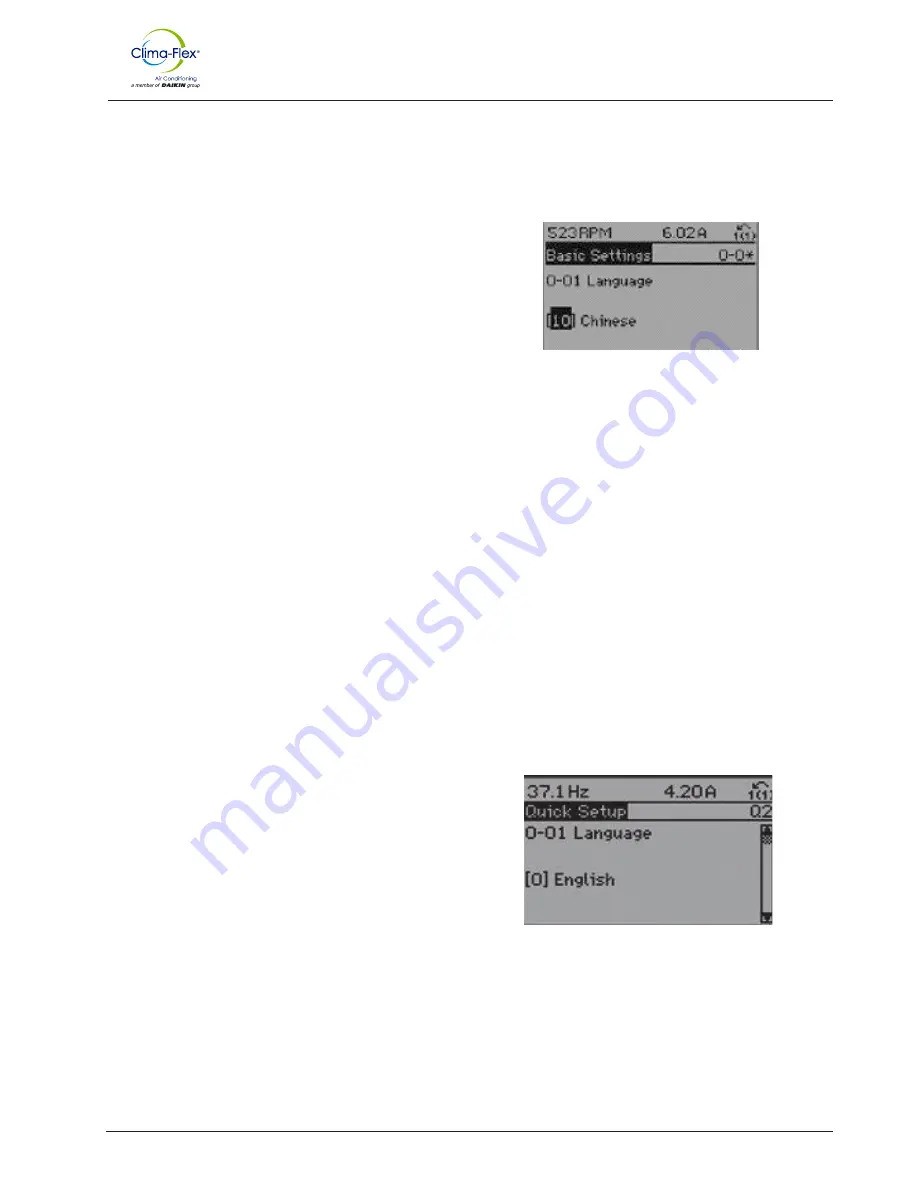
Figure 73. Screen example - Parameter selection
DATA CHANGE
The procedure for changing the data is the same in both the Quick
Menu and the Main Menu mode.
Quick menu and in the main menu mode.
Press [OK] to change the selected parameter. The procedure for
changing the data depends on whether the selected parameter
represents a numerical data value or a text value.
MODIFICATION OF A TEXT VALUE
If the selected parameter is a text value, change the value by
pressing the [▲]/[▼] navigation keys. The [▲] key increases the
value and [▼] decreases the value. Place the cursor on the value
and press the [OK] key to save.
CHANGE A GROUP OF NUMERICAL
VALUES
If the selected parameter represents a numerical data value,
change it by pressing the navigation keys. Press [<]/[>] to move
the cursor horizontally. Press the [▲]/[▼] key to change the data
value. The [▲] key increases the data value and the [▼] key
decreases the data value. Place the cursor on the value and press
[OK] to save.
Figure 74. Screen example
Summary of Contents for Clima-Flex CLIC Series
Page 39: ...iom clic cf eng www clima flex com 39 Electrical Data...
Page 41: ...iom clic cf eng www clima flex com 41 Electrical Data...
Page 43: ...iom clic cf eng www clima flex com 43 Electrical Data...
Page 45: ...iom clic cf eng www clima flex com 45 Electrical Data...
Page 46: ...iom clic cf eng www clima flex com 46 Electrical Data...
Page 48: ...iom clic cf eng www clima flex com 48 Electrical Data...
Page 53: ...iom clic cf eng www clima flex com 53 R454B Electrical Data Figure 38 RS485 communication...
Page 77: ...iom clic cf eng www clima flex com 77 Clic R454b Unit This unit use the R454B Refrigerant...
Page 117: ...iom clic cf eng www clima flex com 117 THIS PAGE IS INTENTIONALLY LEFT BLANK...
Page 118: ...iom clic cf eng www clima flex com...


