iom-clic-cf-eng
www.clima-flex.com
107
NAVIGATION KEYS
The 4 navigation keys are used to navigate between the different
options available in [Quick Menu], [Main Menu] and [Alarm Log].
Press the keys to move the cursor.
The [OK] key is used to select a parameter marked by the cursor
and to enable changing a parameter and logs from the Quick
Menu.
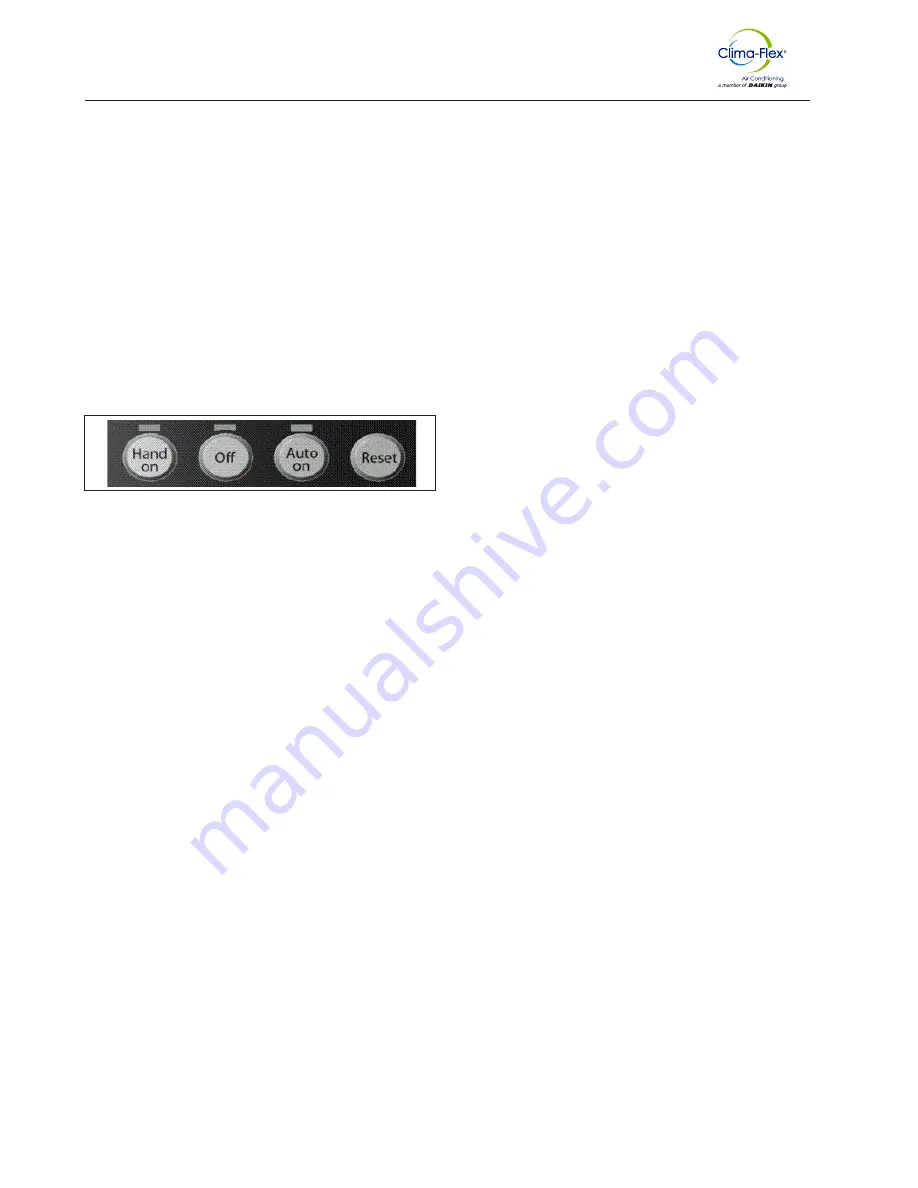
Local control keys
The keys for local control are located at the bottom of the control
panel.
Figure 72. Local control keys
The [Hand On] option allows the frequency converter to be
controlled by the LCP. The [Hand on] option also starts the motor
compressor and it is possible to enter the speed data of the motor
compressor using the arrow keys.
The key can be selected as [1]
Activate or [0] Deactivate via the [Hand on] key 0-40 on the LCP.
External stop signals activated via control signals or a serial bus
will override a “start” command via the LCP.
The following control signals will remain active when.[Hand on]
is activated:
•
[Hand On] - [Off] - [Auto On].
• Reset
• Reverse coasting stop
• Reverse
•
Select lsb (least significant bit) - [Off] - [Auto On] - [Auto On
• msb (most significant bit) select msb (most significant bit)
select msb (most significant bit)
• Stop command from serial communication
• Fast stop
• DC brake
The [Off] key stops the connected motor compressor. The key
can be selected as [1] Enable or [0] Disable via the 0-41 [Off] key
in LCP. If no external stop function is selected and the [Off] key is
inactive, the motor compressor can be stopped by disconnecting
the voltage.
[Auto On] allows the frequency converter to be controlled via
the control terminals and/or serial communication. When a start
signal is applied to the control control terminals and/or the bus,
the frequency converter will start. The key can be selected as [1]
Enable or [0] Disable via the 0-42 [Auto on] key on the LCP.
NOTE: An active HAND-OFF-AUTO signal via the digital
inputs has higher priority than the [Hand on] and
[Auto on] control keys.
QUICK TRANSFER OF PARAMETER
SETTINGS
Once the configuration of a frequency converter has been
completed, store the data in the LCP or on a PC using the MCT
10 Set-up Software.
DATA STORAGE IN LCP
1. Go to 0-50 LCP Copy in the main menu.
2.
Press [OK].
3.
Select [1] All to LCP.
4.
Press [OK].
5. All parameter settings are now stored in the LCP indicated by
the progress bar. When 100% is reached, press [OK].
NOTE:
Stop the motor compressor before performing
this operation. The LCP can now be connected
to another frequency converter and copy the
parameter settings to this frequency converter as
well.
INITIALIZATION TO DEFAULT
CONFIGURATION
Initialize the frequency converter to default settings in two ways:
A.
Recommended initialization (via operating mode 14-22)
• Select operating mode 14-22.
•
Press [OK].
•
Select [2] Initialization.
•
Press [OK].
• Disconnect the mains power and wait until the display turns
off.
• Reconnect the mains power.
•
A80] (Alarm 80) appears - the frequency converter has been
reset.
14-22 Operating mode Initializes everything except:
• 8-30 Protocol
• 8-31 Address
• 8-32 FC port baud rate
• 8-33 Parity / Stop Bits
• 8-34 Estimated cycle time
• 8-35 Minimum Response Delay
• 8-36 Maximum Response Delay
• 8-37 Maximum Inter-Carriage Delay 8-38 Maximum Inter-
Carriage Delay
• 14-50 RFI filter
• 8-30 Protocol
• 8-31 Address
• 8-32 FC port baud rate
• 8-33 Parity / Stop bits 8-34 Estimated cycle time
• 8-34 Estimated Cycle Time
• 8-35 Minimum Response Delay
• 8-36 Maximum Response Delay
Use [Quick Menu] to program the parameters belonging to the
Quick Menu. It is possible to switch directly between the Quick
Menu mode and the Main Menu mode.
Vdf Compressor Controller
The [Reset] key is used to reset the frequency converter after an
alarm (trip). It can be selected as [1] Enable or [0] Disable using
the 0-43 [Reset] key on the LCP.
Direct access to the parameters can be made by holding down
the [Main Menu] key for 3 seconds. Direct parameter access
allows direct access to any parameter.
Summary of Contents for Clima-Flex CLIC Series
Page 39: ...iom clic cf eng www clima flex com 39 Electrical Data...
Page 41: ...iom clic cf eng www clima flex com 41 Electrical Data...
Page 43: ...iom clic cf eng www clima flex com 43 Electrical Data...
Page 45: ...iom clic cf eng www clima flex com 45 Electrical Data...
Page 46: ...iom clic cf eng www clima flex com 46 Electrical Data...
Page 48: ...iom clic cf eng www clima flex com 48 Electrical Data...
Page 53: ...iom clic cf eng www clima flex com 53 R454B Electrical Data Figure 38 RS485 communication...
Page 77: ...iom clic cf eng www clima flex com 77 Clic R454b Unit This unit use the R454B Refrigerant...
Page 117: ...iom clic cf eng www clima flex com 117 THIS PAGE IS INTENTIONALLY LEFT BLANK...
Page 118: ...iom clic cf eng www clima flex com...


