Local Configurations
80
Parameter
Description
Enable
Enable tour function.
Interval (Sec.)
Enter the amount of time that you want each channel group displays
on the screen. The value ranges from 5 seconds to 120 seconds, and
the default value is 5 seconds.
Video Detect,
Alarm
Select the View 1 or View 8 for
Motion Detect
tour and
Alarm
Tour
(system alarm events).
Window Split
In the
Window Split
list, select
View 1
,
View 4
,
View 8
, or other
modes that are supported by the Device.
Channel Group
Display all channel groups under the current Window Split setting.
Add a channel group: Click
Add
, in the pop-up
Add Group
channel, select the channels to form a group, and then click
Save
.
Delete a channel group: Select the check box of any channel
group, and then click
Delete
.
Edit a channel group: Select the check box of any channel group
and then click
Modify
, or double-click on the group. The
Modify
Channel Group
dialog box is displayed. You can regroup the
channels.
Click
Move up
or
Move down
to adjust the position of channel
group.
Table 5-18
Click
Apply
to save the settings.
Step 3
On the top right of the live view screen, use the left mouse button or press Shift to
switch between
(image switching is allowed) and
(image switching is not
allowed) to turn on/off the tour function.
On the navigation bar, click
to enable the tour and click
to disable it.
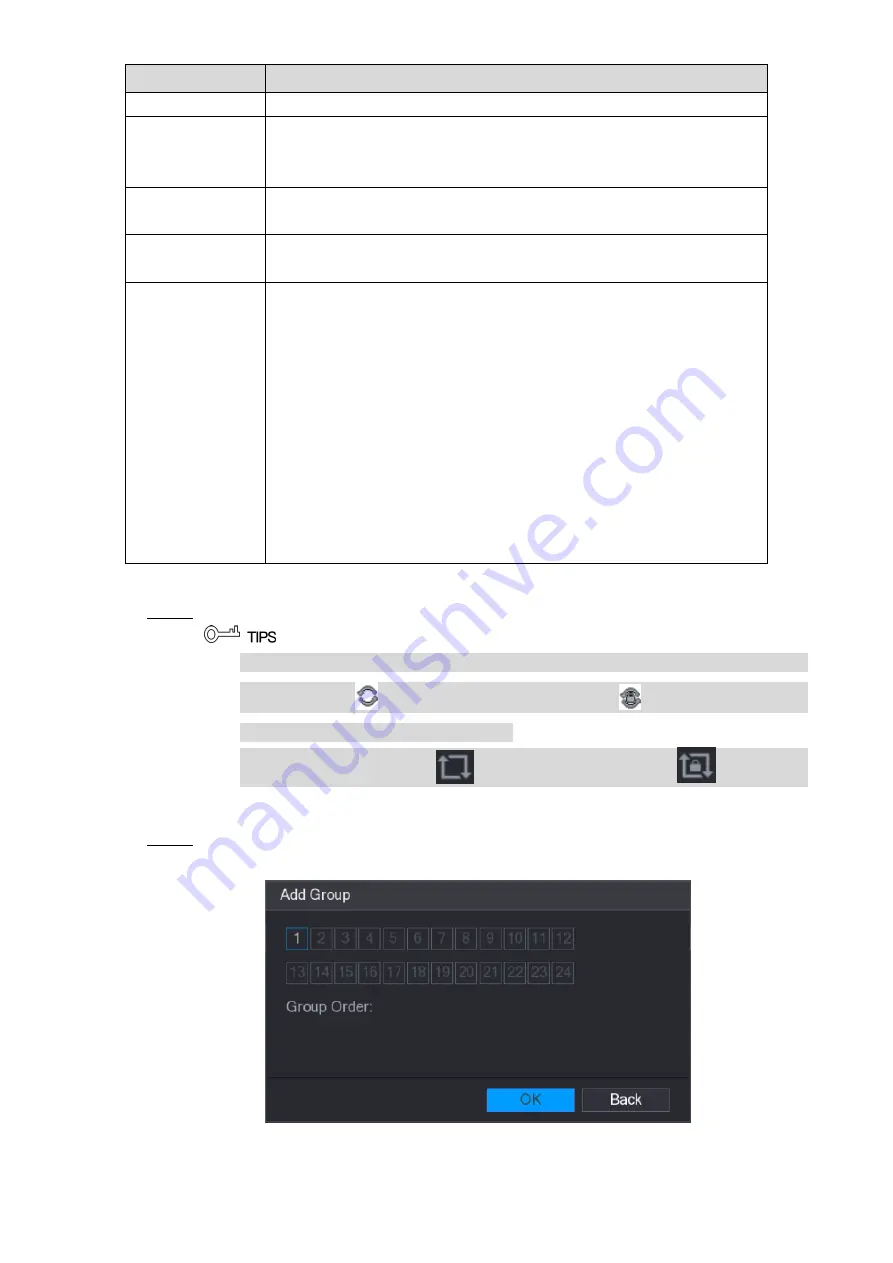
Adding a Channel Group
Click
Add
.
Step 1
The
Add Group
interface is displayed. See Figure 5-47.
Figure 5-47
Summary of Contents for DH-XVR4104C-X
Page 1: ...DIGITAL VIDEO RECORDER User s Manual V1 1 0 ZHEJIANG DAHUA VISION TECHNOLOGY CO LTD...
Page 42: ...Connecting Basics 30 Figure 4 2...
Page 94: ...Local Configurations 82 Figure 5 50...
Page 194: ...Local Configurations 182 Figure 5 153 Figure 5 154 Double click the video or click Step 7...
Page 199: ...Local Configurations 187 Figure 5 158 Figure 5 159...
Page 307: ...Glossary 295 Abbreviations Full term VGA Video Graphics Array WAN Wide Area Network...
Page 325: ...Earthing 313...


