16
15
Getting
Started
Preparation for TV System Setup
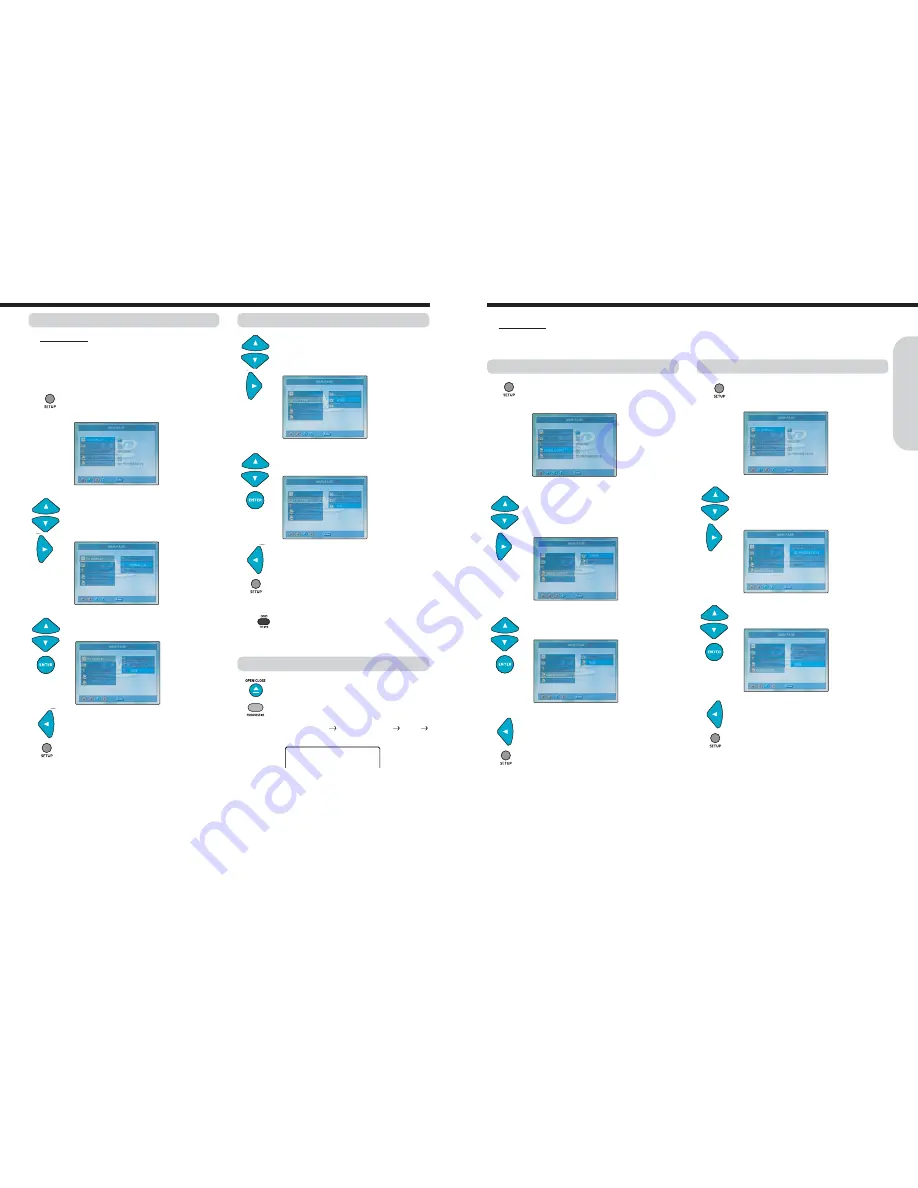
1. Press SETUP button while the disc is
stopped.
The setup MAIN PAGE appears on
the TV screen.
2. Press
▲/▼
button to select the “TV
DISPLAY”, then press
▶
button to move.
The TV DISPLAY setting menu appears on
the display.
◆
Before setting
●
Turn the TV on. Switch the video input mode of TV to suit
the type of connection you have made(e.g., VIDEO)
●
The setup function is available only for the PRE-STOP or
STOP mode. Press STOP to stop playback.
Selecting a Video Signal Type
1. Press
▲/▼
button to select the “TV TYPE”
while the “SET UP” menu is displayed on
the TV screen, then press
▶
button to
enter.
Before operating your machine, you need to set up the TV system.
3. Press
▲/▼
button to select the required
size, then press ENTER to confirm.
Note : To select the Video Signal Type directly.
Press DVD/TV SYS button
repeatedly to select the
required Signal type
while disc tray opened.
2. Press
▲/▼
button to select the required
Signal type, then press ENTER to confirm.
3. To stop the TV TYPE, press
◀
button to exit .
4. To exit the SETUP, press SETUP button.
Switching Scan Mode Type
1. Press OPEN/CLOSE.
The disc tray opens.
2. Press PROGRESSIVE button repeatedly to
select the required Scan mode type .
(SD Interlace
SD Progressive
720P
1080I)
Note :
●
If you select the progressive scan mode, the “PROGRESSIVE”
indicator lights up in the display.
●
If the TV cannot handle the progressive scan, then there will be
no picture displayed.
To exit the progressive mode, press the PROGRESSIVE button
again during the tray opened.
This VIDEO OUTPUT function is used to determine which output will be used. It has two selection YPbPr or RGB at the setup menu.
◆
Before setting
●
Turn the TV on.
●
Switch the video input mode of TV to suit the type of connection you have made(e.g., VIDEO)
1. Press SETUP button while the disc is
stopped.
The setup MAIN PAGE appears on the display.
2. Press
▲/▼
button to select the “VIDEO
OUTPUT”, then press
▶
button to move.
The VIDEO OUTPUT setting menu appears
on the display.
3. Press
▲/▼
button to select “YPBPR” or
“RGB”, then press ENTER.
4. Press
◀
button to go to the menu.
Press
◀
button to exit .
5. To exit the SETUP, press SETUP button.
PROGRESSIVE
3. To stop the TV Aspect, press
◀
button to
exit .
4. To exit the SETUP, press SETUP button.
Note :
●
Some of the item can not be changed while a disc is playing.
Retry while a disc is stoped, no disc or tray opened.
TV System setup
Video Output Setup
Selecting the Video Resolution
1. Press SETUP button while the disc is
stopped.
The setup MAIN PAGE appears on
the TV screen.
2. Press
▲/▼
button to select the
“RESOLUTION”, then press
▶
button to
move.
The video resolution setting menu
appears on the display.
3. Press
▲/▼
button to select the required
resolution, then press ENTER to confirm.
3. To stop the video resolution, press
◀
button to exit .
4. To exit the SETUP, press SETUP button.
Note
●
When you set the resolution to 720P or 1080I, the MONITOR
OUTPUT and S-VIDEO OUTPUT port is disabled on the rear
panel.
●
If HDMI cable is connected, the SD Interace does not select on
the setup menu.
Selecting the Video Output
Summary of Contents for HC-4180HWL
Page 21: ......


