DKVM-IP8 User Manual
16 / 104
3. Hardware installation
3.1 Installation
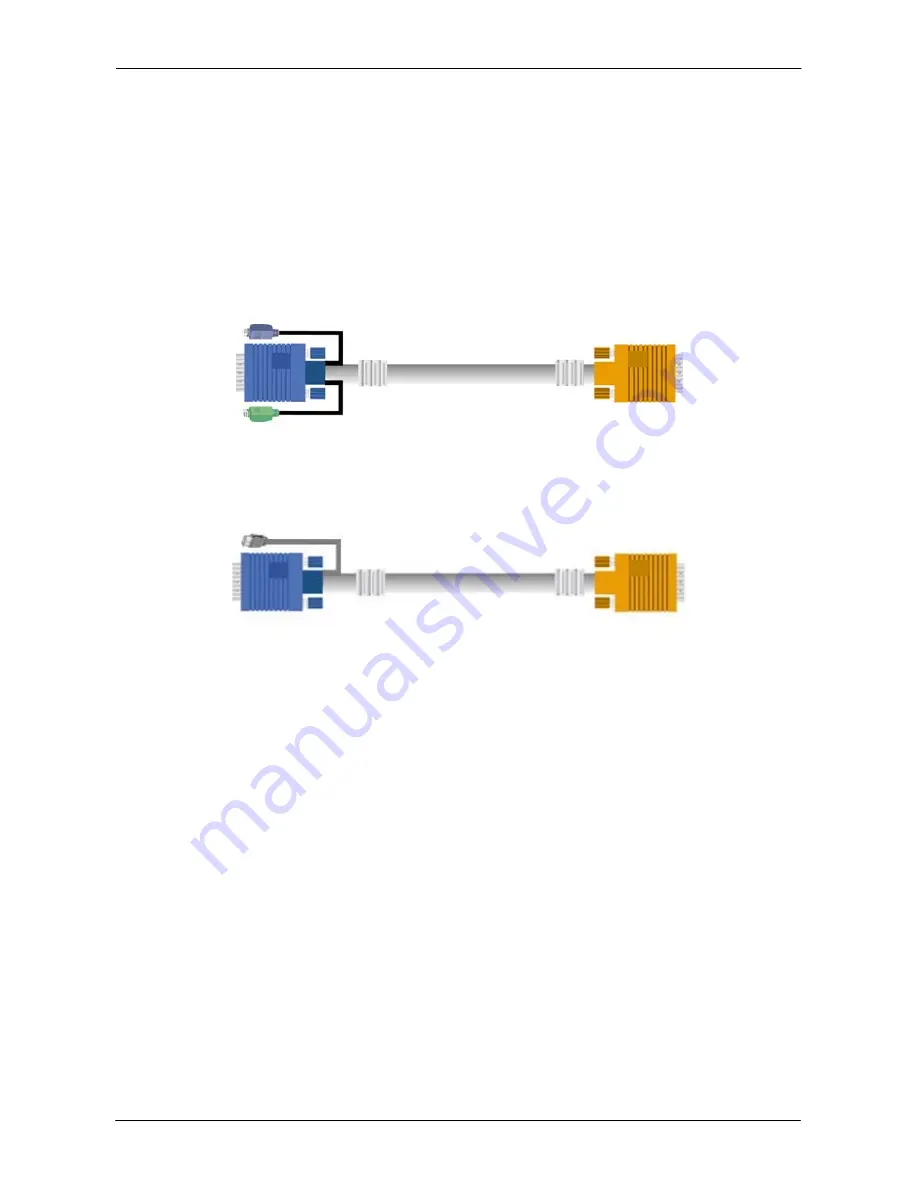
You must have a 3-in-1 VGA cable for connecting KVM Switch to PS/2 computers, or a
2-in-1 VGA cable for connecting KVM Switch to USB computers.
The 3-in-1 VGA cable is a combo cable with one HDDB15 male connector at one end and
three connectors at the other.
The 2-in-1 VGA cable is a combo cable with one HDDB15 male connector at one end and
two connectors at the other.
Please perform the following steps:
1. (Optional) Connect the type A connector of USB A-Mini usb cable to the host computer,
while using remote mass storage control.
2. Connect Ethernet to LAN port and/or modem to serial port, depending on how you want
to access DKVM-IP8 switch
3. Power down your computer and DKVM-IP8 switch
4. Connect the power supply to DKVM-IP8 switch
5. Connect the monitor to the DKVM-IP8 switch console side.
6. Connect the keyboard to the DKVM-IP8 switch console side.
7. Connect the mouse to the DKVM-IP8 switch console side.
8. Connect a VGA cable (15-pin HDDB Male / Male) with the Male side to both of the host
computer/KVM and the host port of the DKVM-IP8 switch.
9. Connect one purple end of 3-in-1 cable to the PS/2 mouse port on the host
computer/KVM, and the other end of 3-in-1 cable to the host PS/2 mouse port on the
DKVM-IP8 Switch.
10. Connect one green end of 3-in-1 cable to PS/2 keyboard port on the host
computer/KVM, and the other end of 3-in-1 cable to the host PS/2 keyboard port on the
DKVM-IP8 switch.
11. (Optional) Connect the type A connector of USB A-mini usb cable to the host computer,


