20
CY4636 WirelessUSB™ LP Keyboard Mouse Reference Design Kit User Guide, Doc. # 001-70355 Rev. *A
Kit Operation
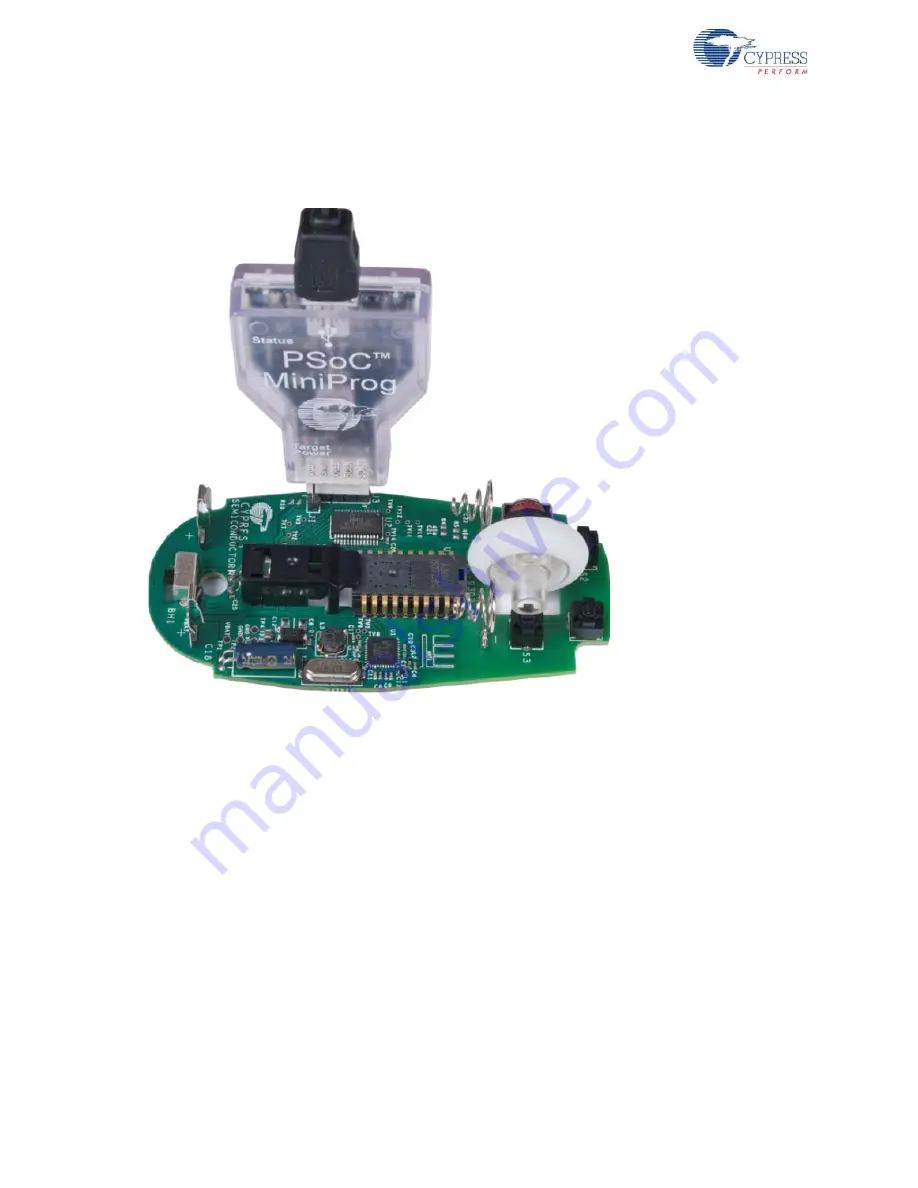
2. To program the hex file to the mouse using the MiniProg, open PSoC Programmer and select the
MiniProg from the Port Selection window, click Program. While programming is in progress the
Target Power LED on the MiniProg is ON.
Figure 3-5. Programming Mouse
3. Once
Programming Succeeded
appears in the Actions pane detach the MiniProg.
4. Place a 2-pin jumper installed from should be pins 1 and 2 on the mouse “J1” to enable the radio
to power the processor. The mouse is powered using two AA batteries. To start using the mouse
place the batteries in the battery terminal, switch on the mouse, and bind it with the bridge.
5. To bind the mouse with the bridge press the bind button on the bridge. The bridge goes into Bind
Mode. In Bind Mode, the red LED blinks ON/OFF. The bridge uses the Bind ID to communicate
with the mouse to bind to the system and then press the bind/connect button on the mouse.
6. After the mouse is bound with the bridge dongle, it works smoothly with the system. The green
LED turns on when the dongle receives data from mouse. It remains on for 250 ms after the last
received data packet.


