CyberLink PowerDVD
64
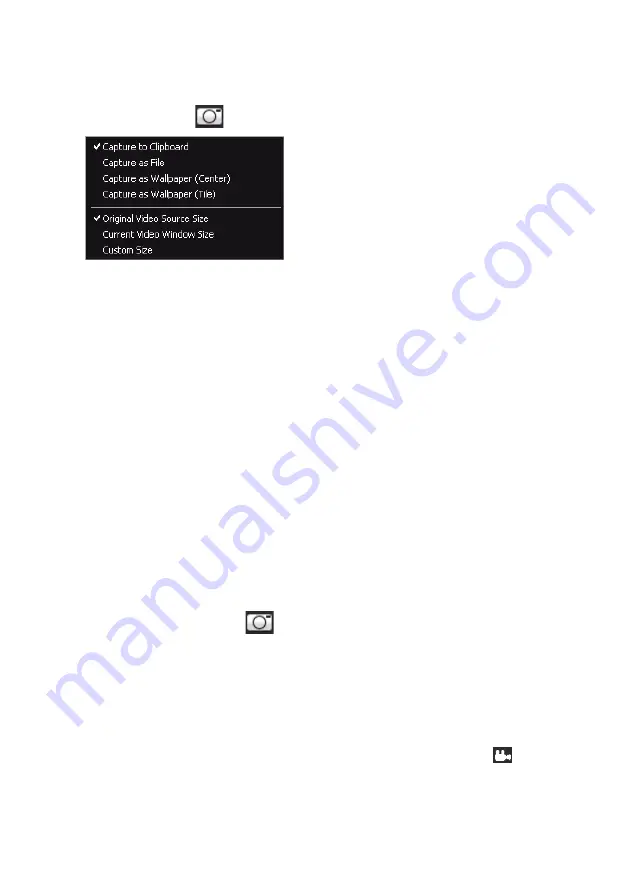
2. Right-click on the
button to display the capture options.
3. Set the capture options as follows:
-
Capture to Clipboard
: select this option to capture the image to your
clipboard, which you can then manually paste to another program.
-
Capture as File
: select this option to capture the image as a file and save in
to a folder on your computer. To set the capture folder see "Capture" on
page 79.
-
Capture as Wallpaper (Center)
: select this option to set the captured
image as centered background wallpaper on your computer’s desktop.
-
Capture as Wallpaper (Tile)
: select this option to set the captured image
as tiled background wallpaper on your computer’s desktop.
4. Set the capture size options as follows:
-
Original Video Source Size
: select this option to capture the image at the
size of the original video, e.g. 720X480 or 720X576 for most DVD titles.
-
Current Video Window Size
: select this option to capture the image at the
same size you are currently viewing it at.
-
Custom Size
: select this option to capture images in the customized size
specified on the Capture tab in the Settings window.
Capturing Images
1. During playback, click the
button in the More Functions window or press
C
on your keyboard to capture a frame of the current video content.
2. To be more precise, you may pause the scene, play it in slow motion, or step
frame, and then capture the exact desired frame of video.
Next Angle
The Next Angle feature is often available for music concert discs. Click
during
playback to switch among any available angles.
Summary of Contents for PowerDVD 11
Page 1: ...CyberLink PowerDVD 11 User s Guide ...
Page 4: ......
Page 8: ...CyberLink PowerDVD 4 ...
Page 20: ...CyberLink PowerDVD 12 ...
Page 116: ...CyberLink PowerDVD 108 ...


