MOBILTEX® DATA LTD.
Calgary, Alberta
www.corTalk.com
TITLE:
RMU1 Installation and Configuration Guide
DOCUMENT NO.:
RMU1-MAN-001
SHEET:
45 of 53
REV:
1.14
pack should allow over 60 hours of continuous operation for the RMU1PGM-BT cable or RMU1/2/3 Programming
Interface.
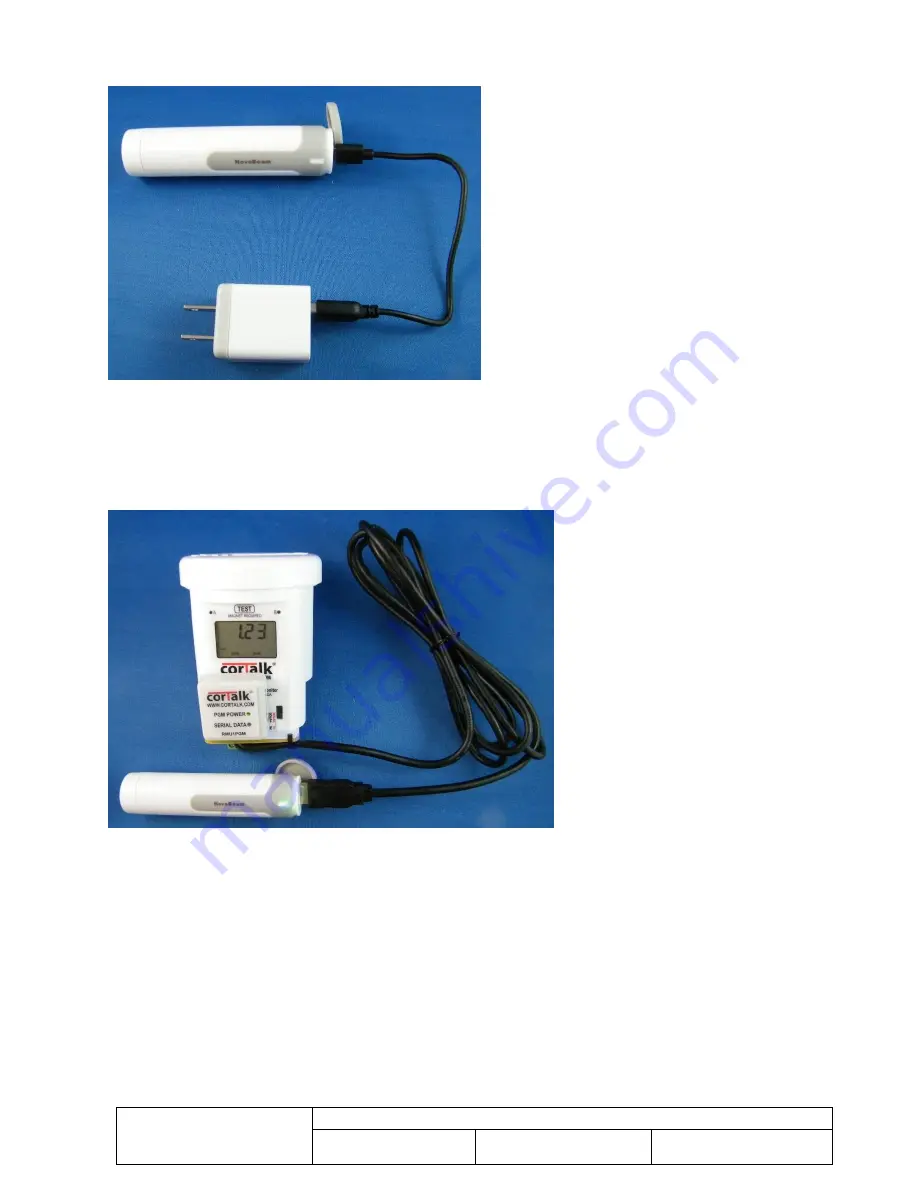
Figure 46 RMU1PGM-BT USB Battery Pack Charging
Connect the RMU1PGM-BT or RMU1/2/3 Programming Interface USB connector into the matching connector on the
battery pack. Some battery pack models may have a button that needs to be pressed to activate the power output. The
‘PGM POWER’ LED on the RMU1PGM-BT or ‘PWR’ LED on the RMU1/2/3 Programming Interface should light
green when power is being delivered to the device. Place the RMU1PGM-BT on the RMU1 as shown in the Figure 47.
The RMU1/2/3 Programming Interface with RMU1ADP cable attaches in a similar fashion.
Figure 47 RMU1PGM-BT Connected To Battery Pack and RMU1
Once the cable is attached between the portable USB battery pack and the RMU1, the app on the mobile device is
started. A connect button in the app initiates the process to connect with the programming interface. A list of active
interface cables in the area is brought up; each interface cable has a serial number label on it to identify the unit. Once
the unit is selected, if it is the first connection attempt between the portable device and that interface cable, a pop-up
will show up requesting a pairing code. The default pairing code is ‘123456’ (this can be changed).
After the connection is established, capabilities are similar to the PC application, the configuration can be read,
modified and written and status information can be polled. Figure 48 shows some sample screenshots from the iOS
app; the Android app is similar in appearance.


