15
11.6 How to use Adobe® Acrobat® Reader
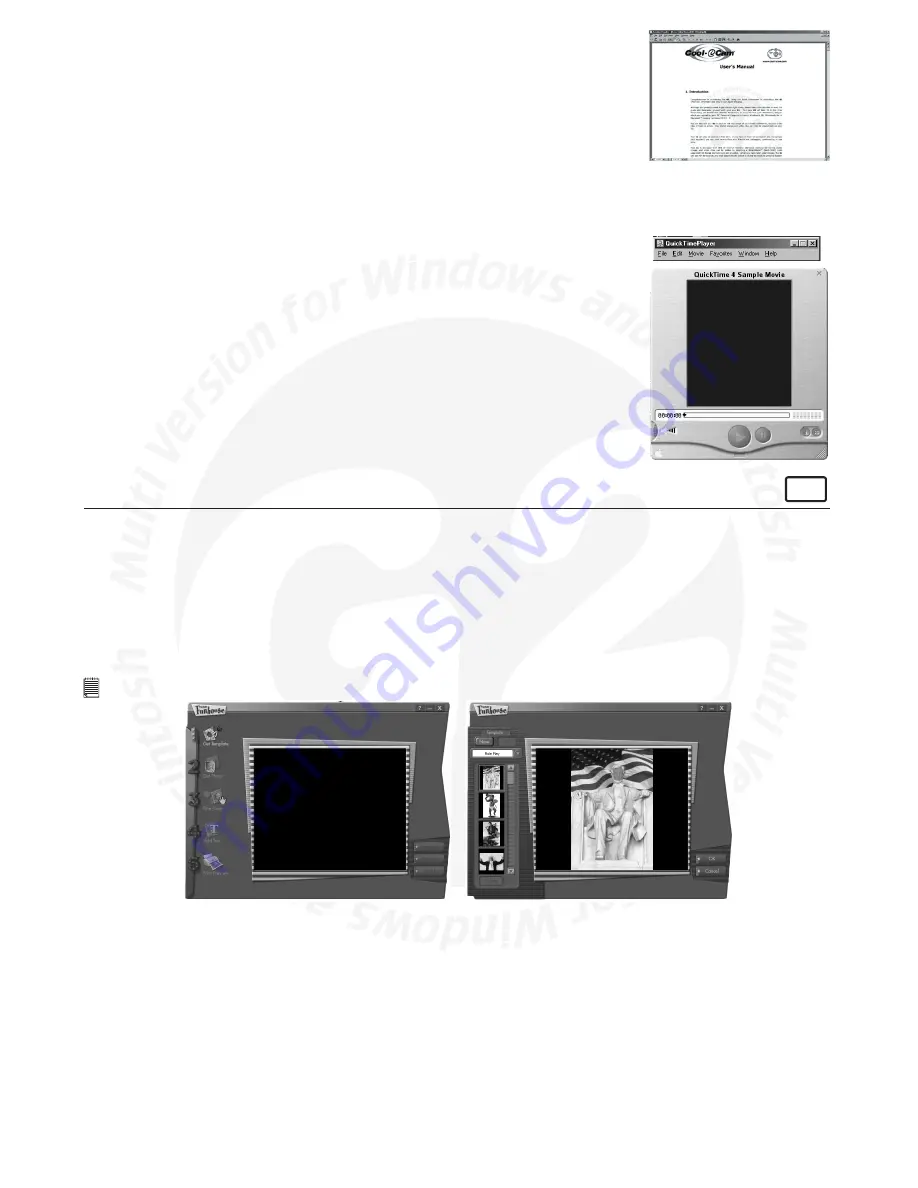
1. Adobe® Acrobat® Reader enable you to view the full user’s manual in PDF format in the
G2
CD-Rom.
2. Find the user manual.pdf file on your
G2
CD-Rom. Double click the file. Adobe®
Acrobat® Reader will be launched automatically.
3. If you want to review the full User’s Manual without the CD-ROM, copy the user
manual.pdf file into your Hard Disk by the following steps:
Go to Start -> Programs -> Window Explorer, then go to your CD-ROM drive, highlight
the “user manual.pdf” file and click the right button of your mouse. Select “Copy”. Go
back to you Hard Disk, click the right button and select “Paste”. The “user manual.pdf”
will be saved in your Hard Disk.
4. You can now review the full User’s Manual from your computer even without the
G2
CD-
ROM inserted.
11.7 How to use QuickTime™
1. QuickTime™ enables you to view the movie clip taken by your
G2
.
2. Follow steps on Section 10.1 on how to upload movie clips to your computer.
3. You can now open the movie clip save in your computer using QuickTime by the following
step:
• Go to “File” and then “Open”.
• Select “desktop” and then select “My Images” folder. Highlight the wanted movie clip
and select “Open”.
For Macintosh® Users:
MAC
11.8 How to use PhotoStudio® 4.0
1. Select the “PhotoStudio® 4.0” software.
You can now start to download your stored images from your Camera:
2. Go to “File” and select the folder where you store your image and then click “open”.
3. You can now edit your image(s) with PhotoStudio’s features.
4. For further help on how to use PhotoStudio® 4.0, go to “Help” to access the Help Topics.
Visit http://www.arcsoft.com for all your FAQ’s, tips and technical support. See Section 9 for more details.
11.9 How to use ArcSoft Funhouse™ 1.0
1. Double click the “Funhouse 1.0” icon from the Funhouse™.
2. Click “1. Get Template” to select the template from the category and then click “OK” to confirm.
Important! Make sure the “Digital Camera” CD-ROM is in the CD-ROM Drive.
Using the images stored in your
G2
:-
3. Double click on “2. Get Photo” and click “Open”. Select the image you previously saved in your hard disk and click
“Open”.
4. The selected image will shown within the “mask” on the selected template. You can play with the image by clicking on “3.
Fine-Tune” to resize, rotate or reposition the images by reposition the image using your mouse and dragging the image.
Press “OK” to confirm.
5. Click “4. Add Text”. Type in the text your want to write and then press “OK” to confirm.


