10
10. Uploading Images and Movie Clips to Your Computer
For Windows® Users:
PC
10.1 Uploading Image(s) and Movie Clip(s) to Your Computer
1. Make sure your
G2
is securely connected to your PC. Your
G2
LCD display will display .
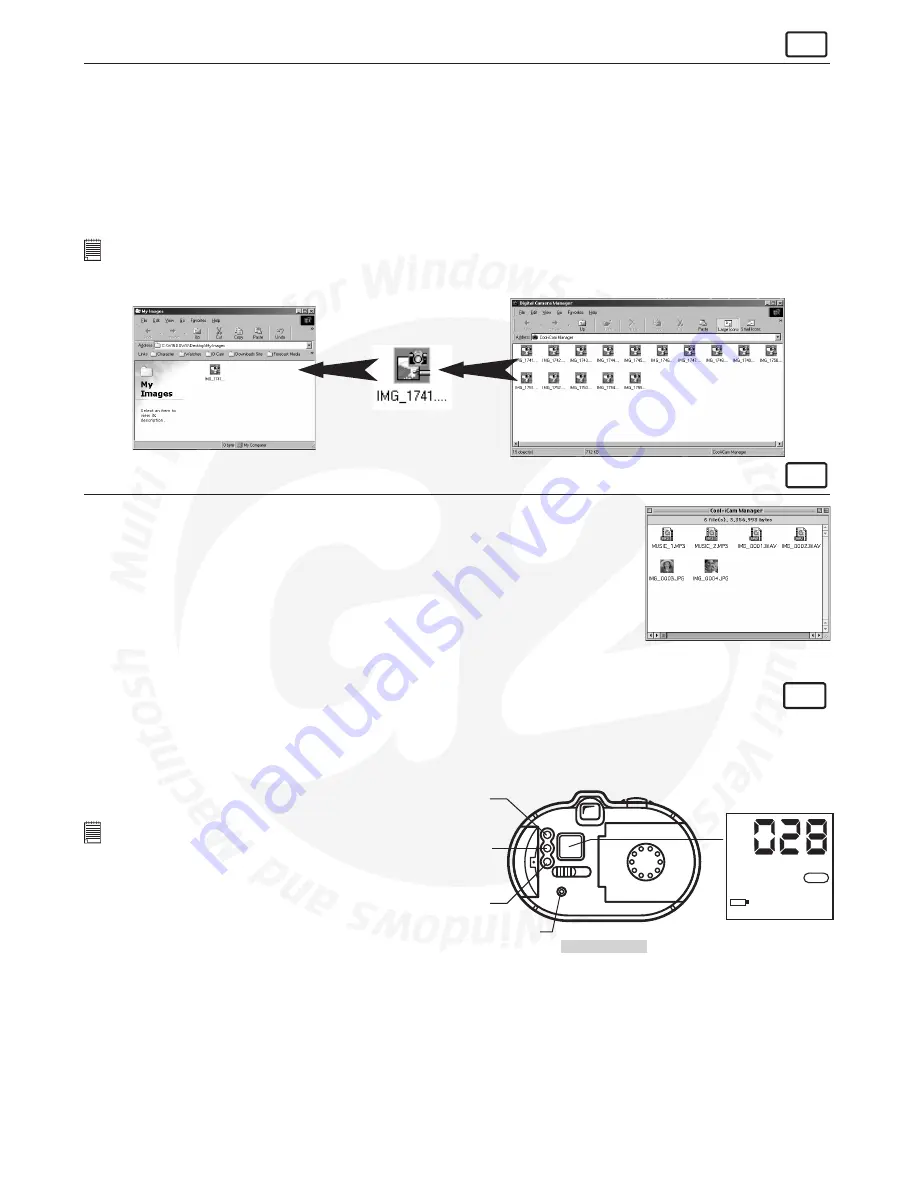
2. Double click the “
My Digital Camera
” shortcut icon on your desktop. Your images and movie clips will appear on the
computer as small thumbnails.
3. To transfer your images and/or movie clips to your computer files simply drag and drop or copy from the “
My Digital
Camera
” to a folder you produced earlier called “My Images”. Drag & drop all images and/or movie clips into this
folder.
• To transfer a continuous set of images, hold down the CTRL key and click on the group of images and drag and drop
the group into your folder.
4. Once the copy process is completed, the image(s) and movie clip(s) have transferred from your
G2
to your PC successfully.
Double click on the folder to access the images.
Tip:
• To drag and drop, with your mouse pointer over the required image or movie clip hold down the left mouse button and drag the image or
movie clip to its desired destination. Release the mouse button to drop the image into position.
• The destination folder does not have to be opened to drag and drop. Simply drag the image over the folder and release the mouse button
to drop.
For Macintosh® Users:
MAC
10.2 Uploading Image(s) and Movie Clip(s) to Your Computer
Always switch
G2
on before connecting via the USB cable to your computer.
1. Make sure your
G2
is securely connected to your Mac.
2. Select the “My Camera” icon from the My Camera folder or double click the “My Camera”
shortcut icon on your desktop.
3. To transfer 1 particular image or movie clip, highlight the image or movie clip and drag
and drop from the “My Camera” to your specified folder in your hard disk.
• To transfer a continuous set of images, hold down the SHIFT key and you click on the
first image. Then, SHIFT + Click on the last image that you want to select.
• To select multiple images, hold down the CTRL key and click on each image that you
want to select.
4. Once the copy process completed, the image(s) or movie clip(s) have transferred from your
G2
to your Mac
successfully.
10.3 Viewing Images Using TV Output
TV
Show off your images to an audience by connecting your
G2
to a large-screen TV. This section shows you how to properly
connect your
G2
to a TV and how to display your images.
10.3.1 Using Your
G2
in TV Output Mode
Set your
G2
to TV Output Mode when you want to use a TV to view the images you have taken.
10.3.2 Button Controls in TV Output Mode
NTSC
Back View
Next Image/Slide Show
Previous Image/Info Display
Power ON/OFF
Video Out Port
Important Notes:
To use the television output, plug a cable into the
Video Connector. The insertion of the cable is
automatically detected by the
G2
and the display
is activated.


