6
GETTING STARTED
GETTING STARTED
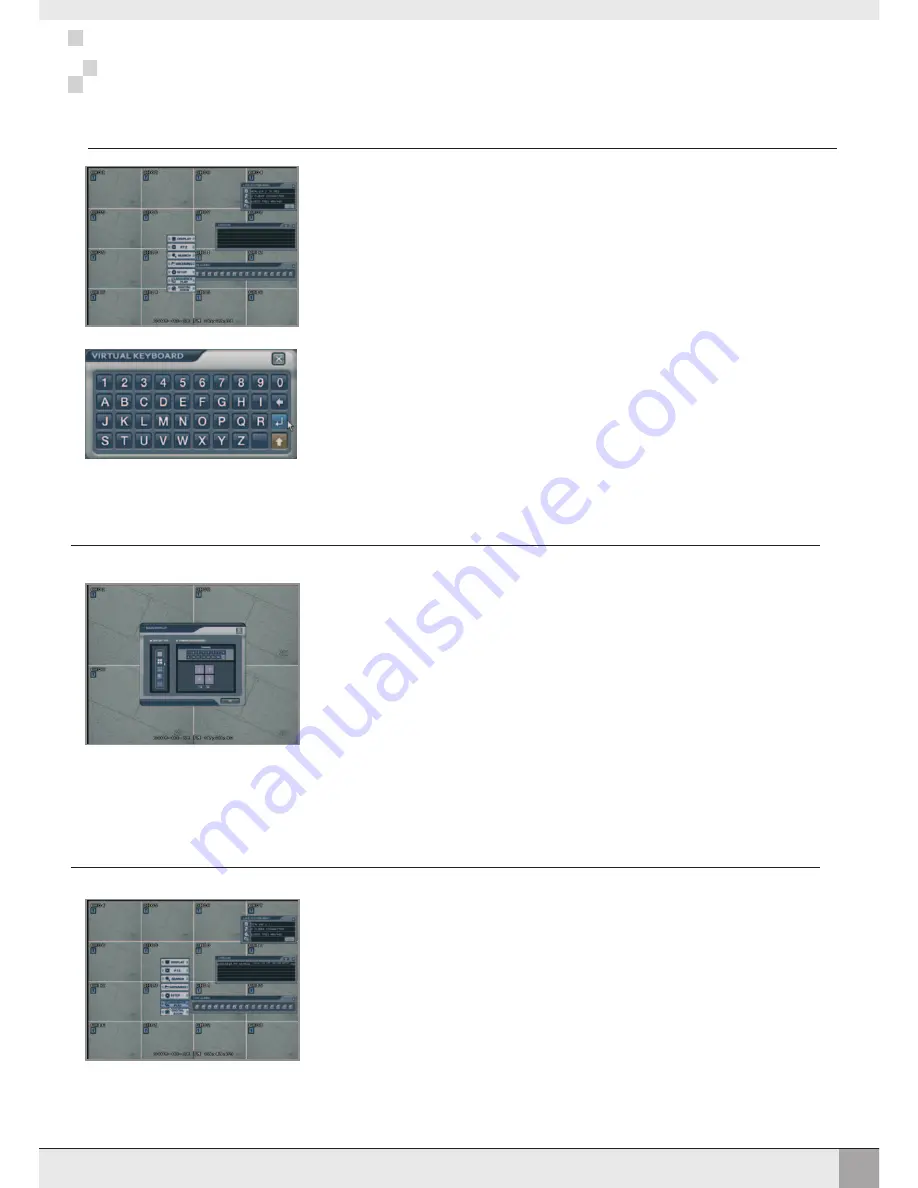
All features of the VXM4-RT16 can be controlled quickly and easily using just the mouse. At the
live display screen, click the right mouse button to call up the various menu options available.
Click the left mouse button to choose a particular menu option
BASIC MOUSE OPERATION
5 different display modes are supported and can be changed by calling up the main menu and
choosing 'DISPLAY'
Under 'DISPLAY TYPE' select the required layout. For each display mode, the operator can
choose which cameras to be displayed.
For example, to display cameras 4,7,13 & 15 in quad mode, select quad mode under 'DISPLAY
TYPE'. Click the number 4 in the 'CHANNEL' box to the right and then click one of the 4 squares
below to assign camera 4 to the desired position.
Repeat the above steps to assign cameras 7,13 & 15 to the desired positions and click 'OK' to
exit back to the live view screen
To display a particular camera full screen, press the appropriate channel button on the front
panel of the VXM4-RT16
CHOOSING DISPLAY MODES
In many instances during operation, text entries are required. In this case, an on screen virtual
keyboard can be displayed by double clicking the relevant text entry box and picking the
characters or numbers required using the mouse.
The default sequence on the VXM4-RT16 is cameras 1-16 displayed in full screen, switching
every 5 seconds. To begin this sequence, call up the main menu and choose 'SEQUENCE
PLAY'. To stop the sequence, call up the main menu again and choose 'SEQUENCE STOP'.
Further complex sequences can be defined in the VXM4-RT16 display setup
RUNNING A SEQUENCE
Summary of Contents for VXM4-RT16
Page 47: ...44 NOTES NOTES...
Page 48: ......


