58
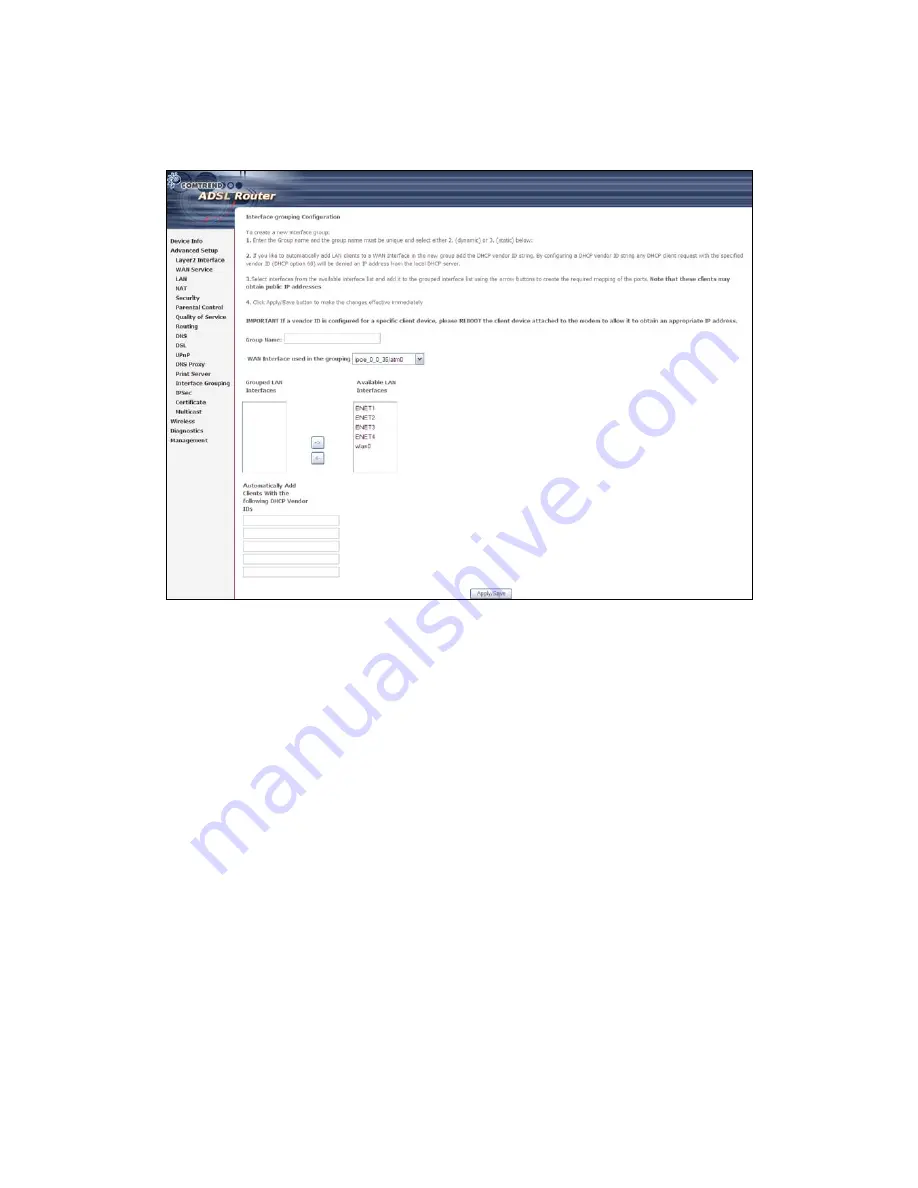
To add an Interface Group, click the
Add
button. The following screen will appear.
It lists the available and grouped interfaces. Follow the instructions shown
onscreen.
Automatically Add Clients With Following DHCP Vendor IDs:
Add support to automatically map LAN interfaces to PVC's using DHCP vendor ID
(option 60). The local DHCP server will decline and send the requests to a remote
DHCP server by mapping the appropriate LAN interface. This will be turned on when
Interface Grouping is enabled.
For example, imagine there are 4 PVCs (0/33, 0/36, 0/37, 0/38). VPI/VCI=0/33 is
for PPPoE while the other PVCs are for IP set-top box (video). The LAN interfaces are
ENET1, ENET2, ENET3, and ENET4.
The Interface Grouping configuration will be:
1. Default: ENET1, ENET2, ENET3, and ENET4.
2. Video: nas_0_36, nas_0_37, and nas_0_38. The DHCP vendor ID is "Video".
If the onboard DHCP server is running on "Default" and the remote DHCP server is
running on PVC 0/36 (i.e. for set-top box use only). LAN side clients can get IP
addresses from the CPE's DHCP server and access the Internet via PPPoE (0/33).
If a set-top box is connected to ENET1 and sends a DHCP request with vendor ID
"Video", the local DHCP server will forward this request to the remote DHCP server.
The Interface Grouping configuration will automatically change to the following:
1. Default: ENET2, ENET3, and ENET4
2. Video: nas_0_36, nas_0_37, nas_0_38, and ENET1.
Summary of Contents for AR-5382u
Page 1: ...AR 5382u ADSL2 WLAN Router User Manual Version A1 0 June 11 2010 261056 049...
Page 7: ...6 1 2 Application The following diagrams depict typical applications of the AR 5382u...
Page 8: ...7 Chapter 2 Installation 2 1 Hardware Setup BASE STAND ATTACHMENT...
Page 17: ...16 STEP 3 After successfully logging in for the first time you will reach this screen...
Page 56: ...55 5 11 UPnP Select the checkbox provided and click Apply Save to enable UPnP protocol...
Page 57: ...56 5 12 DNS Proxy...
Page 106: ...105 STEP 9 Choose Yes or No for default printer setting and click Next STEP 10 Click Finish...


