


36
Field/Header
Description
Select a Service
Or
Custom Service
User should select the service from the list.
Or
User can enter the name of their choice.
Server IP Address
Enter the IP address for the server.
External Port Start
Enter the starting external port number (when you select
Custom Server). When a service is selected, the port ranges
are automatically configured.
External Port End
Enter the ending external port number (when you select
Custom Server). When a service is selected, the port ranges
are automatically configured.
Protocol
TCP, TCP/UDP, or UDP.
Internal Port Start
Enter the internal port starting number (when you select
Custom Server). When a service is selected the port ranges
are automatically configured
Internal Port End
Enter the internal port ending number (when you select
Custom Server). When a service is selected, the port ranges
are automatically configured.
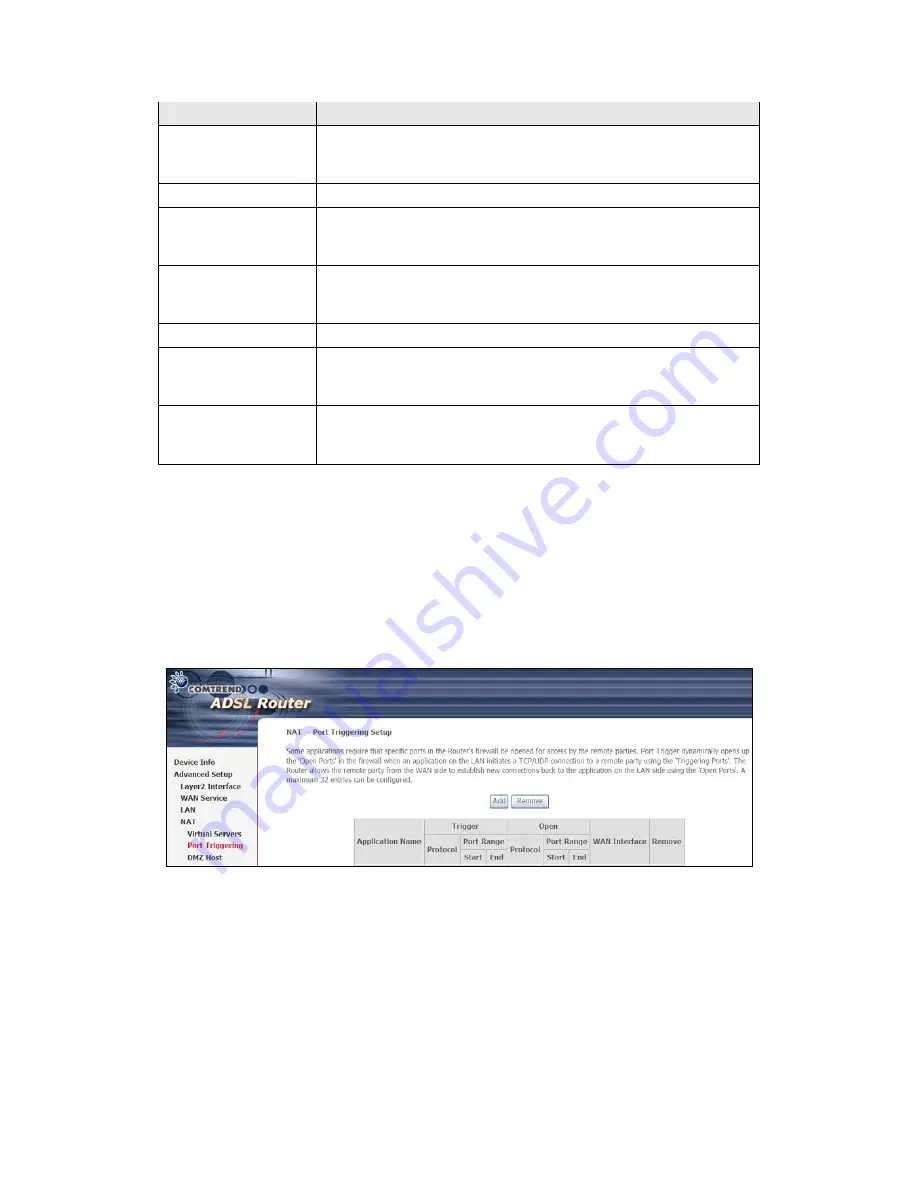
5.4.2 Port Triggering
Some applications require that specific ports in the firewall be opened for access by
the remote parties. Port Triggers dynamically 'Open Ports' in the firewall when an
application on the LAN initiates a TCP/UDP connection to a remote party using the
'Triggering Ports'. The Router allows the remote party from the WAN side to
establish new connections back to the application on the LAN side using the 'Open
Ports'. A maximum 32 entries can be configured.
To add a Trigger Port, click
Add
. The following will be displayed.
Summary of Contents for AR-5382u
Page 1: ...AR 5382u ADSL2 WLAN Router User Manual Version A1 0 June 11 2010 261056 049...
Page 7: ...6 1 2 Application The following diagrams depict typical applications of the AR 5382u...
Page 8: ...7 Chapter 2 Installation 2 1 Hardware Setup BASE STAND ATTACHMENT...
Page 17: ...16 STEP 3 After successfully logging in for the first time you will reach this screen...
Page 56: ...55 5 11 UPnP Select the checkbox provided and click Apply Save to enable UPnP protocol...
Page 57: ...56 5 12 DNS Proxy...
Page 106: ...105 STEP 9 Choose Yes or No for default printer setting and click Next STEP 10 Click Finish...


