31
For example, if you have an FTP server (port 21) at 192.168.0.1, a Web server (port 80) at
192.168.0.2, and a VPN server at 192.168.0.6, then you need to specify the following virtual
server-mapping table:
Service Port
Server IP
Enable
21 192.168.0.1
V
80 192.168.0.2
V
1723 192.168.0.6 V
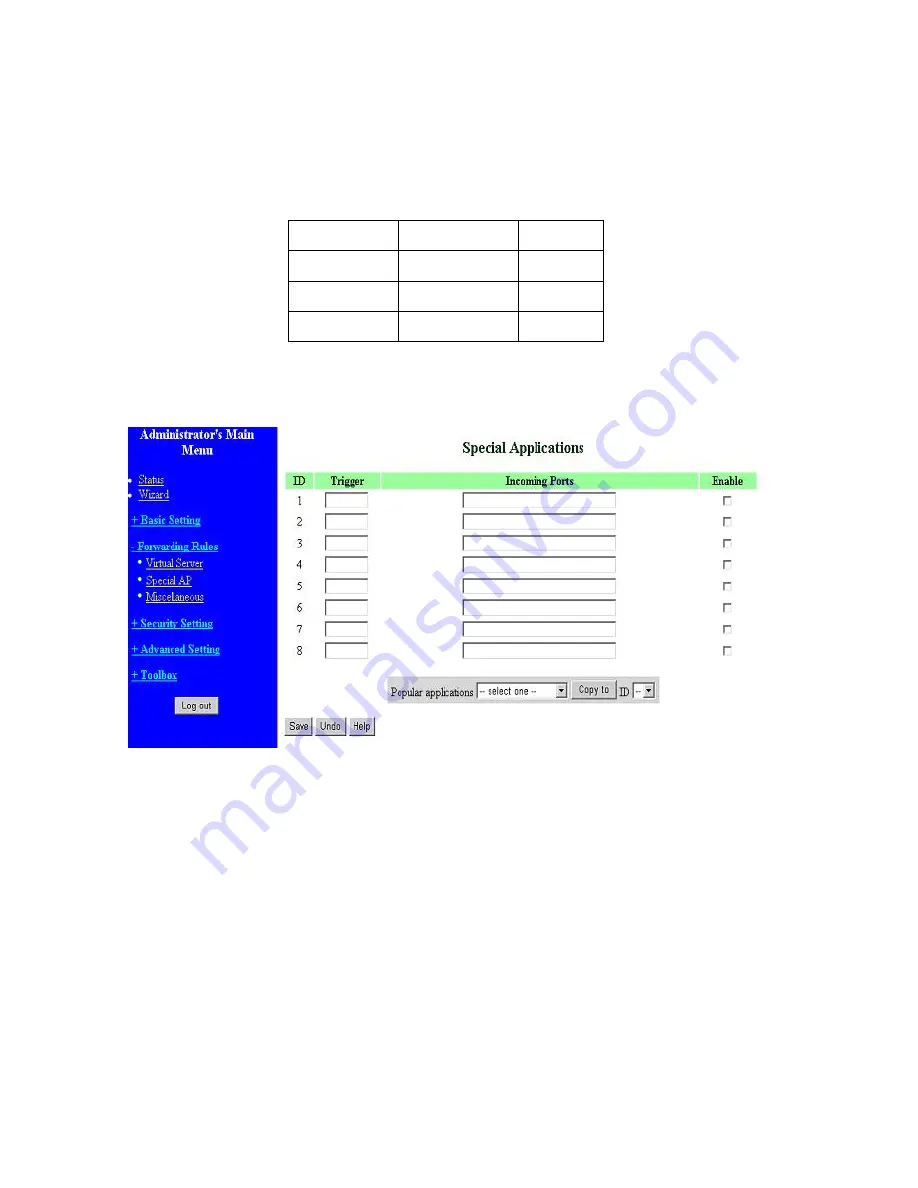
4.5.2 Special AP
Some applications require multiple connections, like Internet games, Video conferencing, Internet
telephony, etc. Because of the firewall function, these applications cannot work with a pure NAT
router. The
Special Applications
feature allows some of these applications to work with this product.
If the mechanism of Special Applications fails to make an application work, try setting your computer
as the
DMZ
host instead.
1.
Trigger
: the outbound port number issued by the application.
2.
Incoming Ports
: when the trigger packet is detected, the inbound packets sent to the specified
port numbers are allowed to pass through the firewall.
This product provides some predefined settings Select your application and click
Copy
to
add the
predefined setting to your list.
Note! At any given time, only one PC can use each Special Application tunnel.
Summary of Contents for WRM54
Page 17: ...17 4 4 Basic Setting 4 4 1 Primary Setup WAN Type Press Change...
Page 23: ...23 4 4 1 5 PPP over ATM RFC 2364 Press More...
Page 33: ...33 4 6 Security Settings 4 6 1 Packet Filter...
Page 50: ...50 4 7 Advanced Settings 4 7 1 System Time...
Page 61: ...61 4 8 Toolbox 4 8 1 System Log You can View system log by clicking the View Log button...
Page 71: ...71 7 Apply your settings...
Page 73: ...73 1 Start from the Red Hat System Setting Printing 2 Click Add Forward...
Page 74: ...74 3 Enter the Pinter Name Comments then forward 4 Select LPD protocol and then forward...
Page 84: ...84 Double click Administrative Tools...
Page 85: ...85 Local Security Policy Settings Double click Local Security Policy...
Page 88: ...88 click Add button...
Page 89: ...89 Enter a name for example xp router and deselect Use Add Wizard check box Click Add button...
Page 91: ...91 Click OK button Then click OK button on the IP Filter List page...
Page 95: ...95 select Authentication Methods page click Add button...
Page 99: ...99 click Add button...
Page 100: ...100 Enter a name such as router xp and unselect Use Add Wizard check box Click Add button...
Page 102: ...102 Click OK button Then click OK button on IP Filter List window...
Page 103: ...103 select Filter Action tab select Require Security then click Edit button...
Page 104: ...104 select Negotiate security Select Session key Perfect Forward Secrecy PFS click Edit button...
Page 105: ...105 select Custom button...
Page 107: ...107 select Authentication Methods page click Add button...
Page 110: ...110 select All network connections...
Page 111: ...111 Configure IKE properties Select General Click Advanced...
Page 114: ...114 VPN Settings VPN Enable Max number of tunnels 2 ID 1 Tunnel Name 1 Method IKE Press More...
Page 121: ...121 Figure 2 Enable IEEE 802 1X access control...
Page 123: ...123 Figure 4 Certificate information on PC1 Figure 5 Authenticating...


