background image


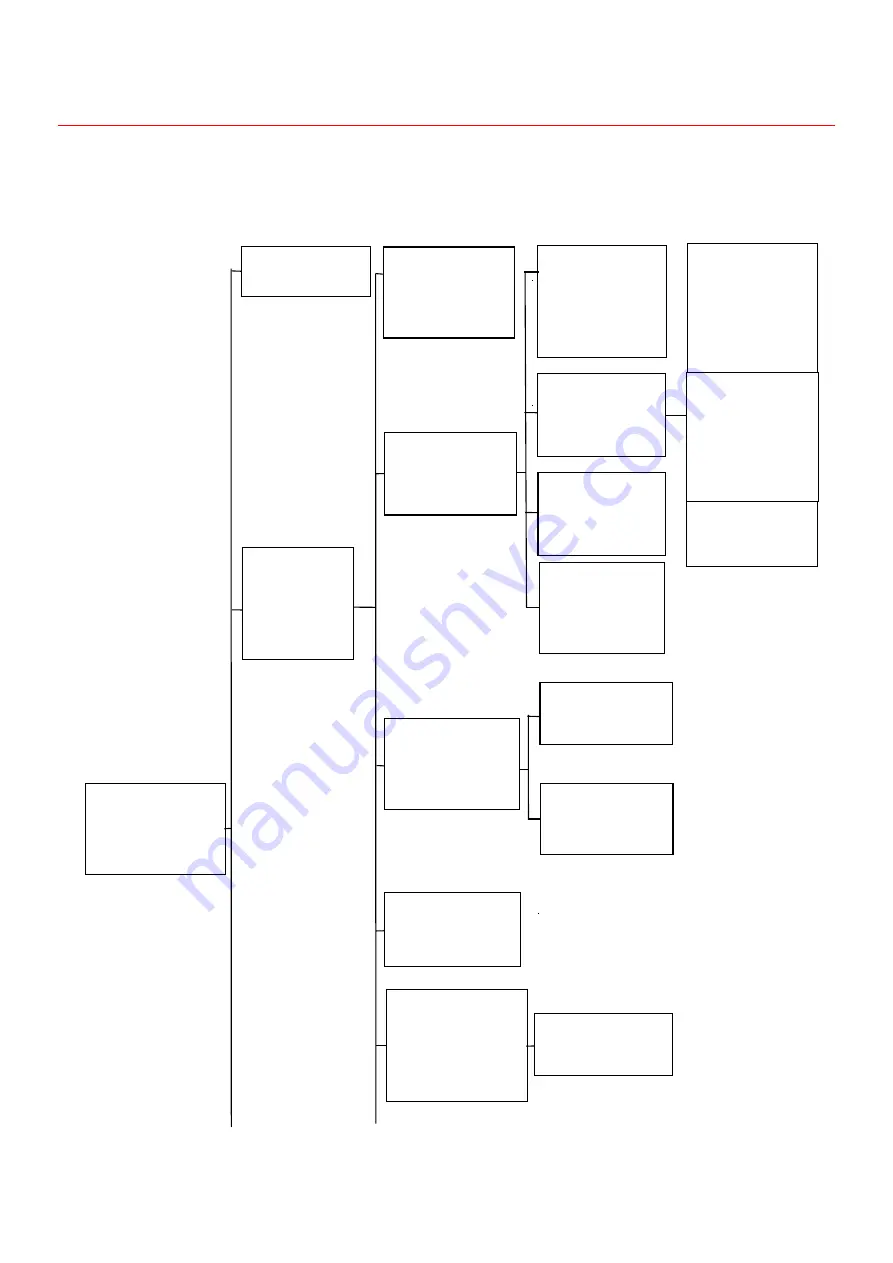
Menu Index 


Connected (b)


Connected (a) 


PATH SETUP 

SWING SETUP   
CRUISE SETTING 
PATTERN SETUP 
CONT-SCAN SETUP 
BACK 
EXIT 


PATTERN SETUP 

NUMBER                      1 
SET PATTERN 
CALL PATTERN 
CLEAR CURRENT 
BACK 
EXIT 


  PRESET SPEED TIME 

19      ---          -            --- 
20      ---          -            --- 
BACK 
EXIT   

    DISPLAY SETUP 

SYS- INFORMATION    OFF 
FUNC-DISPLAY              OFF 
COORDINATE                OFF 
PRESET SETUP 
MASK SETUP 
BACK 
EXIT 

ADDRESS                          0 
PROTOCOL        PELCO-D 
BAUD RATE                2400 
PT VERSION              V1.10 

PRESET SPEED TIME 
1      ---          -            --- 
2      ---          -            --- 
3      ---          -            --- 
4      ---          -            --- 
5      ---          -            --- 
6      ---          -            --- 
7      ---          -            --- 
8      ---          -            --- 
9      ---          -            --- 
NEXT 

SWING SETUP 


NUMBER                        1 
SET SWING     
SPEED                            9 
AREA              MAJOR ARC   
CALL SWING 
CLEAR CURRENT 
BACK 
EXIT 


PRESET SPEED TIME 

10        ---          -            --- 
11        ---          -            --- 
12        ---          -            ---   
13        ---          -            --- 
14        ---          -            --- 
15        ---          -            --- 
16        ---          -            --- 
17        ---          -            --- 
18        ---          -            --- 
NEXT   


CRUISE SETTING 

NUMBER                          1 
EDIT CRUISE 
OPEN CRUISE 
CLEAR CURRENT 
BACK 
EXIT 


        CONTROL SETUP 

POWER UP ACTION           
PARK ACTION       
PROPORTIONAL                OFF 
AUTO FLIP                            ON 
HM SPEED                            10 
BACK 
EXIT 


      POWER UP ACTION 

ACTION TYPE            NONE 
ACTION NUM                  ---   
BACK 
EXIT 


CONT-SCAN SETUP 

NUMBER                        1   
SPEED                            9 
SET CONT-SCAN   
CALL CONT-SCAN   
CLEAR CURRENT 
BACK 
EXIT 

MAIN MENU 


SYSTEM INFORMATION 
MOTION SETUP   
CAMERA SETUP 
USER ADMIN 
SYSTEM SETUP 
EXIT 


      ADDR SETTING 

ADDR HARD              0 
ADDR TYPE          SOFT 
ADDR SOFT              0 
BACK 
EXIT 


  PARK ACTION 

TIME              M            1 
ACTION TYPE          NONE 
ACTION NUM              --- 
BACK 
EXIT 


MOTION SETUP 
 

DISPLAY SETUP 
PATH SETUP 
CONTROL SETUP 
ADDR SETTING 
ALARM SETTING 
IR SETTING 
BACK 
EXIT 


ALARM SETTING 

NUMBER                                1 
ALARM ACT ACTION           
INPUT TYPE                CLOSE 
OUTPTU TYPE            CLOSE 
DWELL TIME                          0 
ACTIVATE AUS                  OFF 
CLEAR CURRENT 
BACK 
EXIT 

ALARM ACT SETUP 

ACTION TYPE              PRES 
ACTION NUM                    3 
BACK 
EXIT 

Summary of Contents for AHPTZ110A

Page 1: ...1 AHD PTZ CAMERA ART AHPTZ110A AHPTZ120A Please read this manual thoroughly before use and keep it for future reference ...

Page 2: ...UP 14 1 2 5 ADDR SETTING 15 1 2 6 ALARM SETTING 15 1 2 7 IR SETTING 16 1 3 CAMERA SETUP 17 1 3 2 WHITE BAL 18 1 3 3 BACK LIGHT 18 1 3 4 WDR 18 1 3 5 FOCUS 18 1 3 6 ESPOSURE 19 1 3 7 SPECIAL 19 1 3 8 RESET 20 1 4 USER ADMIN 20 1 4 1 PRESET LOCK 21 1 4 2 ENABLE PASSWORD 21 1 4 3 EDIT PASSWORD 22 1 5 SYSTEM SETUP 22 1 5 2 REBOOT SYSTEM 23 1 5 3 FACTORY DEFAULT 23 ...

Page 3: ...under circumstances where the limits exceed the maximum specified temperature humidity or power supply specifications Contents in this manual may be different from the edition that you are using Should any unsolved problem occur given that the product is used according to this manual please contact our technical support department or your product suppliers This manual content will be updated unsch...

Page 4: ...a we hope you have confirmed that your control keyboard and monitor are working properly After confirming that your device system is in good condition please follow the following steps and keep your hands clean and dry Open the packing box and check the integrity of the goods Remove all items needed for installation Connect relevant cables power supply control linear alarm linear etc according to ...

Page 5: ...tions wire functions introduction from top to bottom Art AHPTZ110A Video input Reset Power supply Alarm input Alarm output RS485 Art AHPTZ120A Video input Reset Power supply Power supply Alarm input Alarm Output RS485 ...

Page 6: ... enters the camera main menu 2 The rocker handle moves up and down to see the menu bar pointed by the cursor the rocker handle moves right to enter the sub menu of the item where the cursor is located or to enter the function of the item where the cursor is located the rocker handle moves left or executes the Back menu item to return to the previous menu 3 If the cursor is in the selection state o...

Page 7: ...MBER 1 EDIT CRUISE OPEN CRUISE CLEAR CURRENT BACK EXIT CONTROL SETUP POWER UP ACTION PARK ACTION PROPORTIONAL OFF AUTO FLIP ON HM SPEED 10 BACK EXIT POWER UP ACTION ACTION TYPE NONE ACTION NUM BACK EXIT CONT SCAN SETUP NUMBER 1 SPEED 9 SET CONT SCAN CALL CONT SCAN CLEAR CURRENT BACK EXIT MAIN MENU SYSTEM INFORMATION MOTION SETUP CAMERA SETUP USER ADMIN SYSTEM SETUP EXIT ADDR SETTING ADDR HARD 0 AD...

Page 8: ...N WHITE BAL AUTO BACK LIGHT OFF WDR OFF FOCUS ESPOSURE SPECIAL RESET BACK EXIT CLEAR SETTINGS CLEAR ALL MASKS CLEAR ALL PRESETS CLEAR ALL SWINGS CLEAR ALL CRUISES CLEAR ALL PATTERNS CLEAR ALL CONT SCAN CLEAR ALL ALARMS NEXT CLEAR SETTINGS CLEAR ALL TASKS BACK EXIT IMAGE SETUP H REV OFF V REV OFF FREEZE OFF BACK EXIT ESPOSURES SETUP MODE AUTO AGC IRIS SHUTTER 3DNR OFF BACK EXIT SPECIAL SETUP DAY NI...

Page 9: ...t point At this time the screen shows the main menu as shown in Figure 1 0 1 SYSTEM INFORMATION Figure1 1 1 MOTION SETUP Figure1 2 1 CAMERA SETUP Figure1 3 1 USER ADMIN Figure1 4 1 SYSTEM SETUP Figure1 5 1 Figure1 0 1 1 1 SYSTEM INFORMATION In the menu of Figure 1 0 1 move the rocker up and down so that the cursor points to the system information and then move the rocker to the right to display th...

Page 10: ... boot information is displayed FUNC DISPLAY on and off optional default is off When set to turn on the PTZ camera displays the type and number of the current scan when it is running COORDINATE on and off optional default is off When set to turn on the screen displays the horizontal and vertical position angle of the current PTZ i e Coordinates PRESET SETUP on and off optional default is off When s...

Page 11: ... starting point The same method is used to set the end position Press CLOSE to save the linear scan settings and return to the linear scan settings menu III SPEED 1 9 optional default is 9 1 is the minimum speed 9 is maximum speed IV AREA small or large radian optional default is large radian When the camera is set to a large radian the horizontal trajectory of the camera is the maximum radian at ...

Page 12: ...eset point number needed Move the rocket to the left to exit without to save When the cursor is at the Preset point selection item move the rocker to the right to select the speed between the preset points Move the rocker up and down to select the required speed level When the cursor is at the desired running speed move the rocker to the right to select the time interval between the preset points ...

Page 13: ...eturn to the pattern scanning settings menu III CALL PATTERN In Figure 1 2 10 move the rocker up and down to point the cursor at calling pattern then move the rocker to the right to run the pattern scan and move the rocker arbitrarily back to the pattern scan settings menu IV CLEAR CURRENT In Figure 1 2 10 move the rocker up and down so that the cursor points to delete current pattern and then mov...

Page 14: ...scan continuous scan and interval scan optional default is no action II ACTION NUM this item chooses the number of the action type for the above action type When the selected item is the current action type has no optional number that is the current action number cannot be set PARK ACTION In Figure 1 2 14 move the rocker up and down to make the cursor point to park action and move the rocker to th...

Page 15: ...ng the continuous monitoring of 180 degrees longitudinally Horizontal reverse on or off default is off When set to open the rocker left and right movement command will carry out direction processing that is the original right movement command will become the left movement command and the left movement command will become the right movement command HM SPEED Manual operation speed 1 10 level optiona...

Page 16: ... or normal close default is normal close OUTPUT TYPE normal open or normal close default to normal close DWELL TIME 0 255 seconds is optional default is 0 seconds ACTIVATE AUS on or off optional default is off When the alarm output is set to open if there is an alarm input the alarm signal will be output and the alarm device such as the alarm bell will be activated CLEAR CURRENT In Figure 1 2 6 mo...

Page 17: ...nu selection item shows FAR IR LED when the IR light is set to manual mode the far range IR light can be set to turn on or off manually When the IR light is set to auto or off mode the menu item is uncontrollable and the menu selection item shows 1 3 CAMERA SETUP In the menu of Figure 1 0 1 move the rocker up and down to point the cursor at the camera setup and then move the rocker to the right to...

Page 18: ... range of color temperature is 1700 11000K OUTDOOR This is an automatic compensation function to optimize the color of the camera in special environments such as mercury lighting environment The range of color temperature is 2400 11000K 1 3 3 BACK LIGHT Back light compensation can be off or on Default is off 1 3 4 WDR Dynamic detection can be turned on or off default is off 1 3 5 FOCUS In Figure 1...

Page 19: ... image off manual high medium and low optional default is high When set to manual press OPEN to enter and set the manual gain The gain can be 1 15dB IRIS sens up technology used to improve the effect of low illumination image but there will be the phenomenon of moving image tailing Off or auto optional default is off When choosing manual press OPEN to enter and set sensitivity and can choose F1 6 ...

Page 20: ...t on horizontal image flip 180 degrees II V REV on or off optional default is off When select on vertical image flip 180 degrees 1 3 8 RESET In Figure 1 3 1 move the rocker up and down to make the cursor point to reset then press OPEN to reset the camera When reset is completed it will be prompted Reset is completed 1 4 USER ADMIN In the menu of Figure 1 0 1 move the rocker up and down to point th...

Page 21: ...f When the preset point lock is set to open the preset point cannot be set by keyboard When the preset point is open the preset point is set by keyboard and the screen will prompt the preset point lock on 1 4 2 ENABLE PASSWORD Enable password can be turned on or off default is off ...

Page 22: ...d then move the rocker to the right to enter the system settings menu Figure 1 5 1 CLEAR SETTINGS Figure 1 5 2 Figure 1 5 1 1 5 1 CLEAR SETTINGS In Figure 1 5 1 move the rocker up and down so that the cursor points to the clear settings and then move the rocker to the right to enter the clear settings menu as shown in Figure 1 5 2 Figure 1 5 2 In Figure 1 5 2 move the rocker up and down so that th...

Page 23: ... 1 5 2 move the rocker up and down so that the cursor points to clear all alarms and then move the rocker to the right to delete all alarms In Figure 1 5 2 move the rocker up and down so that the cursor points to clear all tasks and then move the rocker to the right to delete all tasks 1 5 2 REBOOT SYSTEM In Figure 1 5 1 the cursor pointing reboot system by moving the rocker up and down and then m...

Reviews: