SECTION 5
Page 26
5.13
(continued)
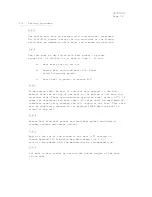
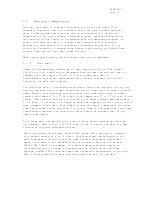
Scribe a pencil line around the nibb and chisel this out of the rail cap.
Insert the nibb and screw a countersink horizontally from the inside of
the nibb to the rail cap. Measure the cap from the outside edge until you
find the narrowest point. Use this as the overall width dimension. Lay
out a line on the inboard side of the rail cap, with a batten parallel to
the outboard edge. Sand down the inside edge to the line, as you did on
the outside, and finish the top edge off with the 1/4" bullnosed radius.
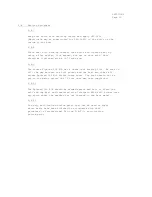
The main hatch consists of Cribboard Guides, main hatch, main hatch
guides, clips, main hatch beam sill, one set of louvered doors, and
drop-down cribboards on some boats. On others drop-in cribboards are used
in place of louvered doors. Locate them in accordance with the Deck
Assembly drawing.
The cockpit coaming blocks and coamings come pre-fit and it is merely a
matter of fastening them on with screws countersunk and plugged. Start
with the coaming blocks. Then the coamings, and then the helmsman's seat
backrest. This last mounts with the bottom flush with the bottom of the
side coamings and will keep the water from running into the cockpit. The
helmsman's seat is also pre-fit. It mounts up under the side coamings and
the backrest in the hack. Screw from under the seat into the coamings and
backrest.
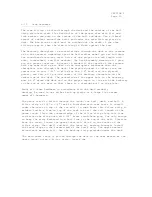
There are four knees provided to give the helmsman seat added support (in
the 5-50 only). Two are spaced evenly off the centerline aft and one each
port and starboard. These are screwed onto the fiberglass side by first
marking their location and then drilling holes from the cockpit into the
lazarette area, and screwing them from inside the lazarette out. They are
also screwed and glued at the top down through the helmsman seat and then
plugged.
Winch handle boxes are located in accordance with the Deck Assembly
drawing. Take the measurement from the outside of the box at the radius of
the flange and the box and lay this out, centered on the forward side of
the island between the cockpit seats. Keep the bottom line of the cut out
6" above the deck. The boxes are furnished with a teak trim. Trim the trim
to fit the box. Install the box using dolphinite sealant and flat head
self-tapping screws, countersunk. You are now ready to install the teak
trim.
Summary of Contents for Coronado 25
Page 1: ......
Page 21: ......
Page 22: ......
Page 23: ......
Page 24: ......
Page 25: ......
Page 26: ......
Page 27: ......
Page 28: ......
Page 29: ......
Page 30: ......
Page 31: ......
Page 32: ......
Page 33: ......
Page 34: ......
Page 35: ......
Page 36: ......
Page 37: ......
Page 38: ......
Page 39: ......
Page 40: ......
Page 41: ......
Page 42: ......
Page 43: ......
Page 44: ......
Page 45: ......


