SECTION 5
Page 17
5.9
(continued)
7.
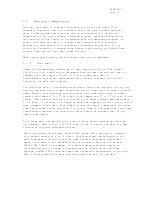
Excessive sealant should be displaced as the lid is secured. This
sealant shall be wiped to form a neatly appearing bead. The screw
heads shall be wiped clean.
See the drawing provided for the correct hot water connections to your engine
from the hot water heater.
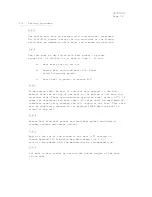
The head plumbing consists of the head discharge loop hose and
thru-hulls, connected in accordance with the plumbing diagram.
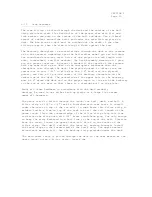
All marine heads are shipped with the fittings loose. Tighten all fittings on
head. Following the plumbing diagram place the pick-up hose to intake on head
and secure with stainless steel hose clamps. Be sure to apply Pemetex to
fitting before clamping. Place exhaust hose to flash on head. Run hoses to
thru-hull fittings. Place head on base and bolt secure. Fill head with water.
Close gate valve and pump head. Open thru-hull. Drain water. Find and stop
leaks.
For stainless steel sinks, seal under edge of sink. Install sink (and weight
it down until sealant has cured). Use sink bolts to secure sink to underside
of glass. Clean off excess sealer.
Summary of Contents for Coronado 25
Page 1: ......
Page 21: ......
Page 22: ......
Page 23: ......
Page 24: ......
Page 25: ......
Page 26: ......
Page 27: ......
Page 28: ......
Page 29: ......
Page 30: ......
Page 31: ......
Page 32: ......
Page 33: ......
Page 34: ......
Page 35: ......
Page 36: ......
Page 37: ......
Page 38: ......
Page 39: ......
Page 40: ......
Page 41: ......
Page 42: ......
Page 43: ......
Page 44: ......
Page 45: ......


