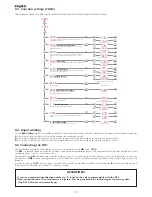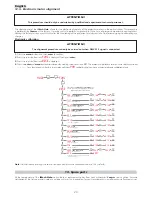
The method for setting an identification number
ID
is shown below.
For further information, consult the
DR1
instruction manual.
8.6. Use of RJ45 connector
On rear panel of
iWash Halo
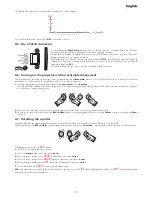
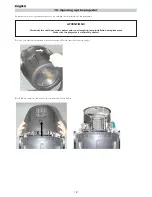
base you find a RJ45 connector , as shown in oicture, that can
be used either for display supply and for software upgrade function.
It’s possible to supply the display through an external battery, and access to menu functions,
without connectinf the unit to the mains.
RJ45 connector can also be used for the connection of
DR1+
, the remote control that allows to
supply the display, to upgrade the software and to access to all the functions that are usually
selectable from the
DR1
.
For more information pls. Read the manual of the different devices.
8.6. Turning on the projector with no articulated movement
This function may be useful should you need to power up the
iWash Halo
whilst it is in its flight case or to re-address it or alter any
parameters and you wish to in the absence of any articulated movement.
1.
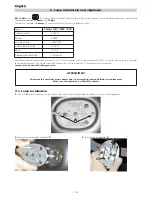
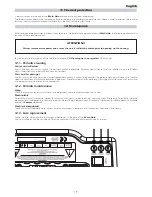
Turn on the projector whilst holding down the
enter
,
menu
and
– buttons
The The projector will proceed with a reset of all its motors with the exception of those which control articulated movement, the pan
and tilt motors, which remain static.
2.
You may alter the DMX address or any other parameter without any articulated movement occuring
3.
To return to normal functioning of the
iWash Halo
simply turn the projector off and on via the
Power
switch or activate the
Reset
function.
8.7. Resetting the counter
The lamp life counter needs to be reset to zero at every lamp change to provide accurate information on lamp life.
When turning on the
iWash Halo
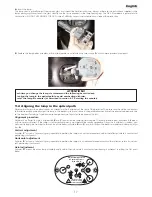
, simultaneously hold down the
+
and
– buttons
. The projector will restart with its counter reset.
The projector has reset the
LIFE
counter.
To verify that this operation has occured:
1.
Press the
menu
button and then press
enter
.
2.
Press the
+
or
-
buttons until
MEAS
is displayed, then press
enter
.
3.
Press the
+
or
-
buttons until
HOUR
(hours) is displayed, then press
enter
.
4.
Press the
+
or
-
buttons until
LIFE
(lamp life) is displayed, then press
enter
.
5.
If the display shows
0000
, the counter has been reset.
N.B.
You may also wish to verify that other electronic counters such as
LIFS
(total lamp operating lives) and
UNIT
(total proejctor ope-
rating life) have remained unaltered.
m
en
u
m
enu
en
ter
en
te
r
+
+
m
en
u
m
enu
en
ter
en
te
r
+
+
☞
menu
AOO1
FUNC
I D
ID number setting
To set the unit’s ID number from 0(no ID, to 250).
1 - - 2 5 0
numeric value
☞
+
o
–
☞
enter
☞
+
o
–
☞
enter
☞
enter
15
English


