Configuring the Scanner Settings
78
3
TTTT
Repeat steps
DDDD
through
RRRR
for each
of “ User 1”, “ User 2”, and “ User
3” memory areas.
UUUU
When you are finished, press
[
PrevMenu
]
.
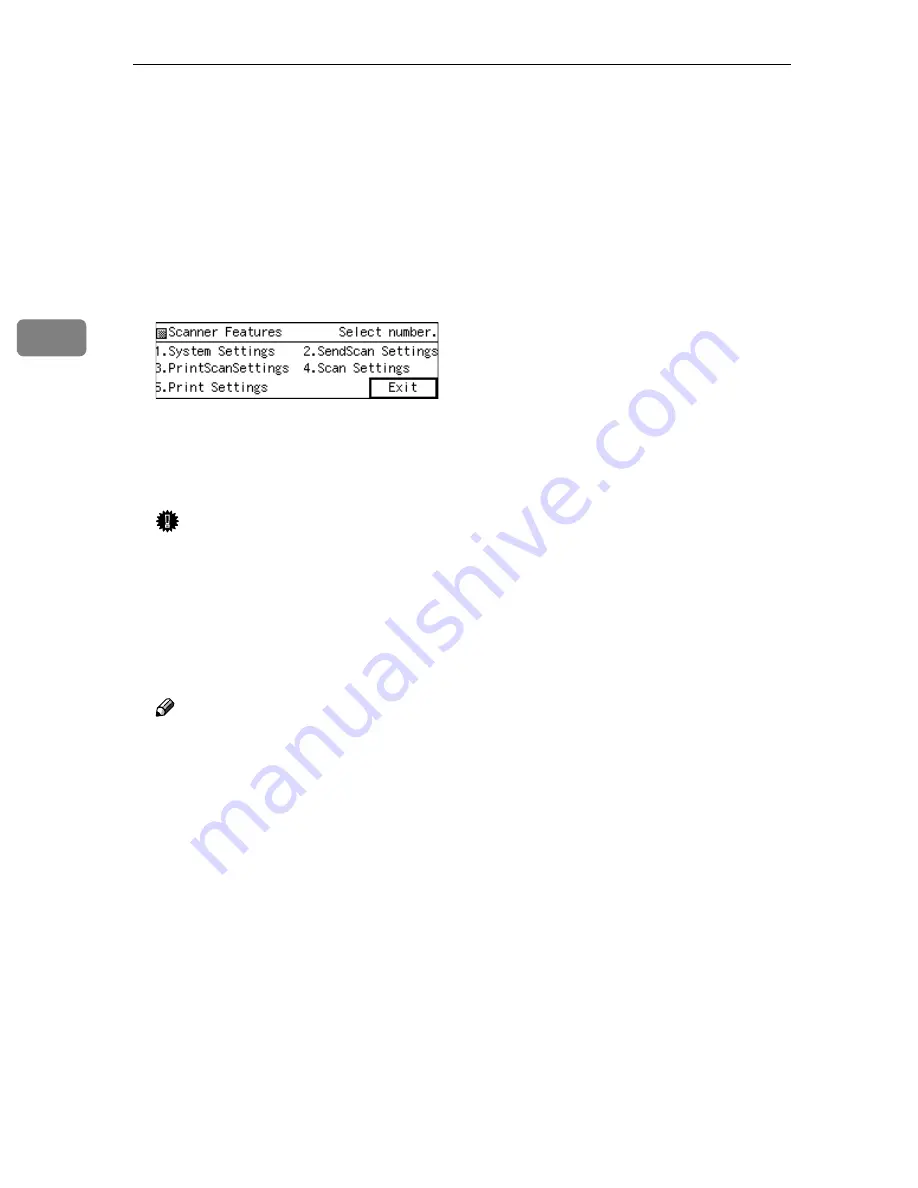
This returns to the Scanner Fea-
tures menu.
VVVV
Press
[
Exit
]
.
This exits the Scanner Features
menu, and returns to the standby
screen that is displayed when you
turn the power on.
Important
❒
Never turn off the power of this
machine before the standby
screen is displayed. Doing so
can discard all the settings you
have configured, and return this
machine to its factory default
status.
Note
❒
Instead of pressing
[
Exit
]
, you
can press a number key to enter
another setting menu.
www.cnet.ie
Summary of Contents for ColorNet ecopy
Page 8: ...vi www cnet ie...
Page 14: ...6 www cnet ie...
Page 116: ...Configuring the Scanner Settings 108 3 www cnet ie...
Page 126: ...Setting Originals 118 4 www cnet ie...
Page 146: ...Sending Scan File by E mail 138 6 www cnet ie...
Page 162: ...Sending Scan File by Scan to FTP 154 8 www cnet ie...
Page 166: ...Sending Scan Files Using Delivery Server 158 9 www cnet ie...
Page 176: ...Printing Scanned Image Files 168 10 www cnet ie...
Page 204: ...Appendix 196 11 When Gray scale is selected www cnet ie...
Page 206: ...Appendix 198 11 When 256 colors is selected www cnet ie...
Page 222: ...Image Scanner Operating Instructions GB GB G421 8601 www cnet ie...


