


28 |
VinciLab User’s Guide
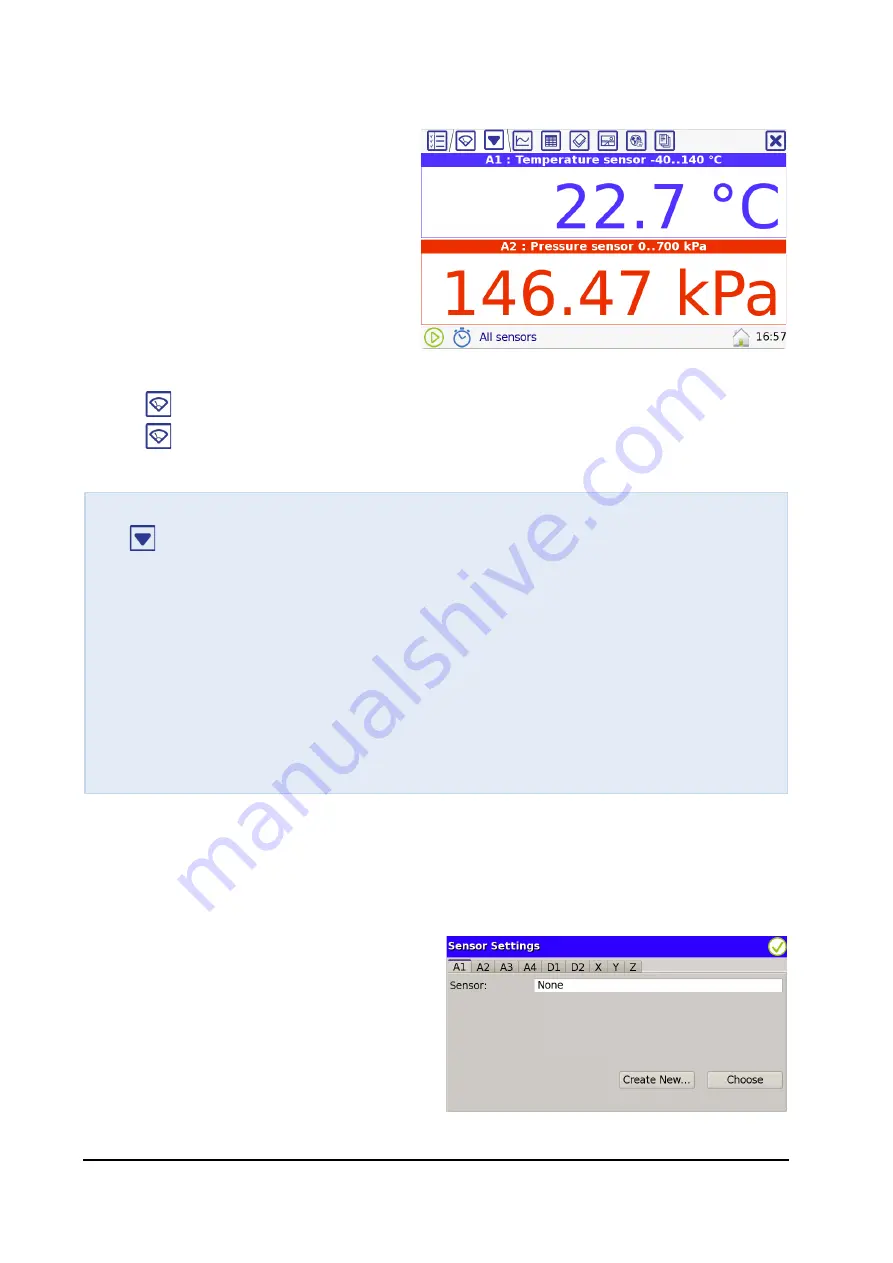
5. Sensors Screen
The Sensors Screen is used to show live
data measured by the connected
sensor(s) and to set up the
measurement and sensors.
A digital display appears automatically
when VinciLab identifies the sensor. For
a sensor, which is not identified, a
digital display will be created only after
selecting a sensor from the VinciLab
Sensor Library. The live sensor readings
are
not stored
in VinciLab’s memory.
•
Tap
to go to the Sensors Screen.
•
Tap
again and select a sensor to maximize its digital display (when more than
one sensor is connected).
5.1. Sensor Settings
The
Sensor Settings
dialog displays the sensor information and allows sensor setup. The
dialog has tabs: A1, A2, A3, A4 - for analog sensor inputs, D1, D2 - for digital sensor
inputs, and X,Y,Z - for the internal 3-axis Accelerometer.
•
Tap a tab e.g.
A1
to display the current
settings of the sensor connected to this
input.
As long as a sensor is not automatically
identified by Coach or manually selected
from the Sensor Library the Sensors Screen
remains empty and the Sensors Settings
dialog shows
None
behind the sensor.
S
ENSORS
S
CREEN
T
OOL
M
ENUS
Tap
to display the tool menu:
−
Sensor Settings...
–
to open a dialog to define sensor settings.
−
Measurement Settings
–
to open a dialog to define a measurement type and its
specific settings.
Touch, hold and release a sensor digital display to open the sensor Tool menu:
−
Sensor Settings...
–
to open a dialog to with sensor settings.
−
Set to Zero
–
to set the current measured value to zero.
−
Set to Value
–
to set the current measured value to another value.
−
Reset Calibration
–
to
reset the
Set to
operation.