________________________________________________________ 60
Appendix A: Options
_______________________________________________________________________
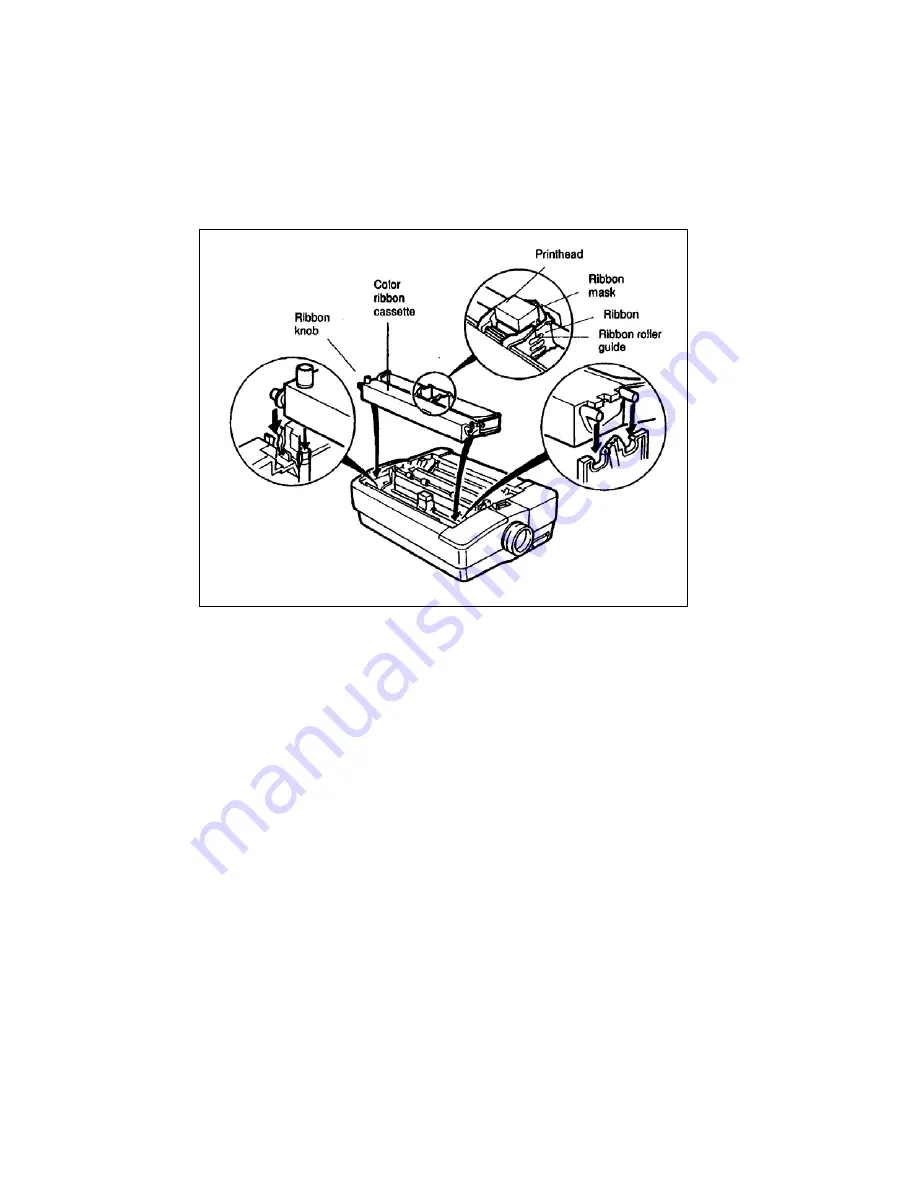
Figure A-4. Installing the color ribbon cassette
7.
Lower the cassette into the printer until the three locating pins
{one on the left side of the cassette, 2 on the right} snap into
their corresponding notches on the printer. The 2 pins on the
right end fit into notches on the color motor. Be sure the
ribbon fits between the printhead and the ribbon mask.
8. Move the printhead left and right. Be sure ribbon knob turns
clockwise as the ribbon advances, and that the ribbon doesn't
snag or bunch up.
9. Check that the fine adjustment lever is set to the middle
position. {See Figure A-5}.
10. Set the paper thickness lever to the O position. You may need
to adjust this setting for best print quality.
11. Replace the top cover.
12. Turn the power on, and configure the printer.
Figure A-4. Installing the color ribbon cassette.


