

40
18
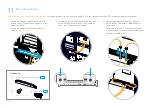
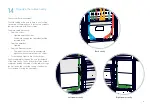
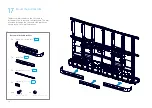
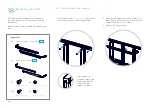
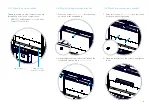
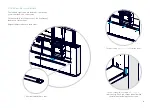
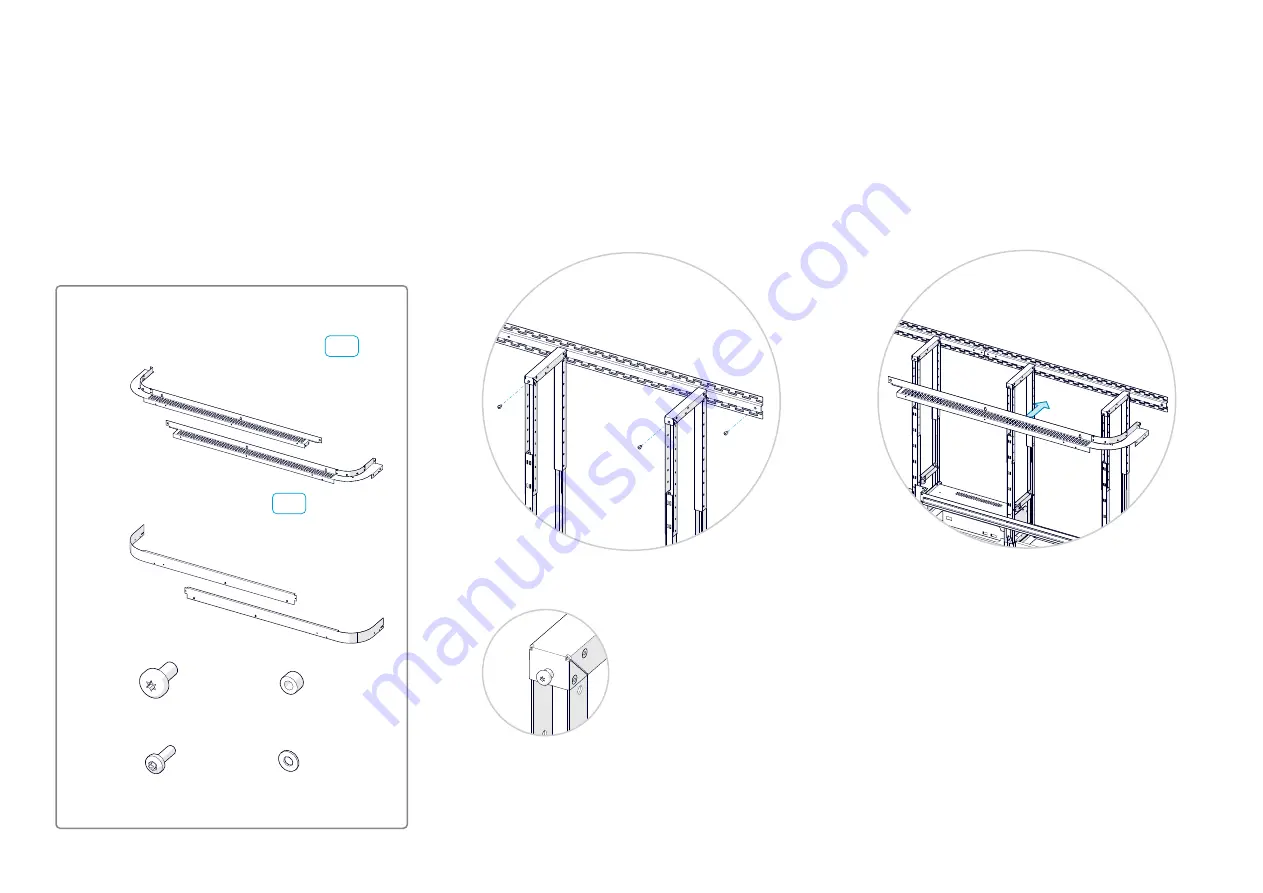
Mount the upper trim
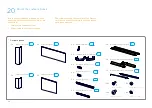
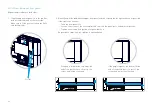
Upper trim
2x
Upper trim support, left and right
2x
Upper trim, left and right
(M4x12, Torx 20)
12x
6x
(M6x12, Torx 30)
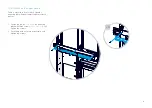
The top trim and its support are fastened to
the risers and rails as shown in the close-up
illustrations.
Repeat the procedure for both the left and right
trims.
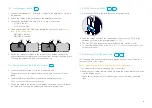
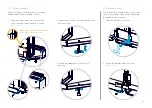
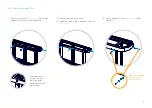
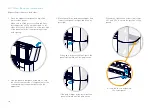
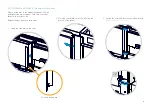
18.1 Fasten the upper trim support
Don't tighten the
screws so much that
it becomes difficult
to hang the trim
support on them.
1. Enter three screws
(M6x12, Torx 30)
into the rail
and risers as shown, without tightening.
2. Hang the trim support onto the screws. You
may need to use some force to get the trim
support onto the corner screw.
3. Tighten the three screws.
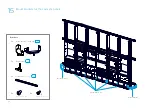
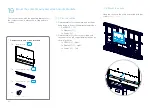
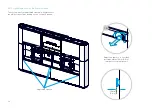
E4
E4
8x
(Washer, 0.9 mm)
4x
(Nylon spacer, 5 mm)
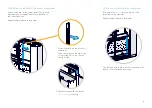
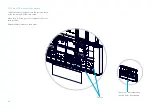
Summary of Contents for Webex Room Panorama
Page 1: ...Cisco Webex Room Panorama Installation guide ...
Page 2: ......
Page 83: ...81 ...
Page 87: ......