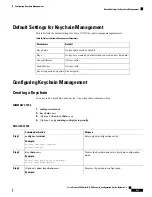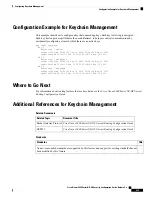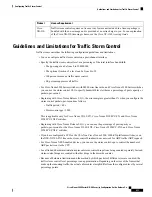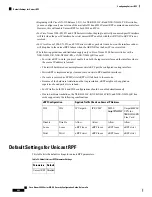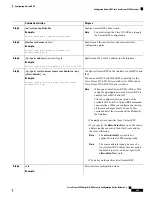
Traffic storm control uses a 3.9-millisecond interval that can affect the behavior of traffic storm control.
Note
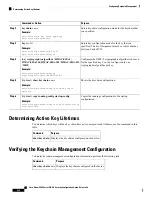
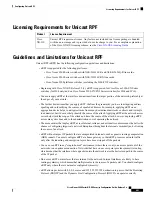
You must carve TCAM before setting the storm-control-cpu rate on a port channel.
Note
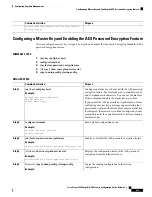
SUMMARY STEPS
1.
configure terminal
2.
interface
{
ethernet slot
/
port
|
port-channel number
}
3.
[
no
]
storm-control
{
broadcast
|
multicast
|
unicast
}
level
{ <
level-value %
> |
pps
<
pps-value
> }
4.
[
no
]
storm-control action trap
5.
[
no
]
storm-control-cpu arp rate
6.
exit
7.
(Optional)
show running-config interface
{
ethernet slot
/
port
|
port-channel number
}
8.
(Optional)
copy running-config startup-config
DETAILED STEPS
Purpose
Command or Action
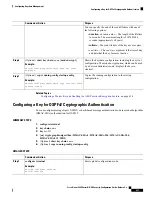
Enters global configuration mode.
configure terminal
Example:
Step 1
switch# configure terminal
switch(config)#
Enters interface configuration mode.
interface
{
ethernet slot
/
port
|
port-channel number
}
Example:
Step 2
switch# interface ethernet 1/1
switch(config-if)#
Configures traffic storm control for traffic on the interface.
You can also configure bandwidth level as a percentage
[
no
]
storm-control
{
broadcast
|
multicast
|
unicast
}
level
{ <
level-value %
> |
pps
<
pps-value
> }
Step 3
either of port capacity or packets-per-second. The default
state is disabled.
Example:
switch(config-if)# storm-control unicast level 40
Example:
switch(config-if)# storm-control broadcast level
pps 8000
Generates an SNMP trap (defined in
CISCO-PORT-STORM-CONTROL-MIB) and a syslog
message when the traffic storm control limit is reached.
[
no
]
storm-control action trap
Example:
switch(config-if)# storm-control action trap
Step 4
Cisco Nexus 9000 Series NX-OS Security Configuration Guide, Release 9.x
435
Configuring Traffic Storm Control
Configuring Traffic Storm Control

