4. Start AVR Studio and establish a new project only one time. See section on how to
start a new debugging project
5. Load the select Coff file, built using the make file option extcoff
6. Start debugging
Note:
When using the JTAG ICE programmer the boot vector fuse must be disabled.
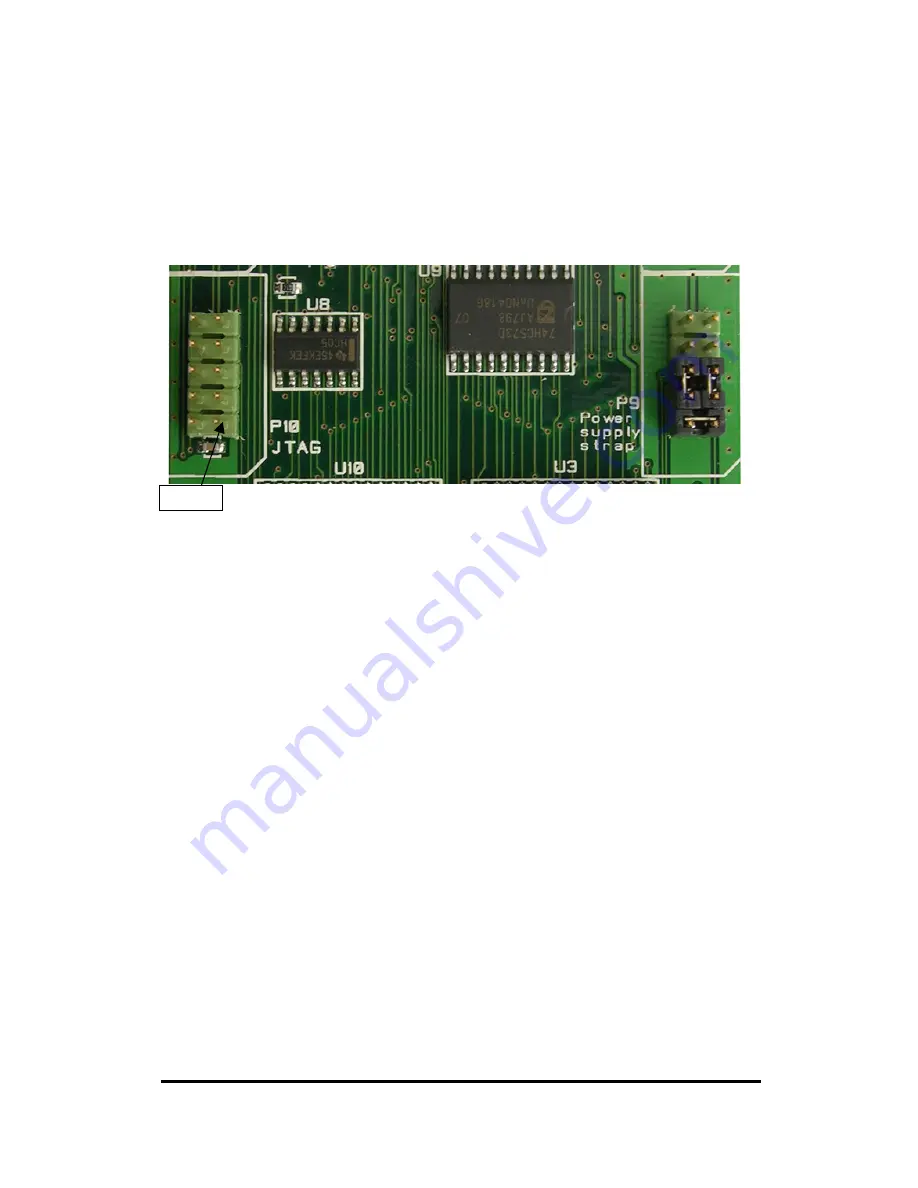
Pin 1
Figure 21: JTAG ICE connector P10 on CC2420DB
Saving the IEEE Address of the CC2420DB
Before any debugging is preformed on the CC2420DB, the content of the Atmega128L
EEPROM memory must be read and saved to a disk file on the development computer. This
will allow the IEEE address to be restored if the EEPROM gets erased or corrupted. The AVR
Studio program in conjunction with the JTAG ICE or AVR ISP is applied to upload the
EEPROM data from the Atmega128L microcontroller and recorded to the disk file specified by
the user.
When a project is first created in AVR Studio, the EEPROM will be erased when the .
cof
file
is downloaded to the CC2420DB. Due to this, it is important to save the EEPROM content to
a disk file before creating the new project. The following procedure can be applied to save
EEPROM data initially or at any desired time:
•
With power removed from the CC2420DB, connect the JTAG ICE, JTAG ICE mkII or
AVR ISP to the their respective connectors on the CC2420DB. Make sure the JTAG
cable is oriented correctly. Please refer to figure 21 to see where pin 1 is located.
Chipcon AS
SmartRF
®
CC2420DBK Demonstration Board Kit User Manual
(rev. 1.3) 2004-11-03 Page 34/ 52


