MAINTENANCE
GB
(GB) 4
GB
This method, called “Fuzzy Exit" enables a downslope without torch button to be
obtained. During the welding phase the operator only has to move away from the
workpiece to start a downslope. To interrupt the slope (without waiting the time
necessary for its closing) the operator only has to lift the arc (like with the classic
Tig Lift procedure). Downslope duration can be displayed and modified by press-
ing the key 11.
10 - WELDING PROCESS SELECTION KEY
: press this key
(Rif.10
- Fig. 1 page 3)
to select the welding process (MMA or LIFT TIG).
11 - WELDING PARAMETER SELECTION KEY
: press this key
(Rif.11
- Fig. 1 page
3) to modify the welding parameters associated with the process selected.
In MMA mode
, press the key to sequentially access the display and possible
modification, by means of the knob,
(Rif.12
- Fig. 1 page 3) of the HOT
START and ARC FORCE rate
(Rif.5
- Fig. 1 page 3) .
Press the key to display the set HOT START percentage value. Operate the
adjustment knob
(Rif.12
- Fig. 1 page 3) to change the value between Ø and
99%.
Press the key again for display/adjustment rate of the ARC FORCE key.
To return to the display of current, wait a few seconds or press the key again
(Rif.11
- Fig. 1 page 3) .
In LIFT TIG mode,
press the key to sequentially access the display (and
possible modification by means of the knob (
Rif.12
- Fig. 1 page 3) of the
current up/downslope time (
Rif.6
- Fig. 1 page 3) .
Press to display the time associated with the current upslope. Operate the
adjustment knob
(Rif.12
- Fig. 1 page 3) to change the value between 00
and 9.9 seconds.
Press the key again for display/adjustment of the current downslope time.
The logic that starts the slope when the operator moves the torch away from
the workpiece can be excluded by setting the slope time to “of” (the mes-
sage “dof” is displayed).
Prolonged pressing of the key brings the welding parameters to values that
are more appropriate for the process selected (Default values).
12 - ADJUSTMENT KNOB
(
Rif.12
- Fig. 1 page 3) : this knob is used to adjust the
welding current and the value of parameters associated with the selected process.
NB:
The generator has an antisticking device that disables the power in case of
output short circuit or sticking of the electrode, thus allowing the electrode to eas-
ily detach from the workpiece. This device cuts in when the generator is powered,
hence also during the initial test period, therefore any inclusion of load or short
circuit in this period is seen as an anomaly that causes disabling of output power
(the message “ScA” is displayed).
7.0 MAINTENANCE
IMPORTANT:
Disconnect the power plug and wait at least 5 minutes
before carrying out any maintenance. Maintenance must be carried out more fre-
quently in heavy operating conditions.
Carry out the following operations every three (3) months:
a.
Replace any illegible labels.
b.
Clean and tighten the welding terminals.
c.
Replace damaged gas tubing.
d.
Repair or replace damaged welding cables.
e.
Have specialized personnel replace the power cable if damaged.
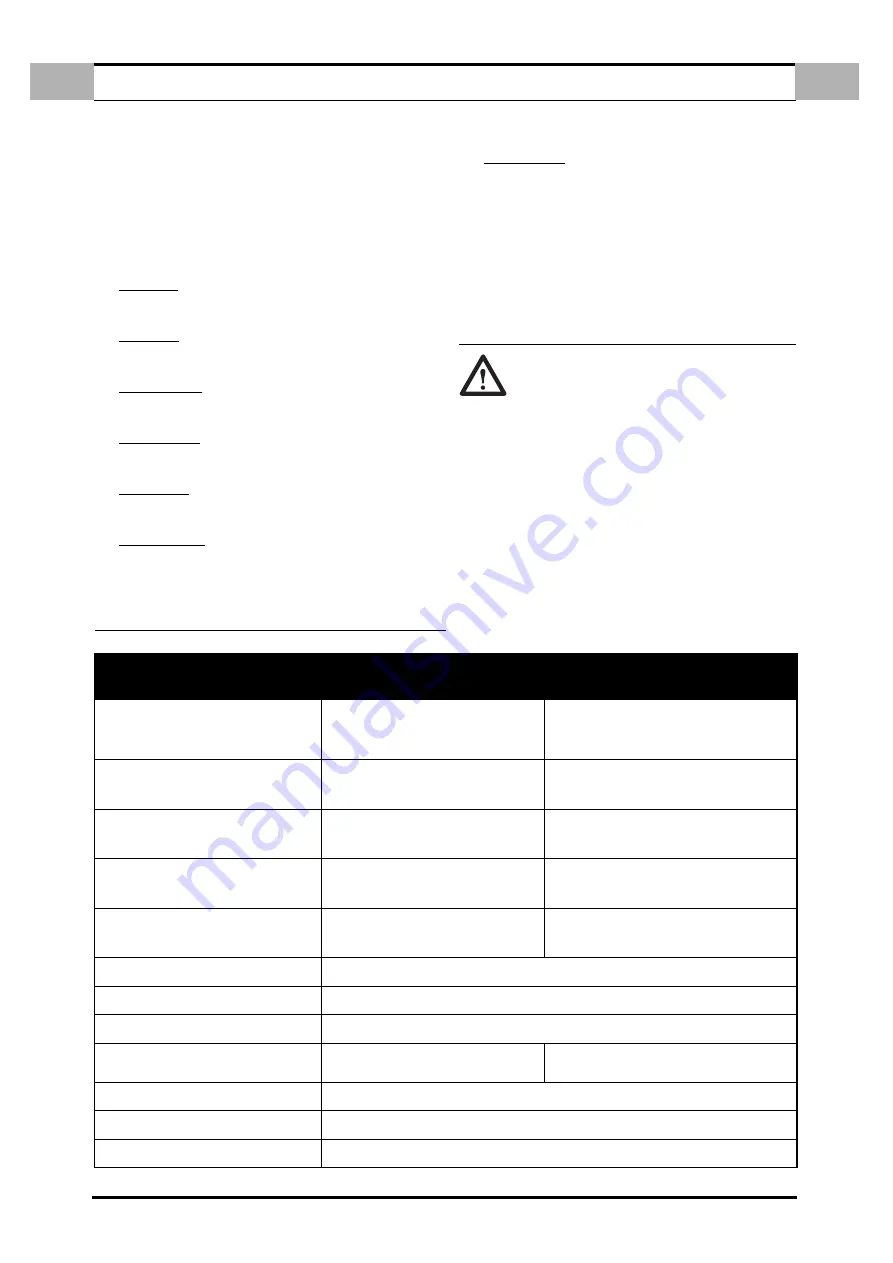
8.0 TYPES OF MALFUNCTIONING/ WELDING FAULTS – CAUSES – REMEDIES
TYPES OF MALFUNCTIONING
WELDING FAULTS
POSSIBLE CAUSES
CONTROLS AND REMEDIES
The generator does not weld: the digital instrument
does not light up.
The main switch is off.
Power cable interrupted (two or more phases are
missing).
Other.
Turn the main switch on.
Check and remedy.
Request a check by the Assistance Centre.
The generator does not weld: the display shows
“- - -”.
Insufficient power supply voltage.
A phase is missing.
Other.
Check and remedy.
Check and remedy.
Request a check by the Assistance Centre.
During welding the output current suddenly stops,
the green LED goes off, the yellow LED lights up and
the display shows the message “thA”.
The thermal trip switch has cut-in due to an over-
temperature
(See duty cycles).
Leave the generator on and wait for it to cool (10-15 minu-
tes) until the protector is reset and the corresponding yel-
low LED goes off.
Reduced welding power.
Output connection cables not connected correctly.
Check the condition of the cables, make sure the earth
clamp is adequate and that it is applied on the workpiece
cleaned of any rust, paint or grease.
Excessive jets.
Welding arch too long.
Welding current too high.
Excessive Arc Force.
Wrong torch polarity, lower the current values.
Wrong torch polarity, lower the current values.
Lower the Arc Force rate.
Craters.
Rapid moving away of electrode on lifting.
Inclusions.
Poor cleaning or distribution of passes. Faulty electrode movement.
Insufficient penetration.
High feed speed. Welding current too low.
Sticking.
Welding arc too short.
Current too low.
Increase the set current value.
Blowholes and porosity.
Wet electrodes. Long arc. Incorrect torch polarity.
Cracks.
Current too high. Dirty materials.
In TIG the electrode melts.
Incorrect torch polarity. Type of gas unsuitable.


