14
EN
Part 6 Confi guring Form Settings
You can use the procedure in this section to confi gure direction, mirror,
alignment, pitch, and tape length settings.
Confi guring Direction, Mirror, Align, and Pitch Settings
1. Input the text you want.
2. Press
.
3. Use and to select the item you want to change and then press
OK
.
4. Use and to change the setting.
5. Press
OK
to return to the text input screen.
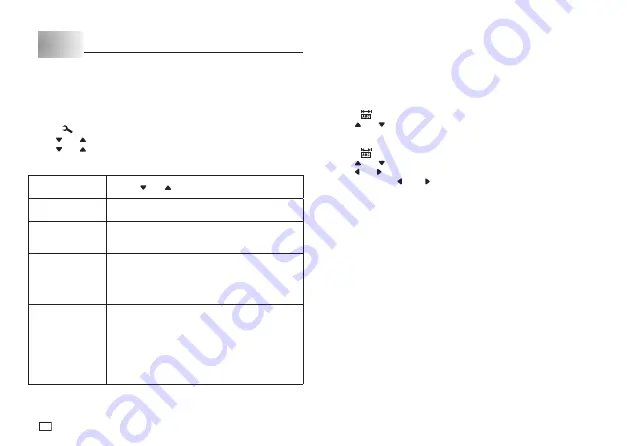
When this setting
is selected:
Use and to select the option you want:
DIRECTION
•
HORIZONTAL:
Positions text from left to right.
•
VERTICAL:
Positions text from top to bottom.
MIRROR
•
NORMAL:
Prints the tape normally.
•
MIRROR:
Prints the tape in mirror image onto
special optionally available iron transfer tape.
ALIGN
•
LEFT:
Aligns text fl ush left.
•
CENTER:
Centers text.
•
RIGHT:
Aligns text fl ush right.
•
EQUAL:
Equally spaces text to fi ll the entire
space available.
PITCH
• Specify one of the following settings for the pitch
(space between characters): “
NONE
” (0 mm),
“
NARROW
” (1 mm), or “
WIDE
” (2 mm). Changing
this setting also causes the tape length to change
accordingly.
• This setting cannot be changed when
EQUAL
is
selected for the
ALIGN
setting, and when
FIX
is
selected for the
TAPE LENGTH
setting.
Tape Length Setting
You can use either of the methods below to specify the tape length.
x
AUTO:
Automatically adjusts tape length in accordance with the number of
characters.
x
FIX:
Maintains a fi xed tape length in the range of 0cm (0”) to 99.9cm
(39
5
/
16
”).
To have tape length set automatically (AUTO)
1. Press .
2. Use and to select
AUTO
, and then press
OK
.
To specify a fi xed tape length (FIX)
1. Press .
2. Use and to select
FIX
.
3. Use
and
to specify the tape length and then press
OK
.
x
Each press of (–) or (+) changes the current length setting by 0.1.
x
You can also input a value for the tape length.
Note
x
Brackets to the left and right of the display tape length value provide the
information described below.
[xx.x cm]: Print will be the specifi ed length.
(xx.x cm]: Print will be the specifi ed length, but text will be compressed
horizontally.
xx.x cm]: Print will be longer than that specifi ed length.
Summary of Contents for KL-HD1
Page 1: ...User s Guide KL HD1 EN RJA532737 001V02 Supported Tape Widths 6 mm 9 mm 12 mm 18 mm...
Page 2: ...Important Be sure to keep all user documentation handy for future reference...
Page 23: ...21 EN Built in Logos PRICE Labels SIGN Labels...
Page 24: ...22 EN WORK Labels ATTENTION...
Page 26: ...APP 1 Accented Characters A C D E G H I J K L N O R Appendix S T U Y Z...


