53
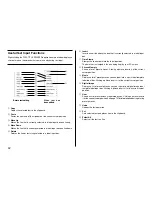
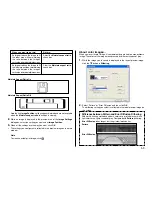
Maintain Aspect Ratio On
Maintain Aspect Ratio Off
Note that the
Image Position
settings appear dimmed and are not available
when the
Maintain aspect ratio
check box is cleared.
2.
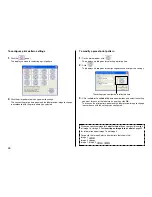
While an image is displayed in the preview area of the
Image Settings
dialog box, select the setting you want under
Image Position
.
3.
When all the settings are the way you want, click
OK
.
•
The settings you configure are reflected in the preview image on the main
window.
Note
To view the actual print image, click
.
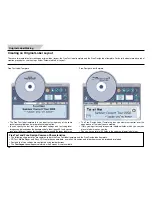
About color images...
When you insert a color image, it is automatically converted to a monochrome
image. The colors of the image are expressed as different shades of gray.
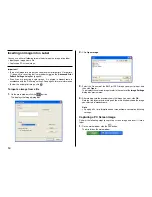
1.
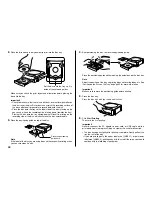
While the image you inserted is displayed in the layout preview image,
click the
L
button in
Dithering
.
2.
Select “Pattern” or ”Error Diffusion” and then click
OK
.
The dithering setting you select is reflected in the label preview image on
the screen.
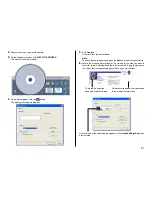
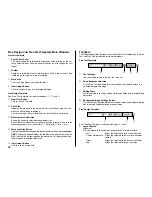
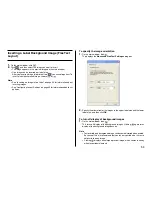
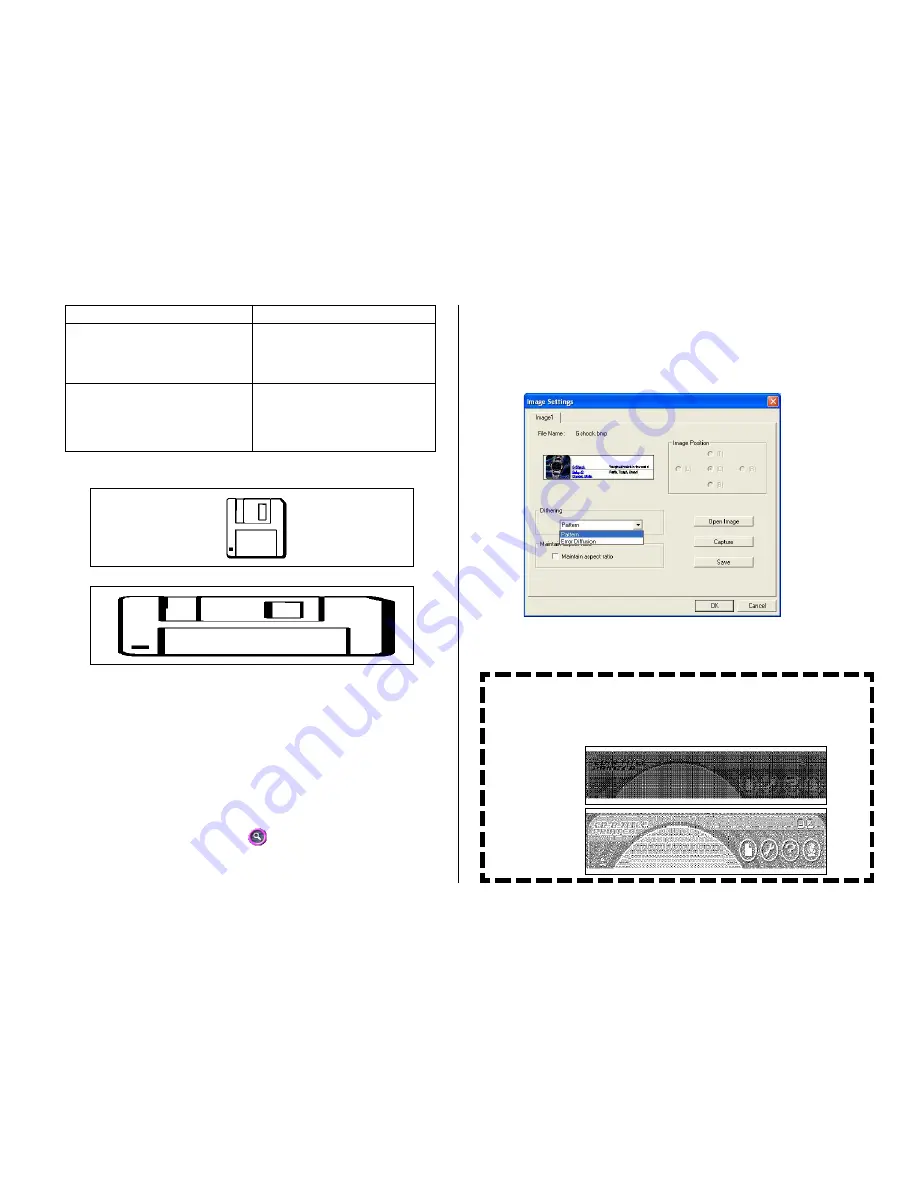
Difference between Pattern and Error Diffusion Dithering
With both dithering methods and dark colors are printed blacker, while
light colors are a lighter shade of gray. Compared with
Pattern
dithering,
Error Diffusion
takes longer, but the printout looks better.
Pattern
Error Diffusion
When you want to do this:
Enlarge or reduce the image to fit
the label area while maintaining
the ratio between the image’s
vertical and horizontal dimensions.
Enlarge or reduce the image to fit
the label area without maintaining
the ratio between the image’s
vertical and horizontal dimensions.
Do this:
Select the
Maintain aspect ratio
check box.
Clear the
Maintain aspect
ratio
check box.


