110
Selecting the Thumbnail Index Screen Folder
The thumbnail index screen shows all of the snapshots in the currently selected folder. To change
to another folder, follow the steps below.
1. Tap
Function
L
→
Folder...
or tap Folder name box.
•
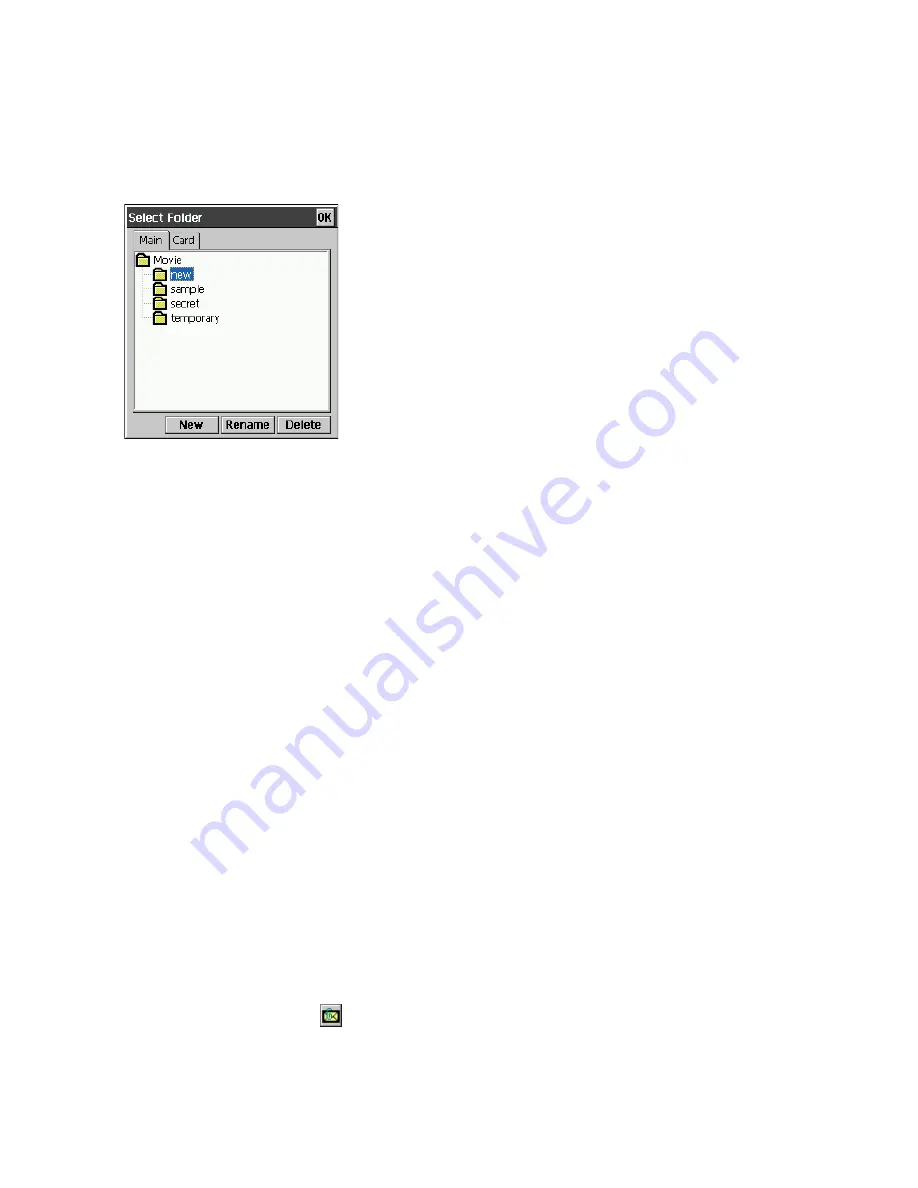
This displays the
Select Folder
dialog box.
2. Select the folder you want by tapping it.
3. Tap
OK
.
•
This returns to the thumbnail index screen, which now shows the contents of the folder you
selected in step 2.
NOTE
•
The thumbnail index automatically generates thumbnail files for the images it displays.
•
Photo Viewer can access only folders under My Documents\Photo in CASSIOPEIA nand disk
or on a storage card.
Refreshing a Thumbnail Index
You should refresh the thumbnail index when the File Manager screen does not accurately show
the image file contents of a folder. The thumbnail index screens show only files for which
thumbnails have been generated. Note that thumbnails are not displayed for image files you move
to the current thumbnail index screen folder using File Manager (page 135) or some other
program. You can make such files appear by performing the thumbnail index refresh operation
below.
To refresh a thumbnail index
While the thumbnail index you want to refresh is on the screen, tap the
Func
L
menu and then
tap
Refresh Thumbnails
.
Creating a Mail Message with an Attached Image
The following procedure creates a new Mail message with the image currently selected on the
Photo Viewer thumbnail index screen attached.
To create a Mail message with an attached image
1. On the Photo Viewer thumbnail index screen, select the image want to attach to the Mail
message and then tap the
button.
•
This starts up Mail and displays a message input screen with the image you selected attached.
2. Specify the address of the recipient, and make any changes to the subject and body text that
you want.
•
See “3-3 Mail” on page 67 for more information about writing and sending e-mail messages.
Use this dialog box to create a new folder, or to rename or
delete an existing folder. See “Folder Operations” on page
117 for more information.
Summary of Contents for Cassiopeia BE-300
Page 156: ...156 Y y Z z Accented characters...
Page 157: ...157 Numbers 0 1 2 3 4 5 6 7 8 9 Punctuation marks and special characters _...
Page 158: ...158...


