74
Setting Up the Label
These procedures explain how to correctly set up the label in the LP-1000N. They can be used when changing
from one label style to another or simply to perform a fine adjustment of the print location on a label that is
already installed in the scale. Please to refer to the appropriate charts and figures to ensure correct label setup.
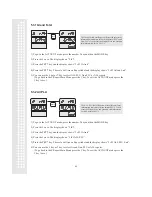
Selecting Label Type
The LP-1000N can print on either a die cut label stock (gapped labels) or on a continuous strip label. To
accommodate this feature you must tell the scale which type of labels you are going to use. This feature usually
only needs to be done once unless you are changing back and forth between the two types of labels.
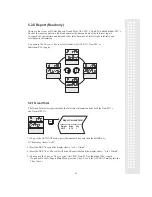
1) Determine which type of labels you are going to use.
2) Press the number 1 key followed by the MODE key. The display will show “PLU”.
3) Press the
key twice. The display will show “SEt”. Press the PRT/* key and the display will show
“”SEt EntEr 0”.
4) Press the number 4 key then the PRT/* key. The display will show “LAbEL EntEr 1”. Press the number
5 key and the display will show “LAbEL CLAbEL 0”.
5) Press the “0” key if you are using “Gapped Labels” or press the “1” key if you are using continuous strip
labels. Then press the PRT/* key. The display will show “LAbEL EntEr
“.
6) Press the C key twice to exit the PROGRAM Mode. Power the scale off then on again. Your are now ready
to start setting up your label.
#
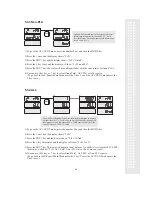
Selecting a Label Format
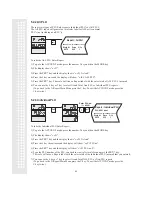
1) Press the number 1 key followed by the MODE key. The display will show “PLU”.
2) Press the
key twice. The display will show “SEt”. Press the PRT/* key and the display will show
“SEt EntEr 0”.
3) Press the number 4 key followed by the PRT/* key and the display will show “LAbEL EntEr 1”.
4) Press the number 2 key and the display will show “LAbEL ForMAt X” (X is the current programmed
format number).
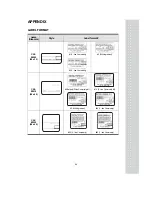
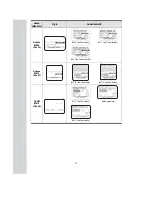
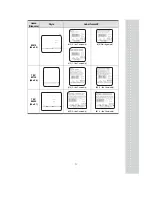
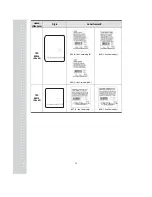
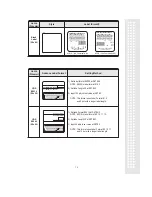
5) Select the format number from pages 69 or 73 that matches your label size and print information style. Enter
this number and press the PRT/* key. The display will show “LAbEL EntEr
“.
#
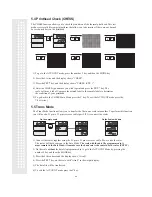
Setting Label Length
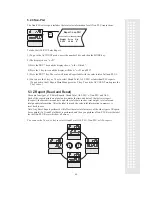
1) Press the number 1 key followed by the MODE key. The display will show “PLU”.
2) Press the
key twice. The display will show “SEt”. Press the PRT/* key and the display will show
“SEt EntEr 0”.
3) Press the number 4 key followed by the PRT/* key and the display will show “LAbEL EntEr 1”.
4) Press the PRT/* key and the display will show “LAbEL LenGtH XX”. (XX is the current programmed
label length in the scale.)
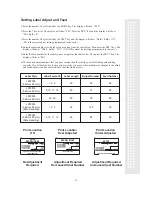
5) Enter the label length for the label you are using from the chart on page 75. Then press the PRT/* key. The
display will show “LAbEL EntEr
“.
#

