docs.carbide3d.com
10/02/2020
Version 1.0
41
Post Installation
Update Carbide Motion
You will need to use the latest version of Carbide Motion with your new proximity switches.
1.
Download the latest version here:
carbide3d.com/carbidemotion/download
.
2.
Install Carbide Motion to your computer.
Test Proximity Switches
Double check that your proximity switches are installed and functioning correctly.
1.
Turn on your Shapeoko.
2.
Place a metal object, such as a wrench, in front of each proximity switch target in turn.
3.
Check to see if the red LED on the switch lights up. You can also check to see that a blue LED lights up on the
Carbide Motion board.
A detailed video on proximity switch testing is available here:
https://youtu.be/Zf8NPmxrEDs
.
Home Your Shapeoko
Once all switches have been checked, your Shapeoko is ready to home.
1.
Connect your machine to Carbide Motion.
a.
Plug in your USB cable.
b.
Open Carbide Motion.
c.
Turn on your Shapeoko.
d.
Click the Connect to Cutter button.
2.
Click the yellow Initialize Machine button to home your Shapeoko.
Re-Calibrate the BitSetter
After updating your settings and homing your Shapeoko, you
will need to clear offsets and change your machine
coordinates.
1.
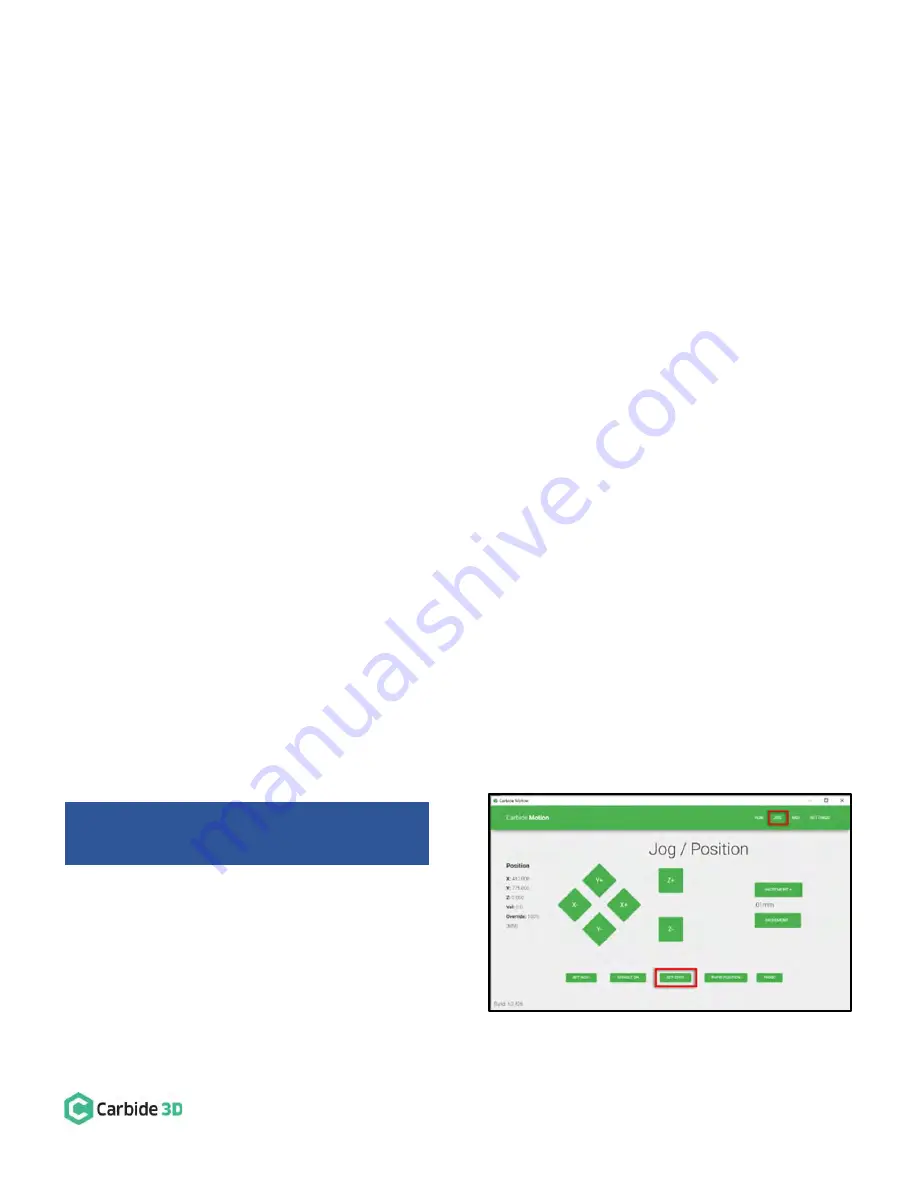
Clear machine offsets.
a.
Click
Jog
in the top menu bar.
b.
Click the Set Zero button. See
Fig. 44
.
Machines With BitSetter:
Complete the steps
below to re-calibrate your BitSetter.
Figure 44


