3-3
Setup Pr
ocedures
Initial Setup
1. Turn on the PC’s power switch.
The AC adapter must not yet be connected to the VB-C10/VB-C10R at this stage.
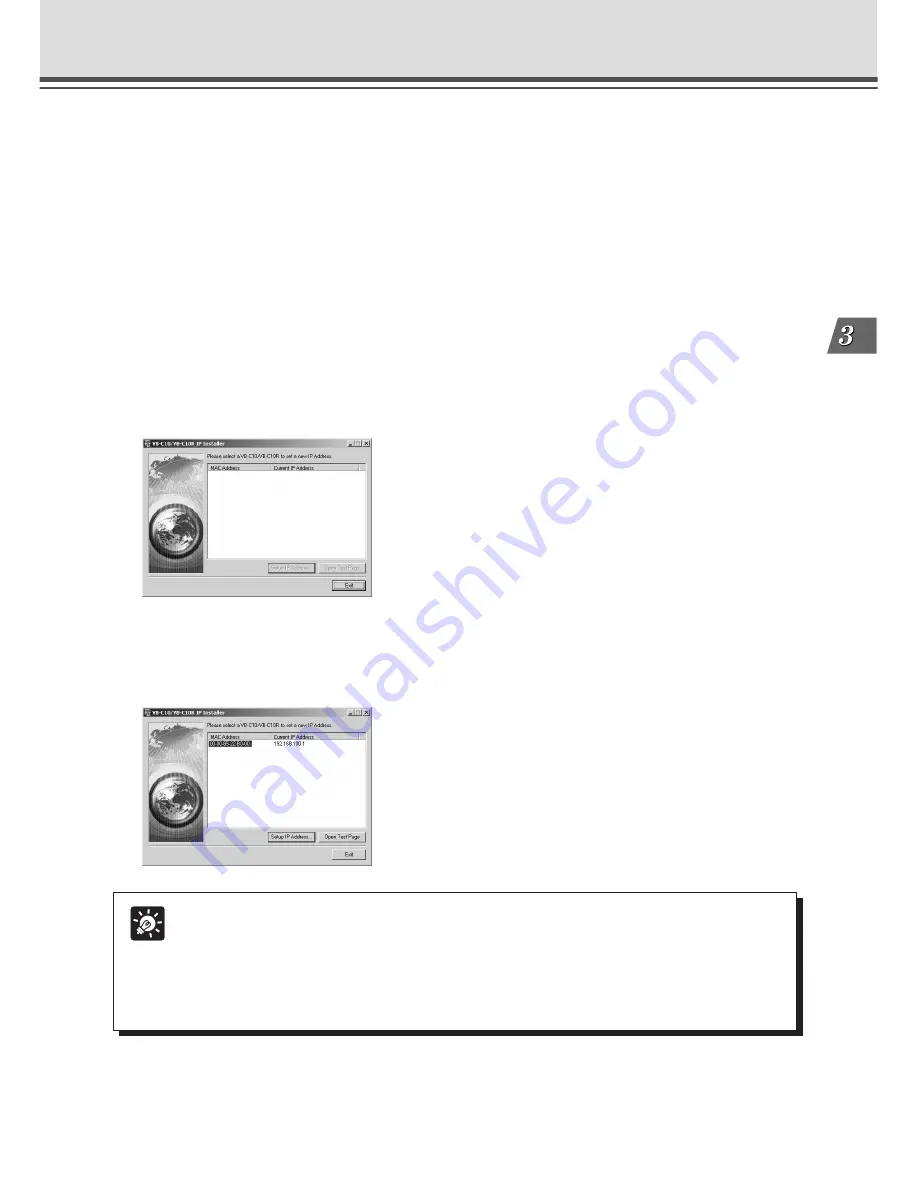
4. The VB-C10/VB-C10R’s MAC address and the currently set IP address are
displayed in the “VB-C10/VB-C10R IP Installer” dialog box.
Select a MAC address by clicking on it, then click the “Setup IP Address...” button.
Tip
●
The MAC address for this unit is shown on the bottom of the VB-C10/VB-C10R
(
→
P.1-11).
●
The IP address
192.168.100.1
is used as the factory default setting. Please set an
IP address that suits the environment in which the VB-C10/VB-C10R is to be used.
●
Internet Explorer 4.01 or later is required for the IP Installer operating environment.
2. Insert the CD-ROM that was supplied with the VB-C10/VB-C10R into the PC’s
CD-ROM drive, and start up the “VBIPI.exe” program as follows:
1
Double-click My Computer on the desktop.
When using Windows XP, click on the “Start” button, then click “My Computer”.
2
When the CD-ROM icon appears, double-click this icon, then double-click “VBIPI.exe”.
3. When the “VB-C10/VB-C10R IP Installer” dialog box appears, connect the AC
adapter to the VB-C10/VB-C10R and turn on the power.
See “Turning the Power ON and OFF” (
→
P.2-4) for how to turn on power to the VB-C10/VB-
C10R.


