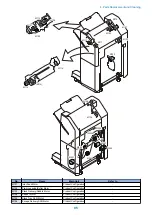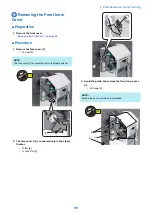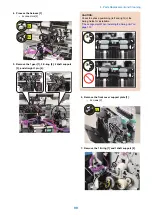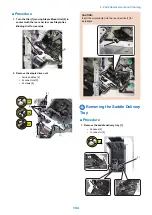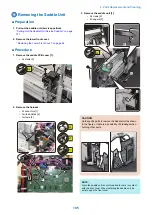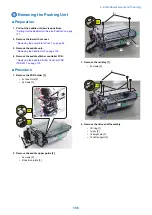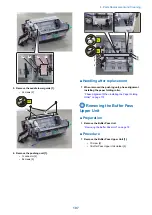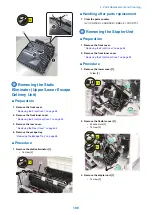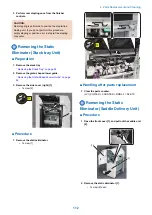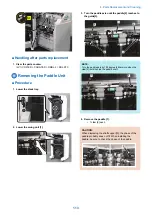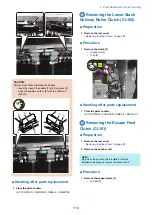
4. Process the harness [1]
• 4 connectors [2]
1x
4x
[1]
[2]
[2]
[2]
[2]
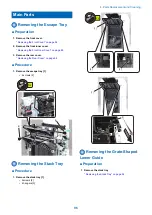
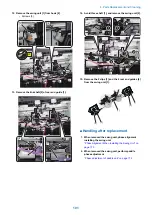
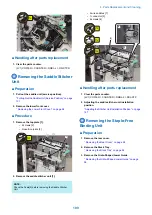
5. Remove the 1 gear [1], 2 E-ring [2], 2 shaft support
[3], and straight 1 pin [4].
[1]
[2]
[3]
[2]
[3]
[4]
CAUTION:
Check the phase positioning (left and right) of the
Swing Guide for installation.
“Phase Alignment When Installing the Swing Unit” on
page 173
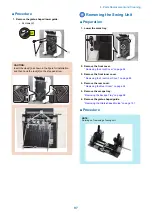
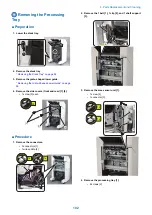
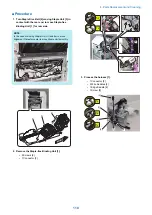
6. Remove the front cover support plate [1].
• 2 screws [2]
[2]
2x
[1]
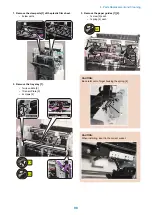
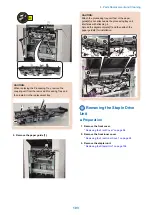
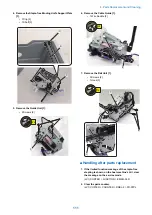
7. Remove the 1 E-ring [1] and 1shaft support [2].
[1]
[2]
4. Parts Replacement and Cleaning
99
Summary of Contents for Staple Finisher-AA1
Page 1: ...Revision 4 0 Staple Finisher AA1 Booklet Finisher AA1 Service Manual ...
Page 12: ...Product Overview 1 Features 5 Specifications 6 Names of Parts 14 Optional Configuration 20 ...
Page 83: ...Periodical Service 3 Periodic Servicing Tasks 76 ...
Page 87: ...3 Remove the 2 Connectors 1 2x 1 4 Parts Replacement and Cleaning 79 ...
Page 89: ...Main Units Parts 4 5 6 7 8 1 2 3 4 Parts Replacement and Cleaning 81 ...
Page 128: ...4x 1 2 2 3 3 2x 4 Parts Replacement and Cleaning 120 ...
Page 150: ...Adjustment 5 Overview 143 Basic Adjustment 148 Adjustments When Replacing Parts 173 Other 184 ...
Page 193: ...Troubleshooting 6 Making Initial Checks 186 Processing Tray Area 187 Saddle Stitcher Area 188 ...
Page 204: ...4 5 6 7 8 9 7 Installation 196 ...
Page 205: ...10 7 Installation 197 ...
Page 223: ...2 3 2x 7 Installation 215 ...
Page 224: ...APPENDICES Service Tools 217 General Circuit Diagram 218 ...

