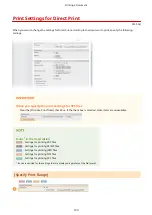
Conditions of use for POP3 protocol
●
The POP3 mail server must support the UIDL command. For details, contact your network administrator or
server administrator.
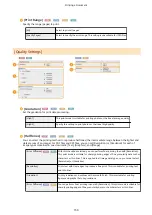
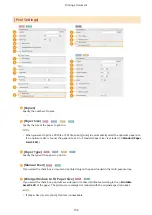
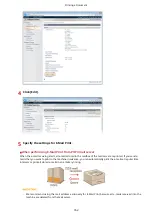
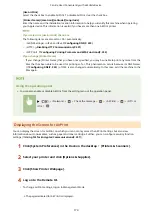
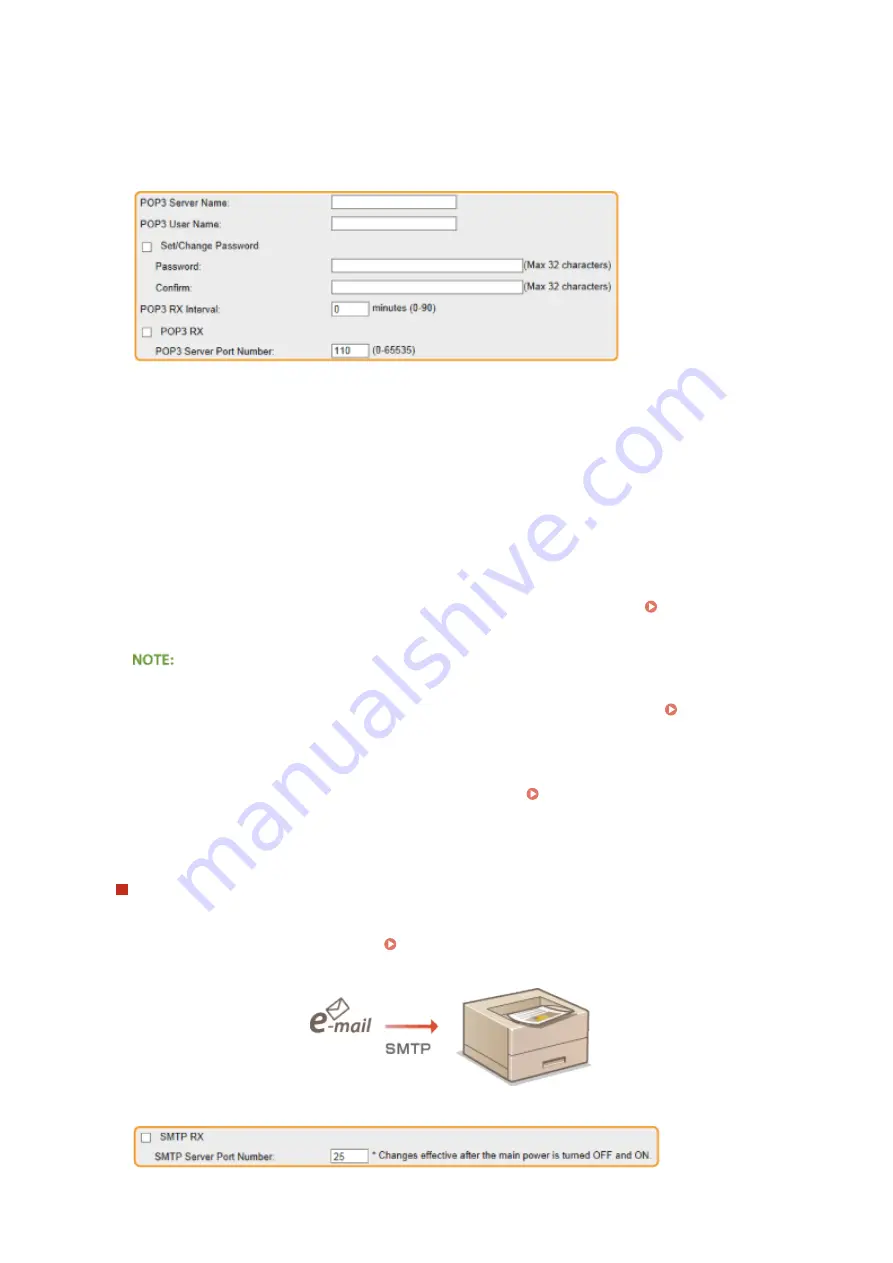
[POP3 Server Name]
Enter the mail server name or IP address for receiving e-mails.
[POP3 User Name]
Enter up to 32 alphanumeric characters for the user name used to connect to the mail server.
[Set/Change Password]
To set the password for connecting to the mail server, select the check box and enter up to 32 alphanumeric
characters for the password in the [Password] text box. For confirmation, enter the same password in the
[Confirm] text box.
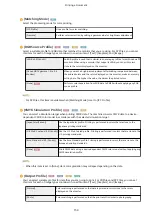
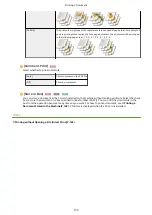
[POP3 RX Interval]
Specify the interval for automatically connecting to the mail server in minutes. New e-mails in the mailbox of
the mail server are automatically received and printed at the specified time intervals. You can also specify this
setting by using <POP3 RX Interval> in the setting menu of the operation panel ( POP3 RX
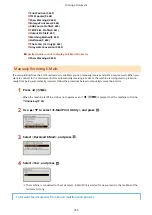
Preventing E-mails from Being Automatically Received
●
Set [POP3 RX Interval] to [0]. If you set [0], you must manually receive e-mails. Manually Receiving E-
Mails(P. 165)
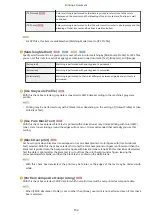
[POP3 RX]
Select the check box to enable E-Mail Print from the POP3 mail server. You can also specify this setting by
using <POP3 RX> in the setting menu of the operation panel ( POP3 RX(P. 396) ).
[POP3 Server Port Number]
Specify the port number of the mail server that receives e-mails.
When performing E-Mail Print by using SMTP protocol
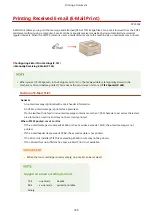
If e-mails are sent to the machine via SMTP, the machine prints the e-mails immediately after receiving them.
Enable this function when you want to forward fax documents from Canon multifunction printers to this
machine and print them on the machine ( To forward fax documents from Canon multifunction
Printing a Document
163
Summary of Contents for LBP710Cx
Page 1: ...LBP712Cx LBP710Cx User s Guide USRMA 0722 00 2016 04 en Copyright CANON INC 2016 ...
Page 51: ...Paper P 620 Basic Operations 45 ...
Page 58: ...4 on 1 Postcard Insert the postcard with the upper end toward the machine Basic Operations 52 ...
Page 78: ...Printing a Document 72 ...
Page 93: ...LINKS Basic Printing Operations P 73 Printing a Document 87 ...
Page 97: ...LINKS Basic Printing Operations P 73 Enlarging or Reducing P 82 Printing a Document 91 ...
Page 108: ...LINKS Basic Printing Operations P 73 Printing a Document 102 ...
Page 140: ...LINKS Using the Encrypted Print P 135 Installing an SD Card P 633 Printing a Document 134 ...
Page 195: ...LINKS Connecting to a Network P 186 Network 189 ...
Page 250: ...LINKS Entering Sleep Mode P 63 Network 244 ...
Page 290: ...Printing a Document Stored in the Machine Stored Job Print P 136 Security 284 ...
Page 296: ... Functions of the Keys Operation Panel P 24 Security 290 ...
Page 334: ...Using TLS for Encrypted Communications P 297 Configuring IPSec Settings P 301 Security 328 ...
Page 344: ...Using Remote UI 338 ...
Page 359: ...LINKS Remote UI Screens P 339 Using Remote UI 353 ...
Page 383: ...Paper Source 0YSF 05E See Select Feeder Menu P 500 Setting Menu List 377 ...
Page 516: ...Troubleshooting 510 ...
Page 600: ...LINKS Utility Menu P 491 Job Menu P 496 Maintenance 594 ...
Page 611: ...Third Party Software 0YSF 090 Appendix 605 ...
Page 630: ...Appendix 624 ...
Page 651: ...Manual Display Settings 0YSF 091 Appendix 645 ...
Page 675: ...Scalable Fonts PCL Appendix 669 ...
Page 676: ...Appendix 670 ...
Page 677: ...Appendix 671 ...
Page 678: ...OCR Code Scalable Fonts PCL Bitmapped Fonts PCL Appendix 672 ...
Page 701: ... 16 MD4 RSA Data Security Inc MD4 Message Digest Algorithm ...
Page 712: ... 27 including the GNU Public Licence ...
Page 736: ... 51 SOFTWARE ...
Page 749: ...Search Enter keyword s here 1 ...
Page 752: ...2 ...
Page 762: ...12 ...
Page 768: ...3 Click Delivered Update 4 Click Apply Firmware 5 Confirm the firmware to apply click Yes 5 ...
Page 770: ...3 Click Delivered Update 4 Click Delete Firmware 7 ...
Page 789: ...Search Enter keyword s here 1 ...
Page 810: ...Starting MEAP Applications Stopping MEAP Applications Starting Stopping MEAP Applications 10 ...
Page 818: ...4 Click License Management 5 18 ...
Page 821: ...4 Click License Management 5 21 ...
Page 822: ...Click Disable 6 Click Yes The license file is disabled 22 ...
Page 824: ...4 Click License Management 5 24 ...
Page 827: ...4 Click License Management 5 27 ...
Page 828: ...Click Delete 6 Click Yes The license file is deleted 28 ...
Page 830: ...4 Click Authentication Information Settings 5 30 ...
Page 832: ...When cancelling authentication information Click Delete 32 ...
Page 837: ...5 ...
Page 846: ...14 ...
Page 849: ...17 ...
Page 855: ...4 Click Yes The setting information of the application is deleted 23 ...

