


019A-001
Product Name
Safety regulations require the product's name to be registered.
In some regions where this product is sold, the following name(s) in parentheses ( ) may be registered instead.
LBP7010C/LBP7018C (F159700)
EMC requirements of EC Directive
This equipment conforms with the essential EMC requirements of EC Directive. We declare that this product conforms with
the EMC requirements of EC Directive at nominal mains input 230 V, 50 Hz although the rated input of the product is 220
to 240 V, 50/60 Hz. Use of shielded cable is necessary to comply with the technical EMC requirements of EC Directive.
Laser Safety
This product is certified as a Class 1 laser product under IEC60825-1:2007 and EN60825-1:2007. This means that the
product does not produce hazardous laser radiation.
Since radiation emitted inside the product is completely confined within protective housings and external covers, the laser
beam cannot escape from the machine during any phase of user operation. Do not remove protective housings or external
covers, except as directed by the equipment's manuals.
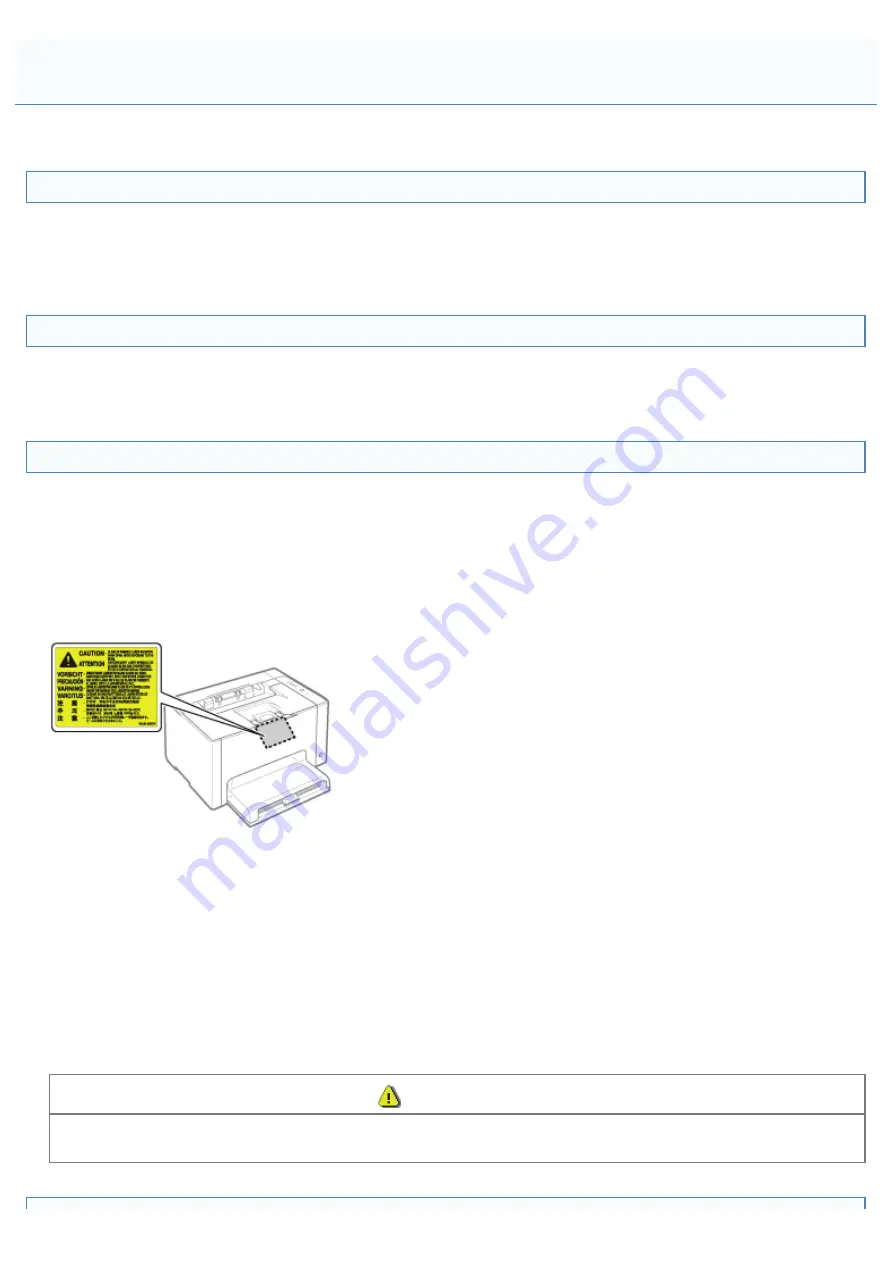
The label shown below is attached to the laser scanner unit inside the machine.
CLASS 1 LASER PRODUCT
LASER KLASSE 1
APPAREIL À LASER DE CLASSE 1
APPARECCHIO LASER DI CLASSE 1
PRODUCTO LÁSER DE CLASE 1
APARELHO A LASER DE CLASSE 1
LUOKAN 1 LASER-TUOTE
LASERPRODUKT KLASS 1
CAUTION
Use of controls, adjustments, or performance of procedures other than those specified in this manual may result in
hazardous radiation exposure.
Legal Notices
㻣㻌㻛㻌㻟㻠㻟
Summary of Contents for LBP7010C
Page 1: ...㻝㻌㻛㻌㻟㻠㻟 ...
Page 19: ...7 Click Exit When the following screen appears you can remove the CD ROM 㻝㻥㻌㻛㻌㻟㻠㻟 ...
Page 85: ...NOTE Calibration time It takes approximately 57 seconds 㻤㻡㻌㻛㻌㻟㻠㻟 ...
Page 92: ...㻥㻞㻌㻛㻌㻟㻠㻟 ...
Page 135: ...17 Click Exit When the following screen appears you can remove the CD ROM 㻝㻟㻡㻌㻛㻌㻟㻠㻟 ...
Page 137: ...If the User Account Control dialog box appears Click Yes or Continue 㻝㻟㻣㻌㻛㻌㻟㻠㻟 ...
Page 156: ...㻝㻡㻢㻌㻛㻌㻟㻠㻟 ...
Page 177: ...3 Click OK For details on the basic printing procedure see Basic Printing Procedure 㻝㻣㻣㻌㻛㻌㻟㻠㻟 ...
Page 181: ...For details on the basic printing procedure see Basic Printing Procedure 㻝㻤㻝㻌㻛㻌㻟㻠㻟 ...
Page 183: ...3 Click OK For details on the basic printing procedure see Basic Printing Procedure 㻝㻤㻟㻌㻛㻌㻟㻠㻟 ...
Page 186: ...3 Click OK Then the Page Setup sheet reappears 㻝㻤㻢㻌㻛㻌㻟㻠㻟 ...
Page 197: ...4 Click OK For details on the basic printing procedure see Basic Printing Procedure 㻝㻥㻣㻌㻛㻌㻟㻠㻟 ...
Page 201: ...3 Click OK For details on the basic printing procedure see Basic Printing Procedure 㻞㻜㻝㻌㻛㻌㻟㻠㻟 ...
Page 203: ...4 Click OK For details on the basic printing procedure see Basic Printing Procedure 㻞㻜㻟㻌㻛㻌㻟㻠㻟 ...
Page 207: ...4 Click OK For details on the basic printing procedure see Basic Printing Procedure 㻞㻜㻣㻌㻛㻌㻟㻠㻟 ...
Page 211: ... Low 㻞㻝㻝㻌㻛㻌㻟㻠㻟 ...
Page 221: ...4 Confirm the settings then click OK ĺ The printer folder reappears 㻞㻞㻝㻌㻛㻌㻟㻠㻟 ...
Page 273: ...4 Click OK 㻞㻣㻟㻌㻛㻌㻟㻠㻟 ...
Page 282: ...For details on the procedure for loading paper see Loading Paper 㻞㻤㻞㻌㻛㻌㻟㻠㻟 ...
Page 316: ...If you specify Special Settings C4 printing speed drops 㻟㻝㻢㻌㻛㻌㻟㻠㻟 ...
Page 341: ...㻟㻠㻝㻌㻛㻌㻟㻠㻟 ...


