019A-00F
Symbols Used in the e-Manual
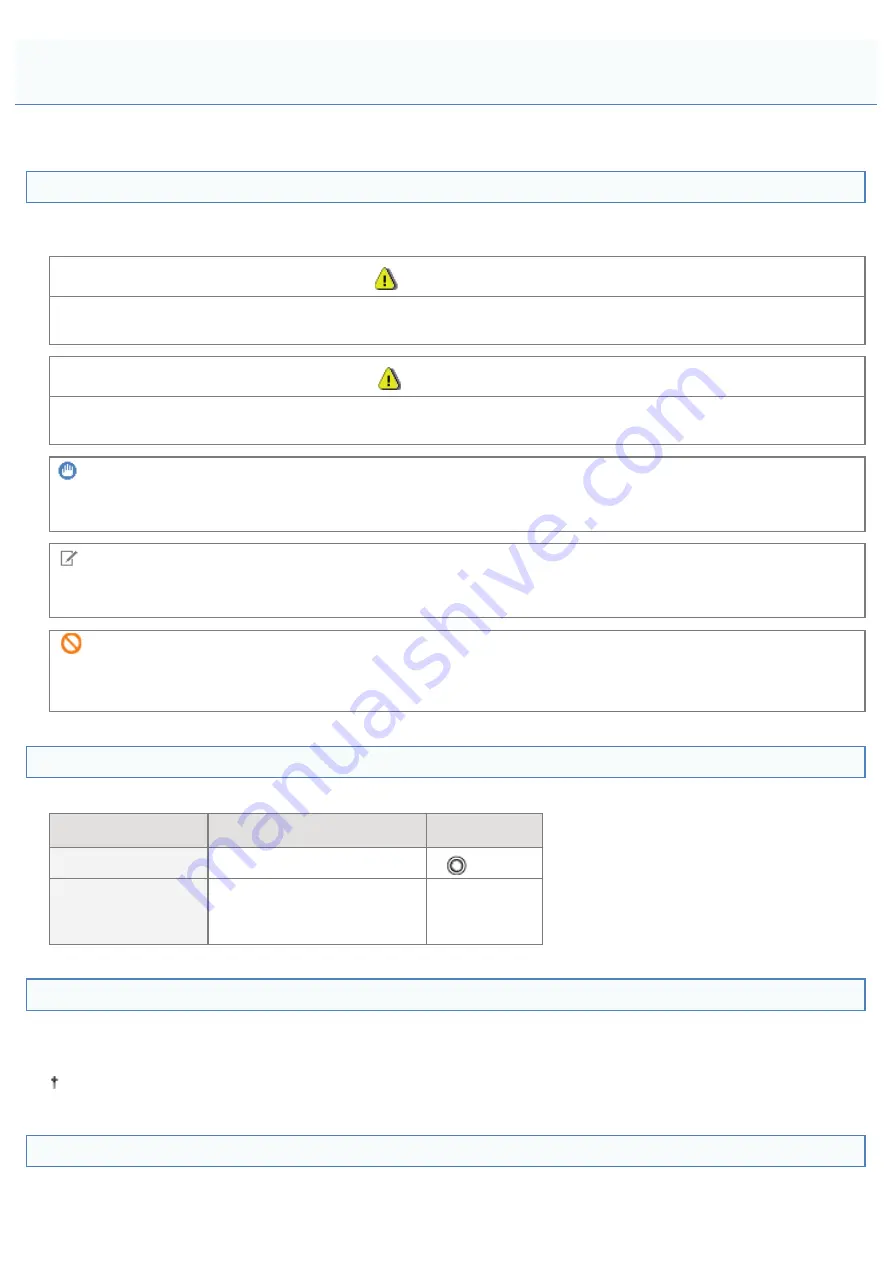
The following are descriptions of warnings and cautions used in the e-Manual to explain handling restrictions, precautions,
and instructions that should be observed for your safety.
WARNING
Indicates a warning concerning operations that may lead to death or injury to persons if not performed correctly. To use
the machine safely, always pay attention to these warnings.
CAUTION
Indicates a caution concerning operations that may lead to injury to persons if not performed correctly. To use the
machine safely, always pay attention to these cautions.
IMPORTANT
Indicates operational requirements and restrictions. Be sure to read these items carefully to operate the machine
correctly, and avoid damage to the machine or property.
NOTE
Indicates a clarification of an operation, or contains additional explanations for a procedure. Reading these notes is highly
recommended.
Indicates an operation that must not be performed. Read these items carefully, and make sure not to perform the
described operations.
Keys and Buttons Used in This Manual
The following are examples of how control panel keys and on-screen buttons are depicted in the e-Manual.
Type
Depiction in the e-Manual
Example
Control panel keys
[
Key icon
] + (
Key name
)
[
] (Paper)
Buttons on
computer operation
screen and so on
[
Button name and so on
]
[OK]
Screenshots Used in the e-Manual
The contents of the screenshots used in the e-Manual are the default settings.
Depending on the system configuration, the contents of the screenshots may partly differ.
The functions of the printer driver may be changed due to upgrade.
Illustrations Used in the e-Manual
Although the power cord used in this manual is as the one in the following illustration, the form of the power cord may
differ depending on the country or region.
Viewing the e-Manual
㻞㻡㻌㻛㻌㻟㻠㻟
Summary of Contents for LBP7010C
Page 1: ...㻝㻌㻛㻌㻟㻠㻟 ...
Page 19: ...7 Click Exit When the following screen appears you can remove the CD ROM 㻝㻥㻌㻛㻌㻟㻠㻟 ...
Page 85: ...NOTE Calibration time It takes approximately 57 seconds 㻤㻡㻌㻛㻌㻟㻠㻟 ...
Page 92: ...㻥㻞㻌㻛㻌㻟㻠㻟 ...
Page 135: ...17 Click Exit When the following screen appears you can remove the CD ROM 㻝㻟㻡㻌㻛㻌㻟㻠㻟 ...
Page 137: ...If the User Account Control dialog box appears Click Yes or Continue 㻝㻟㻣㻌㻛㻌㻟㻠㻟 ...
Page 156: ...㻝㻡㻢㻌㻛㻌㻟㻠㻟 ...
Page 177: ...3 Click OK For details on the basic printing procedure see Basic Printing Procedure 㻝㻣㻣㻌㻛㻌㻟㻠㻟 ...
Page 181: ...For details on the basic printing procedure see Basic Printing Procedure 㻝㻤㻝㻌㻛㻌㻟㻠㻟 ...
Page 183: ...3 Click OK For details on the basic printing procedure see Basic Printing Procedure 㻝㻤㻟㻌㻛㻌㻟㻠㻟 ...
Page 186: ...3 Click OK Then the Page Setup sheet reappears 㻝㻤㻢㻌㻛㻌㻟㻠㻟 ...
Page 197: ...4 Click OK For details on the basic printing procedure see Basic Printing Procedure 㻝㻥㻣㻌㻛㻌㻟㻠㻟 ...
Page 201: ...3 Click OK For details on the basic printing procedure see Basic Printing Procedure 㻞㻜㻝㻌㻛㻌㻟㻠㻟 ...
Page 203: ...4 Click OK For details on the basic printing procedure see Basic Printing Procedure 㻞㻜㻟㻌㻛㻌㻟㻠㻟 ...
Page 207: ...4 Click OK For details on the basic printing procedure see Basic Printing Procedure 㻞㻜㻣㻌㻛㻌㻟㻠㻟 ...
Page 211: ... Low 㻞㻝㻝㻌㻛㻌㻟㻠㻟 ...
Page 221: ...4 Confirm the settings then click OK ĺ The printer folder reappears 㻞㻞㻝㻌㻛㻌㻟㻠㻟 ...
Page 273: ...4 Click OK 㻞㻣㻟㻌㻛㻌㻟㻠㻟 ...
Page 282: ...For details on the procedure for loading paper see Loading Paper 㻞㻤㻞㻌㻛㻌㻟㻠㻟 ...
Page 316: ...If you specify Special Settings C4 printing speed drops 㻟㻝㻢㻌㻛㻌㻟㻠㻟 ...
Page 341: ...㻟㻠㻝㻌㻛㻌㻟㻠㻟 ...


