2
Scanning Different-size Originals Together (Different Size Originals)
2-44
Scanning Or
iginals into a Mail Bo
x
3
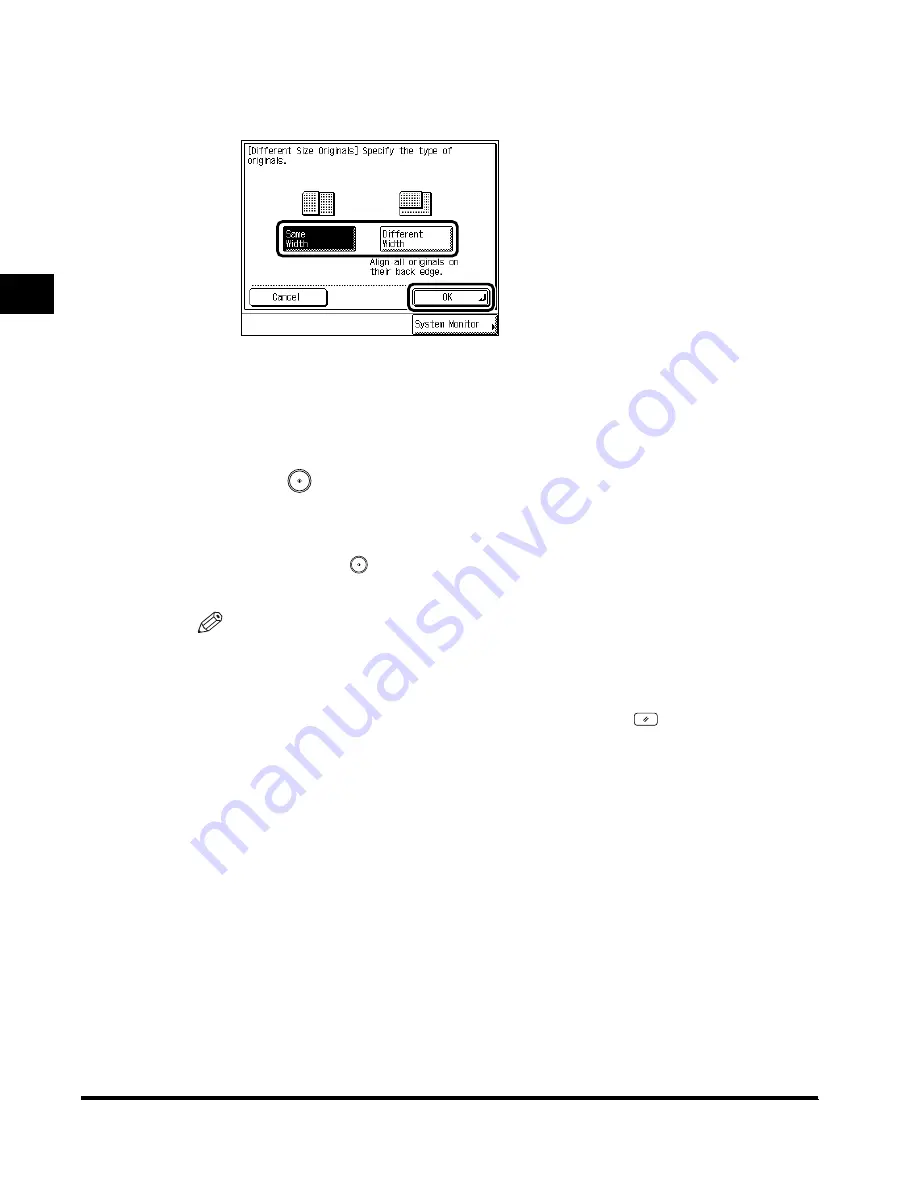
Select the type of the Different Size Originals
→
press “OK”
→
press
“Done.”
When you set the same-width originals, press “Same Width.”
When you set different-width originals, press “Different Width.”
The specified mode is set and the display returns to the Scan screen.
4
Press
(Start).
The machine starts scanning. (See ‘Storing Originals in the Mail Box,’ on p. 1-9.)
When the original is placed on the platen glass, follow the instructions that appear on the
display and press
(Start) once for each original. When scanning is completed, press
“Done.”
NOTE
•
To cancel the setting, press “Special Features”
→
“Different Size Originals”
→
“Cancel,” in
this order.
•
To cancel all settings at once, press “Initial Settings.” (The machine returns to the Standard
Scanning mode.)
•
To return the display to the Mail Box Selection screen, press
(Reset).
E201box_INDEX.book Page 44 Thursday, May 24, 2001 12:04 AM
Summary of Contents for imageRUNNER 3300
Page 26: ...1 Flow of Mail Box Operations 1 18 Basic Use of the Mail Box Function...
Page 86: ...2 Storing Recalling Scanning Modes Mode Memory 2 60 Scanning Originals into a Mail Box...
Page 134: ...3 Erasing a Document from a Mail Box 3 48 Using Arranging Documents Stored in the Mail Box...
Page 148: ...4 Setting the Standard Mode for Scanning 4 14 Setting Storing the Mail Box Settings...
Page 149: ...CHAPTER 5 1 5 Appendix Chart of Available Combination of Functions 5 2 Index 5 4...
Page 155: ...5 Index 5 7 Appendix X XY Zoom 2 19 2 21 Z Zoom 2 17 Zoom Program 2 17...


