Performing/Changing Wired LAN Connection (Ethernet Cable)
Settings
Follow the procedure below to perform/change wired LAN settings.
Note
• For some models, you can perform network setup for a USB connected printer using Wi-Fi Connection
Assistant. Select
USB
on
Switch View
under the
View
menu to display printers for which you can
perform setup.
1.
Start up Wi-Fi Connection Assistant.
1.
2.
Check the displayed message and select
Yes
.
2.
3.
Select
Printer Network Setup
on the displayed screen.
3.
Detected printers are listed.
4.
Select printer to perform/change settings from printer list.
4.
Select the printer with
Wired LAN
displayed on
Connection Method
and
Available
displayed on
Status
to perform settings.
You can perform settings for a printer with
Available
not displayed on
Status
via USB connection.
To perform setup for a USB connected printer, select
USB
from the pulldown menu on the toolbar and
select the printer to perform/change settings.
5.
Select
Network Settings...
on
Printer Settings
menu.
5.
The
Confirm Printer Password
screen appears.
For more on the password, refer to Administrator Password.
Note
• Clicking the
icon allows you to perform/change settings.
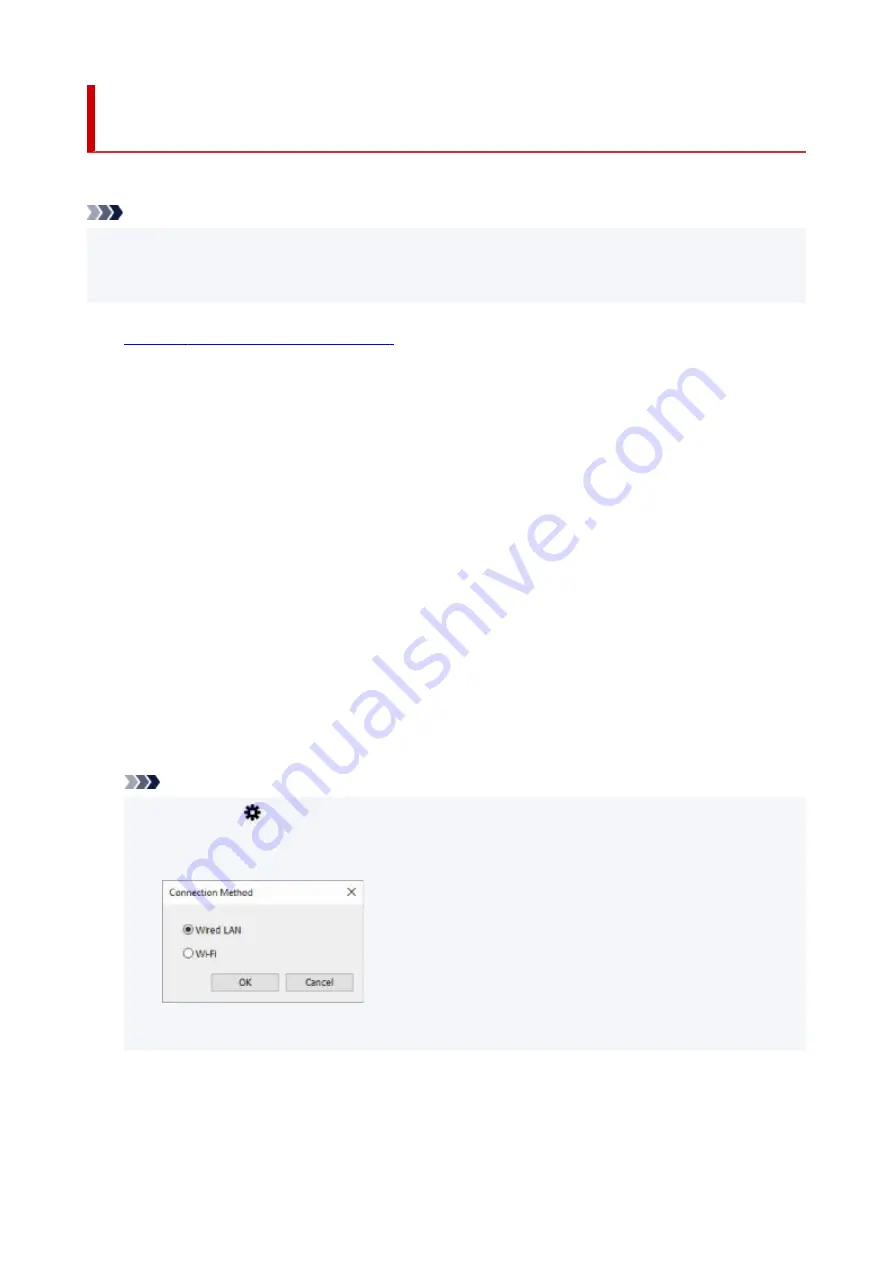
• If you select a USB connected printer on step 4, the screen below appears after the
Confirm
•
Printer Password
screen appears
Select
Wired LAN
and click
OK
.
6.
Enter password and click
OK
.
6.
The
Network Settings
screen appears.
53
Summary of Contents for G3030 Series
Page 1: ...G3030 series Online Manual English ...
Page 9: ...2901 433 3252 434 4103 435 5100 436 5200 437 6000 438 ...
Page 12: ...Trademarks and Licenses Trademarks Licenses 12 ...
Page 36: ...Restrictions Notices when printing using web service Notice for Web Service Printing 36 ...
Page 42: ... For macOS Refer to Setup Guide and redo setup 42 ...
Page 64: ... TR9530 series TS3300 series E3300 series 64 ...
Page 70: ...Handling Paper Originals Ink Tanks etc Loading Paper Loading Originals Refilling Ink Tanks 70 ...
Page 71: ...Loading Paper Loading Plain Paper Photo Paper Loading Envelopes 71 ...
Page 89: ...89 ...
Page 90: ...Refilling Ink Tanks Refilling Ink Tanks Checking Ink Level Ink Tips 90 ...
Page 115: ...If the problem is not resolved after cleaning contact Canon to request a repair 115 ...
Page 122: ...Safety Safety Precautions Regulatory Information WEEE 122 ...
Page 145: ...Main Components and Their Use Main Components Power Supply 145 ...
Page 146: ...Main Components Front View Rear View Inside View Operation Panel 146 ...
Page 148: ...G Document Cover Open to load an original on the platen H Platen Load an original here 148 ...
Page 252: ...Printing Using Canon Application Software Easy PhotoPrint Editor Guide 252 ...
Page 256: ...Copying Making Copies on Plain Paper Basics Copying on Photo Paper 256 ...
Page 259: ...Scanning Scanning in Windows Scanning in macOS 259 ...
Page 263: ...Note To set the applications to integrate with see Settings Dialog Box 263 ...
Page 277: ...ScanGear Scanner Driver Screens Basic Mode Tab Advanced Mode Tab Preferences Dialog Box 277 ...
Page 306: ...Note To set the applications to integrate with see Settings Dialog 306 ...
Page 309: ...Scanning Tips Positioning Originals Scanning from Computer 309 ...
Page 382: ...Scanning Problems Windows Scanning Problems 382 ...
Page 383: ...Scanning Problems Scanner Does Not Work ScanGear Scanner Driver Does Not Start 383 ...
Page 386: ...Scanning Problems macOS Scanning Problems 386 ...
Page 387: ...Scanning Problems Scanner Does Not Work Scanner Driver Does Not Start 387 ...
Page 395: ... For macOS Refer to Setup Guide and redo setup 395 ...


