26
Part I: Fast Track to Super Snaps
Ordering from menus
You access many camera’s features via internal menus, which, conveniently
enough, appear on the monitor when you press the Menu button, located
atop the upper-left corner of the camera back. Features are grouped into the
menus described in Table 1-1.
Some menu functions and even entire menus appear only when you set the
Mode dial to one of the advanced exposure modes (P, Tv, Av, M, and A-DEP).
Similarly, the three Movie menus appear only when the Mode dial is set to
the Movie setting.
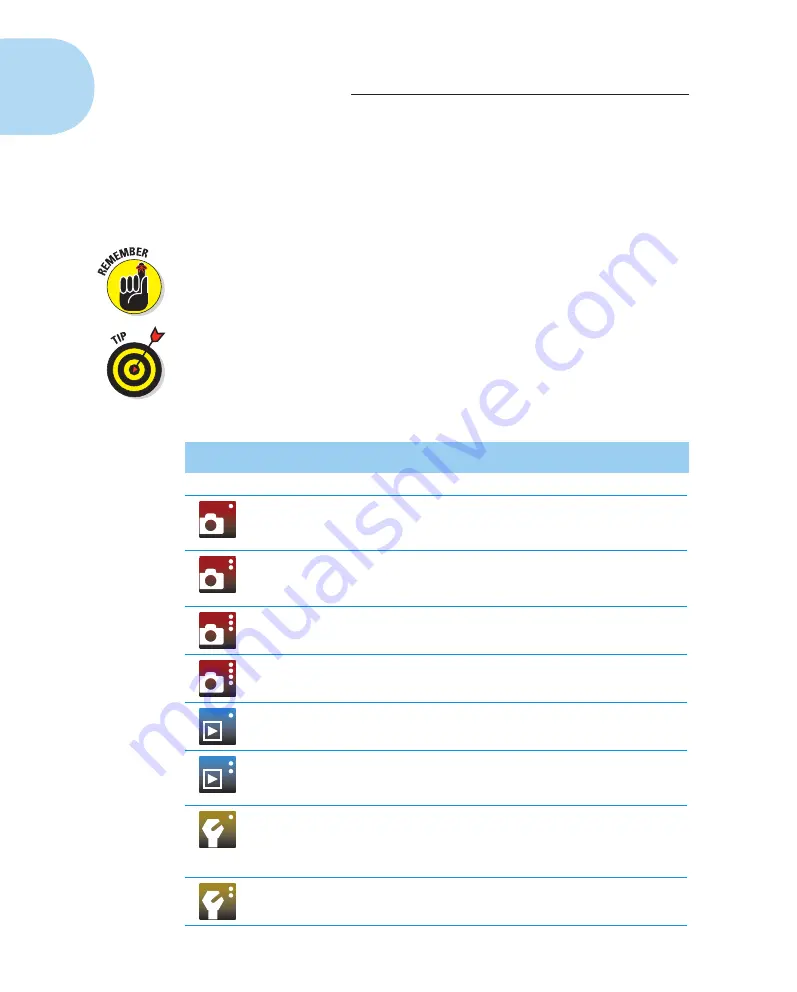
In case you didn’t notice, the icons that represent the menus are color-coded.
The Shooting and Movie menus have red icons; the Setup menus sport yellow
icons; the Playback menus have a blue symbol; and the My Menu icon is
green. (Chapter 11 explains the My Menu feature, through which you can
create your own, custom menu.)
Table 1-1
Rebel T3/1100D Menus
Symbol
Open This Menu
To Access These Functions
Shooting Menu 1
Picture Quality settings, Beep, Red-Eye
Reduction, Flash control, and a few other
basic camera settings
Shooting Menu 2*
Advanced photography options, including
Exposure Compensation, Metering mode,
and custom White Balance
Shooting Menu 3*
Options for enabling the Dust Delete Data
and Auto ISO features
Shooting Menu 4
Live View photography options
Playback Menu 1
Rotate, protect, and erase pictures, as
well as the print order feature
Playback Menu 2
Additional playback features, including
picture rating, slide shows, histogram dis-
play, image jump, and HDMI control
Setup Menu 1
Memory card formatting plus basic
customization options, such as the
file-numbering system and auto shutdown
timing
Setup Menu 2
More customization options and mainte-
nance functions, such as sensor cleaning
05_9781118094976-ch01.indd 26
05_9781118094976-ch01.indd 26
7/7/11 5:28 PM
7/7/11 5:28 PM


