31
Chapter 1: Getting the Lay of the Land
3. Press the cross keys to move the highlight over the setting you want to
adjust.
When you first choose a setting, a little text tip reminds you of the pur-
pose of the active setting, as shown on the right in Figure 1-15.
If you find the text tips annoying, you can get rid of them by disabling
the Feature Guide option on Setup Menu 2.
4. Adjust the setting.
In general, you can use either of these two techniques:
•
Rotate the Main dial to
scroll through the pos-
sible settings.
•
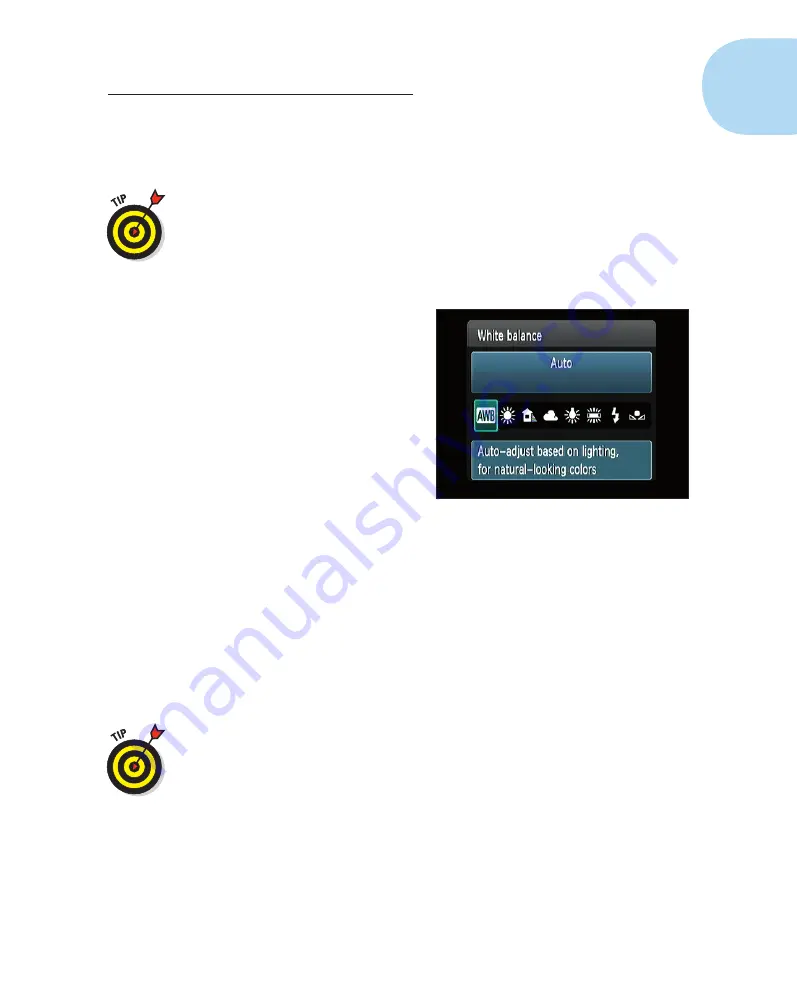
Press the Set button to dis-
play a screen that contains
all the possible settings, as
shown in Figure 1-16; then
rotate the Main dial or use
the cross keys to select
an option. In some cases,
the screen contains a brief
explanation or note about
the option, as shown
in the figure, regardless of
the setting of the Feature
Guide option. After select-
ing your choice, press Set
again to return to the Quick Control screen.
A few controls require a slightly different approach, but don’t worry —
we spell out all the needed steps throughout the book.
5. To exit Quick Control mode, press the shutter button halfway and
release it or press the Quick Control button again.
You’re returned to the normal Shooting Settings display.
To help you remember which button to press to enter the Quick Control
mode, a little Q appears in a blue square in the lower-left corner of the
Shooting Settings display. (Refer to the left screen in Figure 1-14.)
Decoding viewfinder data
When the camera is turned on, you can view critical exposure settings and
a few other pieces of information in the viewfinder. Just put your eye to the
viewfinder and press the shutter button halfway to activate the display.
Figure 1-16:
From the Quick Control screen,
press Set to display all settings available for
the currently selected option.
05_9781118094976-ch01.indd 31
05_9781118094976-ch01.indd 31
7/7/11 5:28 PM
7/7/11 5:28 PM


