35
Preparing the Camera
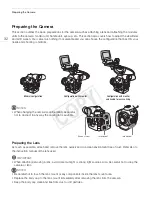
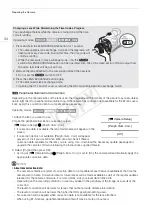
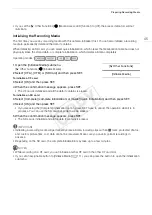
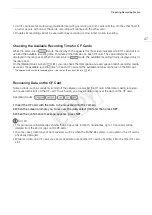
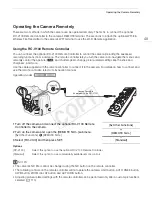
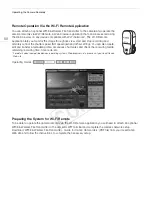
- When using non-Canon lenses, peripheral illumination will not be corrected. Even if the [
~
Camera Setup]
>
[Periph. Illum. Corr.] setting is available (not grayed out), it is recommended to set it to [Off].
3
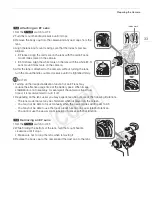
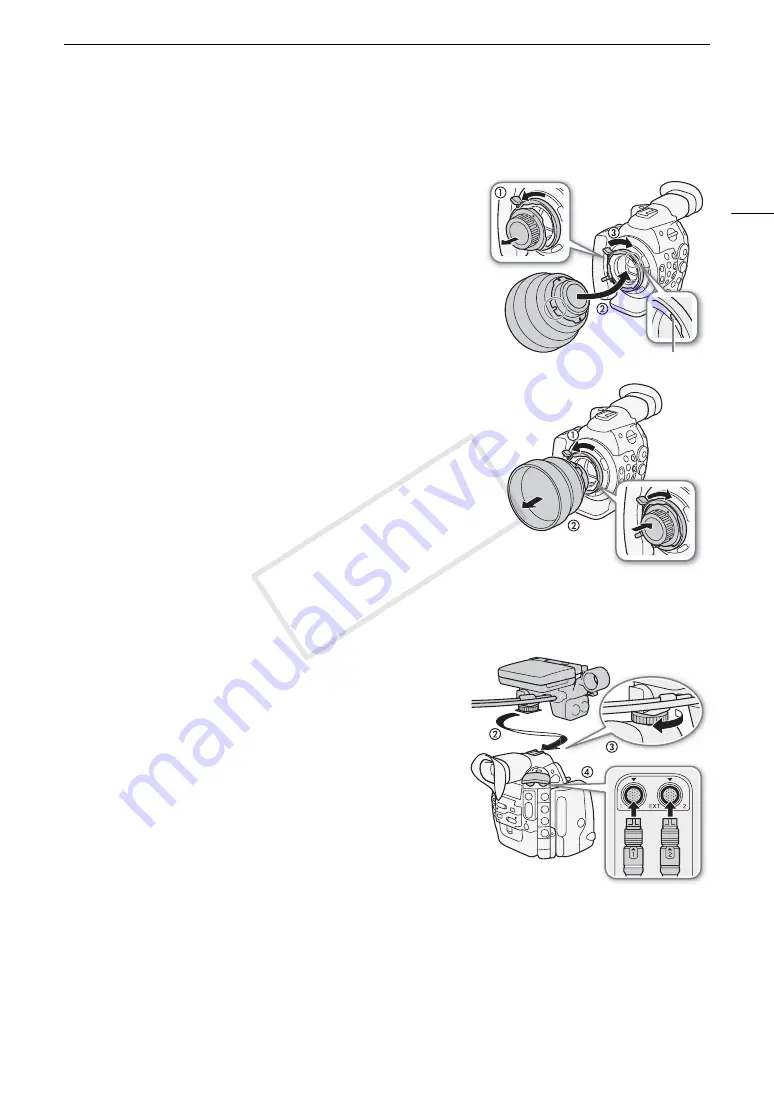
Attaching a PL Lens
1 Hold a bayonet ring handle and turn the bayonet ring counter-
clockwise to remove the body cap and remove any dust caps from
the lens.
2 Attach the lens to the camera aligning a groove on the lens with the
PL lens index pin on the mount.
3 Turn the bayonet ring clockwise to fix the lens in place.
3
Removing a PL Lens
1 Turn the bayonet ring handles counter-clockwise.
2 Remove the lens and replace the body cap to the camera and the
dust cap to the lens.
Attaching and Removing the Monitor Unit
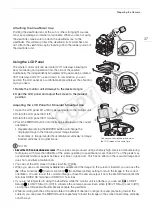
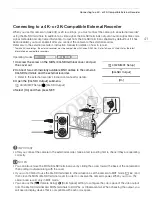
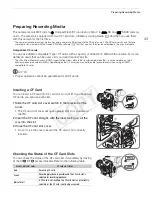
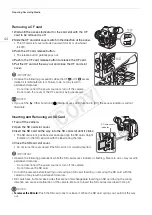
You can attach the monitor unit to the accessory shoe on the camera or that on the handle unit. Further ahead
you will find details about using the LCD panel and adjusting the LCD screen (
A
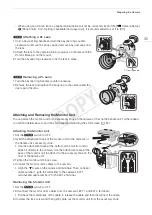
Attaching the Monitor Unit
1 Set the
Q
switch to OFF.
2 Insert the attachment base of the monitor unit to the camera’s or
the handle unit’s accessory shoe.
• Use the attachment base at the bottom of the monitor unit to
attach it directly to the camera. Use the attachment base at the
back of the monitor unit to attach it to the accessory shoe on the
front of the handle unit.
3 Tighten the monitor unit’s lock screw.
4 Connect the monitor unit’s cables to the camera.
• Align the
Î
marks on the cables and terminals. Then, connect
cable number 1 (with the white line) to the camera’s EXT 1
terminal and cable number 2 to the EXT 2 terminal.
Removing the Monitor Unit
1 Set the
Q
switch to OFF.
2 Disconnect the monitor unit’s cables from the camera’s EXT 1 and EXT 2 terminals.
• Pull back the metallic tips of the cable to release the cable and then disconnect the cable.
3 Unscrew the lock screw and then gently slide out the monitor unit from the accessory shoe.
PL lens index pin
COP
Y
Summary of Contents for EOS C500
Page 1: ...Instruction Manual Digital Cinema Camera PUB DIE 0441 001 COPY ...
Page 10: ...10 Optional Accessories 198 Specifications 201 Index 207 COPY ...
Page 126: ...Saving and Loading Camera Settings 126 COPY ...
Page 140: ...MXF Clip Operations 140 COPY ...
Page 166: ...Photo Operations 166 COPY ...
Page 206: ...Specifications 206 COPY ...

