71
Using Print Quality Features
Note
• A density value can be directly entered into the entry box located to the left of the slider bar.
Alternatively, clicking the arrows on both sides of the slidebar can decreases or increases the setting
by 1.
• Click [Defaults] to return the printer to the default settings on the [Detailed Settings] dialog box.
• The print image with selected color corrections is displayed in the [Print Image After Changing
Settings] section of the window.
• [Density] can not be adjusted when the [Monochrome Print] check box is selected.
Adjusting the Contrast
An overall contrast adjustment can be made if you would like to better distinguish the light and dark
areas of the printout.
1
Click the [Detailed Settings] in the [Color] tab.
2
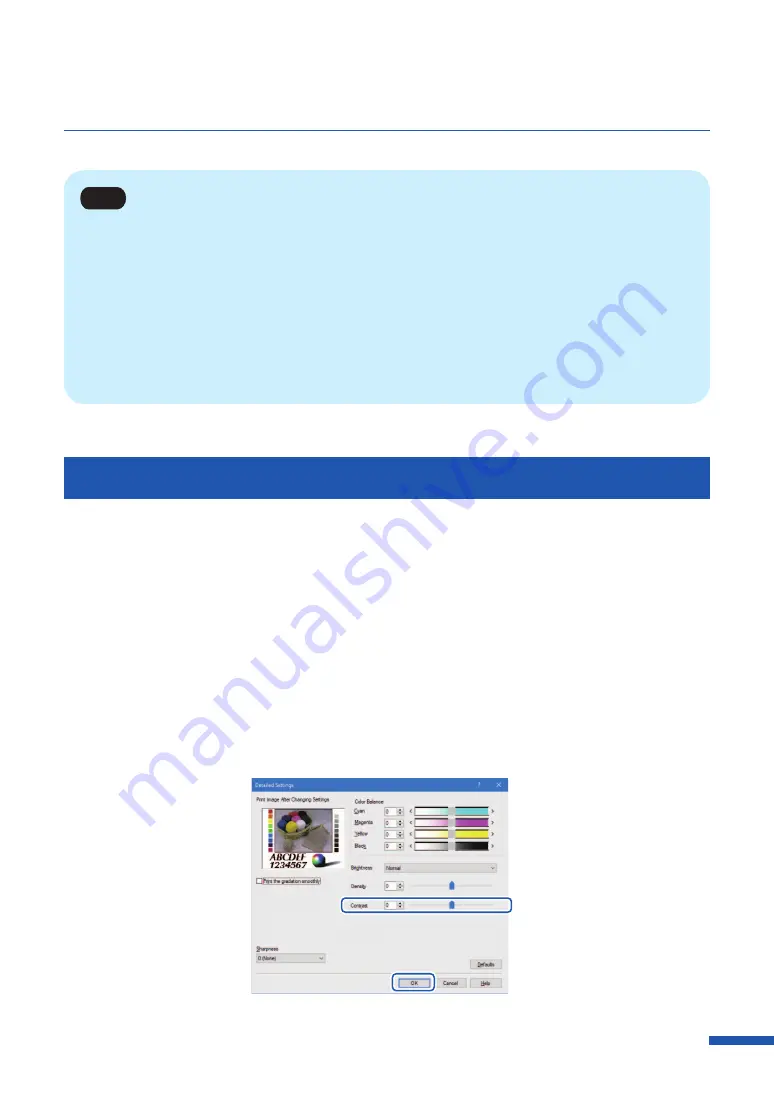
Adjust the contrast by moving the slider, and then click [OK]
The center of the slidebar is the default position (0). The slider can be moved between -50 to +50.
Moving the slider to the left decreases the contrast. Moving the slider to the right increases the
contrast.


