CHAPTER 2 STANDARDS AND ADJUSTMENTS
2-12
6
Replacing the Developer
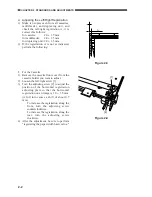
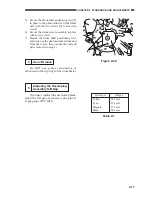
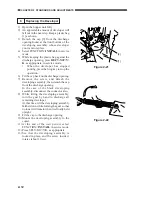
1) Open the hopper unit fully.
2) An appreciable amount of developer will
fall out in the next step. Keep a plastic bag
[1] as shown.
3) Detach the cap [2] from the discharge
opening found at the front bottom of the
developing assembly whose developer
you want to replace.
4) Select FUNCTION>INSTALL in service
mode.
5) While keeping the plastic bag against the
discharge opening, press RECV-M/C/Y/
K, as appropriate, in service mode.
•
When the developer has stopped
pouring, press the Stop key to stop the
operation.
6) Fit the cap back on the discharge opening.
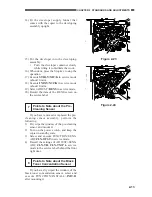
7) Remove the screw, and detach the
developing assembly; then, detach the cap
from the discharge opening.
In the case of the black developing
assembly, disconnect the connector also.
8) While tilting the developing assembly,
turn the gear by hand to discharge all
remaining developer.
At this time, tilt the developing assembly
farther down while turning the gear so that
no toner will remain when it is finally held
upright.
9) Fit the cap to the discharge opening.
10) Mount the developing assembly to the
copier.
11) At the end of the wait period, select
FUNCTION>INSTALL in service mode.
12) Press SPLY-M/C/Y/K, as appropriate.
13) See that the developing assembly is
locked in place, and the screw inside it
rotates (about 10 sec).
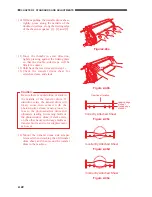
Figure 2-21
Figure 2-22
[1]
[2]


