2
3
4
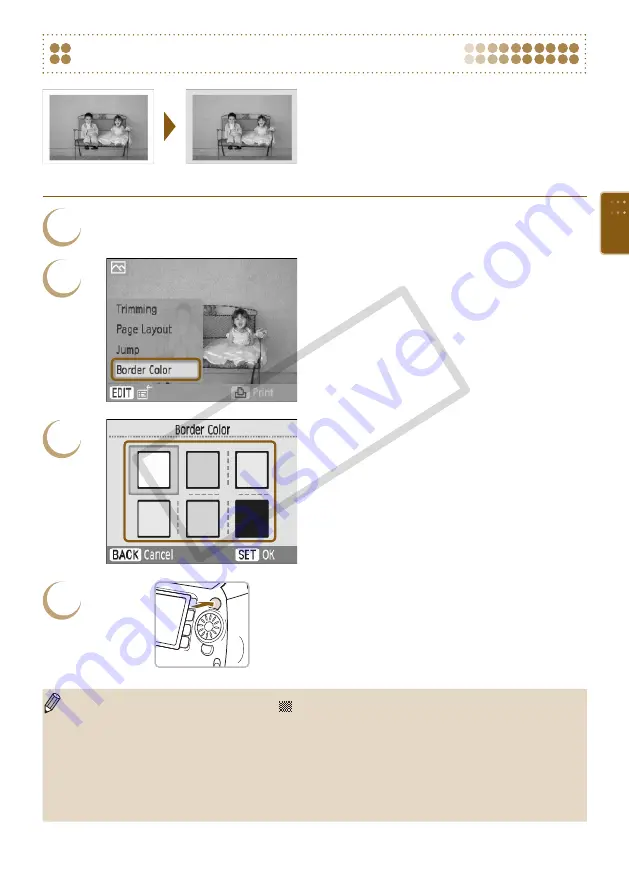
Printing with a Colored Border
You can also make “Printing with a Colored
Border (Border Color)”
edit menu.
Border color settings will be applied to all printed
images, and do not need to be made for each
individual image.
Display the [Border Color] screen.
Press the
m
(EDIT)
button.
Press the
ud
buttons or turn the
w
wheel
to choose [Border Color], then press the
o
button.
The screen from Step 3 will display.
Choose a border color.
Press the
udl
r
buttons, or turn the
w
wheel to choose a color, then press the
o
button.
Print.
Choose an image for printing
number of copies
p
to print.
After printing has finished, the selected border
color settings will clear.
settings are set to [ Borderless], [Border Color] will not appear in the edit
menu.
For complete information about [Border Colors], refer to "Printing with a Colored Border (Border
Color)"
Settings made in “Printing with a Colored Border (Border Color)”
SELPHY’s power is turned off or the memory card is removed from the slot. However, [Border
Color] settings made in the edit menu will clear if the power is turned off or the memory card is
removed.
1
Set to [Bordered]
CO
PY
Summary of Contents for 3647B001 - SELPHY ES40 Photo Printer
Page 20: ...20 COPY ...
Page 54: ...54 COPY ...


