Important before installation
1. Only a certified electrician / plumber can install the whirlpool and only
a certified plumber can install the tub.
2
. Bathtub is to be installed with at least 50cm distance from the
nearest object so that possible service can be done. If the bathtub is
not installed within the recommended range can the manufacturer
refuse to do the reparations within warranty period. Do not place
immovable object in that space.
3
. If the bathtub is sealed with silicon remove the silicon before possible
reparation. The service man does not restore any silicon sealings.
4
. Prevent the tub from damage during the installation. Be careful so
that the tub does not get scratched by sharp tools like a screwdriver
and other tools. Be careful when you move the tub so that the feet
does not damage the floor.
5
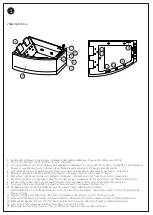
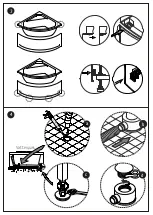
. Use the adjustable feet to install the tub horizontally. Drawing (4c).
6
. Take of the front panel. Drawing (
3a
).
Electrical requirements
7
. Electrical installations shall be made according to relevant applicable
rules. All electrical installations must be water resistant and all
electrical installation should include a waterproof switch.
8
. Your electrical installation should be powerful enough to run all the
connected electrical components at the same time. Drawing (7).
9
. Additionally, install the earth wire and make sure that the earth wire
works properly. Do not let the socket and contacts come in contact
with water.
Water installation
1
0
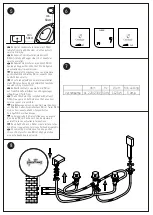
. We recommend installing shut off valves on water pipes so that you
can turn off the water to the tub. Drawing (8).
1
1
. To the pre-installed parts of the tub you only need to connect the
external cold and hot water hoses to the corresponding water pipes
or fittings. The connections shall be separated from the bathtub.
Drawing (8).
1
2
. Install the cone clutch on the shower hose to the shower head and
put the other end of the shower hose through the hole where the
shower head is to be placed. Then attach the shower hose to the
diverter.
1
3
. Connect the flexible drain pipe to the water trap and then to the
drain. Drawing (4, point a, b, c).
After installation
1
4
. The distance between bathtubs edge and the wall is to be 0,5 cm.
Use bathroom silicone to fill the gap and to seal the bathtub.
1
5
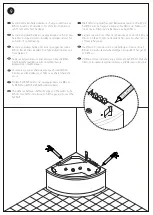
. Finally, install the front panel as shown on the drawing. Place the
front panel in place between the tub edge and attach the plastic disc.
Tighten the screws and put on the caps. Drawing (
3a
).
Us
ing
the product
1
6
. Turn on the power at the main switch.
1
7
. Open the cold and hot water taps. Select the desired temperature
and use the diverter to select between the faucet, hand shower and
clean function.
18
. The pump can not be started before the water level reaches all the
jets in the bathtub. The water level sensor will keep the pump off
untill the water reaches the sensor.
19
. Turn the overflow handle to empty the tub after use.
2
0
. Turn off the power at the main switch after use
.
Care taking
1.
For cleaning and maintenance of your spa bath, we recommend
Camargue Start Up Box, containing pipe cleaning detergent and
disinfection tablets. We recommend that the pipe system is cleaned
four times a year for spa bath in private use. The disinfection tablets
should be used at every occasion when the water massage function is
used. Instructions and doses can be found at the manual that follows
the Camargue Start Up Box.
2. When cleaning the massage unit fill the tub with water at a
temperature of approx. 40 ° C and add 2 g detergent per 1 litre of
water. Start the massage function and let it run for approx. 5 minutes.
Turn off the pump and drain the water out of the tub. Fill the tub
again, this time with cold water, and let the massage function for
approx. 3 minutes. Turn off the pump and drain the water out of the
tub. Finally, clean bathtub.
3.
Cleaning the massage unit: Fill the tub with water and pour the pipe
cleaning detergent according to the instructions at the supplied
manual. Start the water massage function and let it run for 10
minutes. Turn off the pump and drain the tub. Fill the tub with cold
water and let the massage function run for 3 minutes. Turn off the
pump and drain the tub. Finally clean the tub with a soft cloth.
4. Do not use sharp tools or cleaners containing solvents or abrasives to
clean the tub.
5. Scratches on the surface of the tub can be wet sanded. Use only
2000 sandpaper. Then lubricate the scratch with toothpaste and
polish with a soft cloth. Use car wax to polish bubble bath.
6. To get rid of limestone use a cloth soaked in warm lemon juice or
vinegar.
7. Massage jets and drain filter can be removed and cleaned if they are
blocked with hair etc.
8. Avoid scratching the tub with sharp objects. Lit cigarettes or other
objects with temperature above 70 ° C must not come in contact with
the tub surface.
9. D
o not use harsh cleaners or scouring pads on the chrome parts of the
tub. You can scratch and remove the chrome surface.
Safety instructions
1. Children should not bath alone or unattended in a bubble bath.
2. People with heart problems, high or low blood pressure and pregnant
women should consult a physician before using the whirlpool.
3. The water to fill the tub should not be too hot. Check the water
temperature before stepping into the tub so you do not burn your
feet and legs.
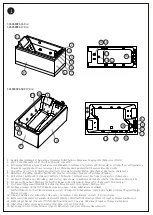
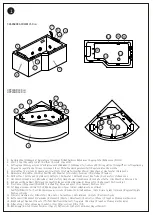
4. When the massage function is on the people with long hair should not
lower their head under the water level at the suction filter. Drawing
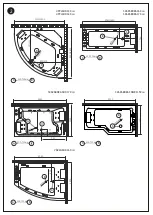
(1, part 14)
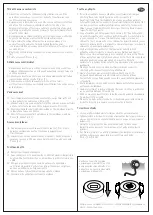
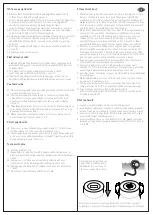
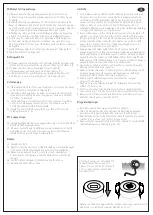
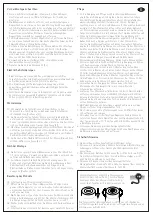
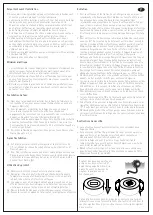
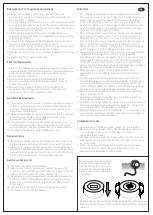
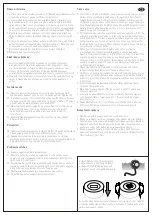
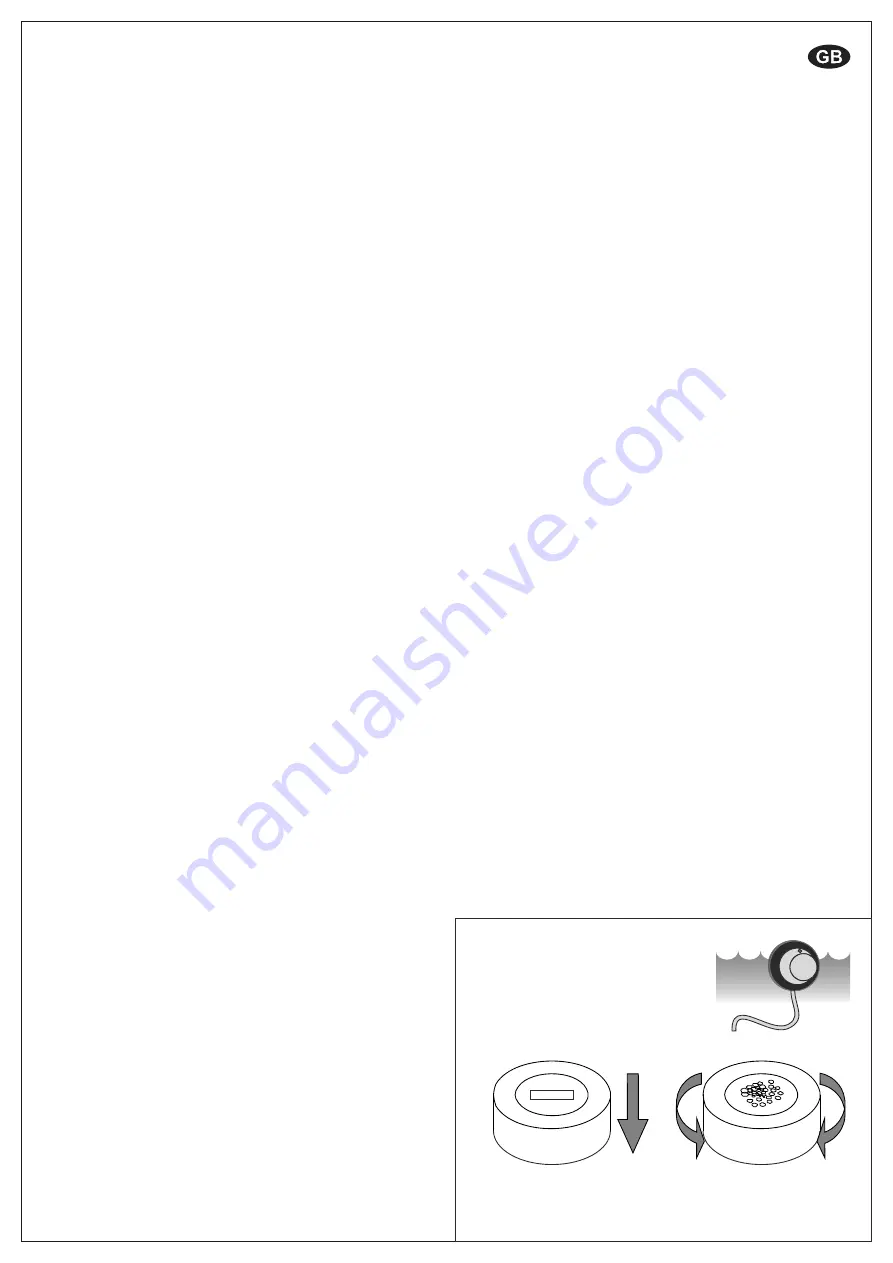
The intensity of the massage can be regulated by opening and closing
the air supply by turning the air control knob clockwise or
counterclockwise.
Water level sensor protects the
water pump from short circuit and
prevents the pump from burning
out. If water level is below the
sensor, the water pump will not
operate.


