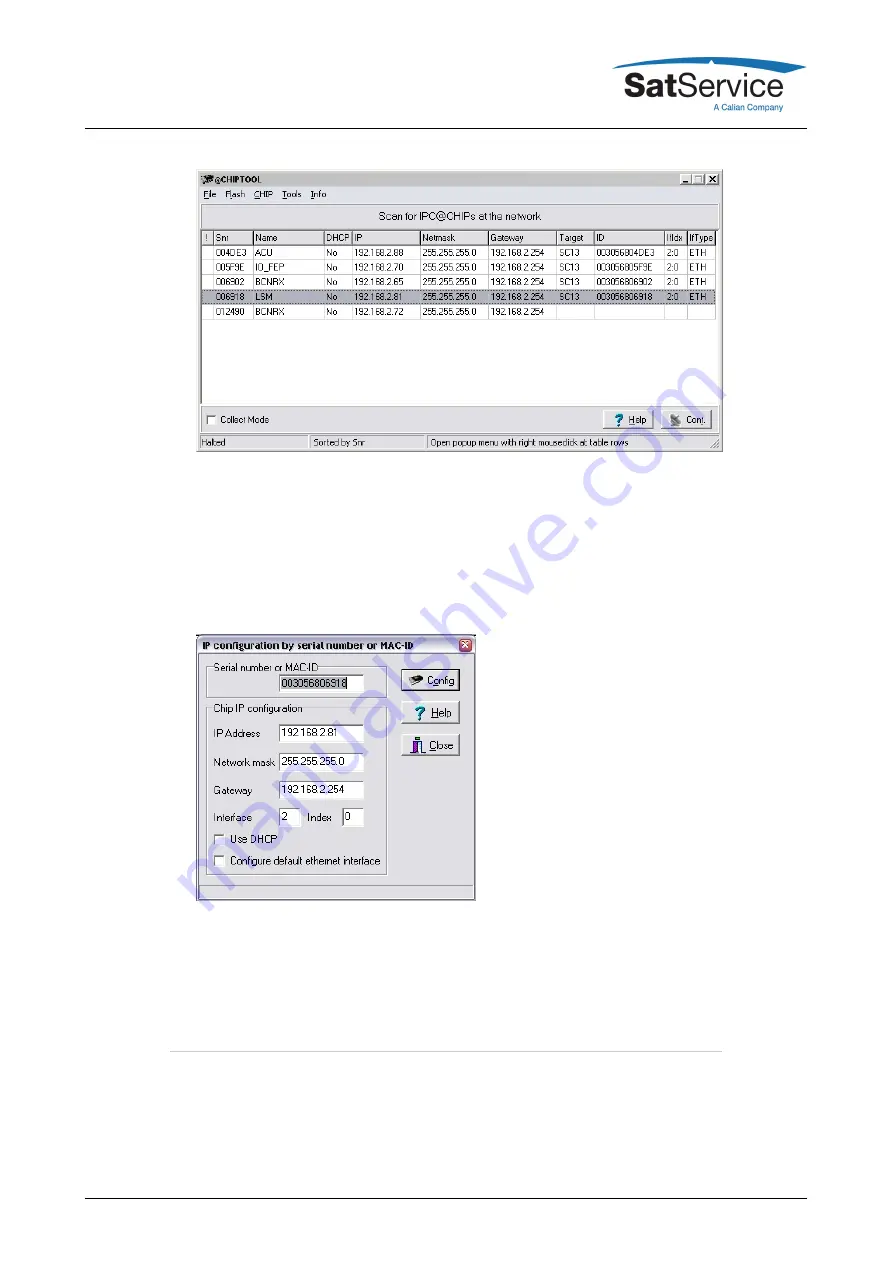
5. The serial number shown in the first column of the list, must match the serial number printed
on the processor's enclosure. If the list stays empty, the LFTXRX chassis is not connected
properly. If there are more entries in the list, the configuration program has found other
devices in this network segment which use the same technology.
6. Now type CTRL+I to open the IP configuration window of the program. In this form enter the
processor's serial number, it's new IP address and network mask. If the LFTXRX later shall
be operated through a router, enter the address of the router on the gateway field, otherwise
leave this field blanc. Be sure, that the 'DHCP' mark is unchecked. Finally click to the 'Yes'
button to set the new parameters at the LFTXRX chassis.
Now the IP configuration of the chassis is completed. You may finally want to test if the LFTXRX
chassis is reachable now. Start your web browser and type the chassis' IP address into the URL
field of the browser. The LFTXRX should reply with it's main page, provided that the chassis and
your computer are configured for the same subnet.
The sat-nms LFTXRX enclosure is a standard 3HU 19" rack-mountable enclosure. Use slide bars
to install the chassis, because the mounting angles will not be able to hold the chassis in the
horizontal position. Fix the enclosure with 4 according screws to a 19" Rack. Don't forget to
connect the "GND"-screw to the Rack.
To ensure sufficient airflow for cooling the unit, we recommend to keep 1RU free space below and
(C) 2021, SatService GmbH
www.satnms.com
LF20-UM-2107 Page 9/43


