19
SERVICE (cont.)
CONTROL BOARD (cont.)
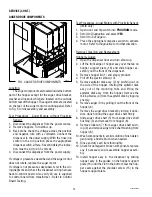
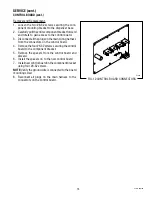
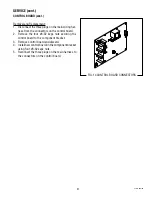
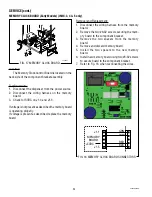
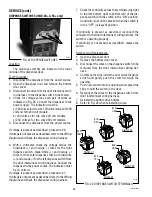
FIG. 12 CONTROL BOARD CONNECTORS
P1640
Removal and Replacement:
1. Loosen the two #8-32 screws securing the com-
ponent mounting bracket to the dispenser base.
2. Carefully pull the entire component bracket forward
and rotate to gain access to the control board.
3. Disconnect all the plugs on the main wiring harness
from the connectors on the control board.
4. Remove the four #6-32 screws securing the control
board to the component bracket.
5. Remove the spacers from the control board and
discard.
6. Install the spacers on to the new control board
7. Install new control board on the component bracket
using four #6-32 screws.
NOTE:
Verify the ground wire is connected to the board
mounting screw.
8. Reconnect all plugs on the main harness to the
connectors on the control board.
42032 060109
Summary of Contents for IMIX
Page 10: ...10 42032 060109 NOTES ...
Page 46: ...46 42032 060109 ...
Page 48: ...48 42032 060109 ...

