STEP2 Creating and printing a label without using your computer
24
You can easily customize many functions of your machine, for example you can edit the
contents of the built in templates.
By editing a selected template, it is possible to change the label to your own format.
The editable content varies depending on the selected template.
The following explains an example when selecting template "[P07]Msg+D+T".
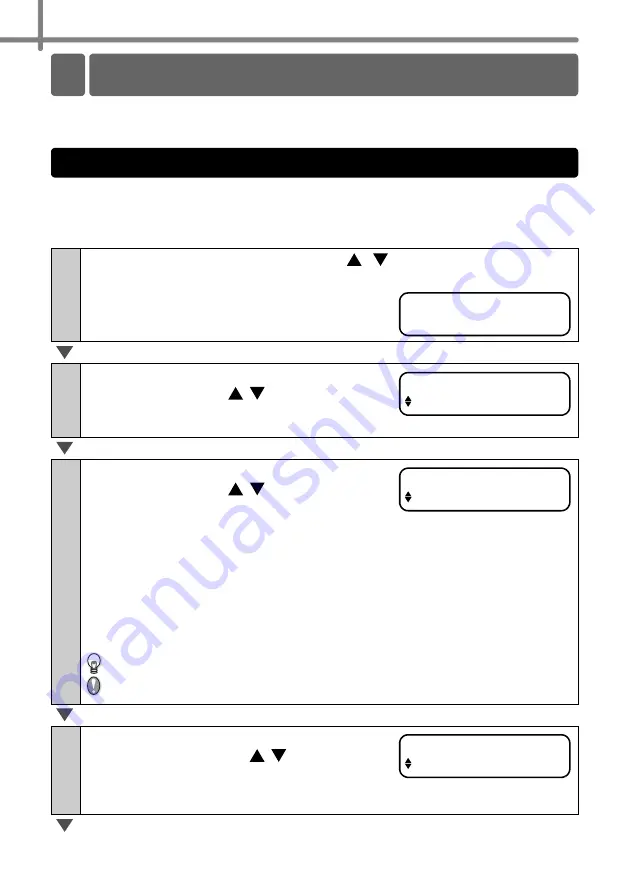
1
Press the up or down arrow button ( /
)until [P07] is shown on
the display, then press the OK button twice.
Press the Menu button in the Time
Display mode.
Menu Selection mode is displayed.
2
Select "Menu 1/12" by pressing the up or
down arrow button ( / ) and then press
the OK button.
Message selection mode is displayed.
3
Select the message by pressing the up or
down arrow button ( / ) and then press
the OK button.
The message is selected, and then the date format
selection mode is displayed.
Type of message
•
Received
•
Inspected
•
Approved
•
Delivered By
•
Service Before
•
Best Before
•
Expires
•
Date Installed
•
Next Test
•
Completed
•
None
You can also upload new messages from your computer.
"None" can be selected only when using the template [P08].
4
Select the date format by pressing the up
or down arrow button ( / ) and then
press the OK button.
The date format is selected, and then the time
format selection mode is displayed.
Other convenient functions
2
Editing a template: Menu 1/12
12:34 [P07]
20/07/2005
Menu 1/12
Edit Template
Message [P07]
Received
Date [P07]
20/07/2005
Summary of Contents for QL 650TD - P-Touch B/W Direct Thermal Printer
Page 36: ...STEP2 Creating and printing a label without using your computer 32 ...
Page 95: ...FASE2 Creazione e stampa di un etichetta utilizzando esclusivamente questa stampante 32 ...
Page 154: ...ETAPE 2 Créer et imprimer une étiquette sans ordinateur 32 ...
Page 213: ...SCHRITT 2 Etikett ohne Computer erstellen und drucken 32 ...
Page 237: ...Printed in China LB7086001 ...


